How to Build Your Own Creative Headshot Studio
When you think of a photography studio, it’s easy to picture a massive room with expensive lights, seamless backdrops, and more equipment than you know what to do with. In reality, you don’t need a large studio like that to create professional and creative headshots. With a little bit of space and control over your lighting, just about any room can become a fun, professional studio.
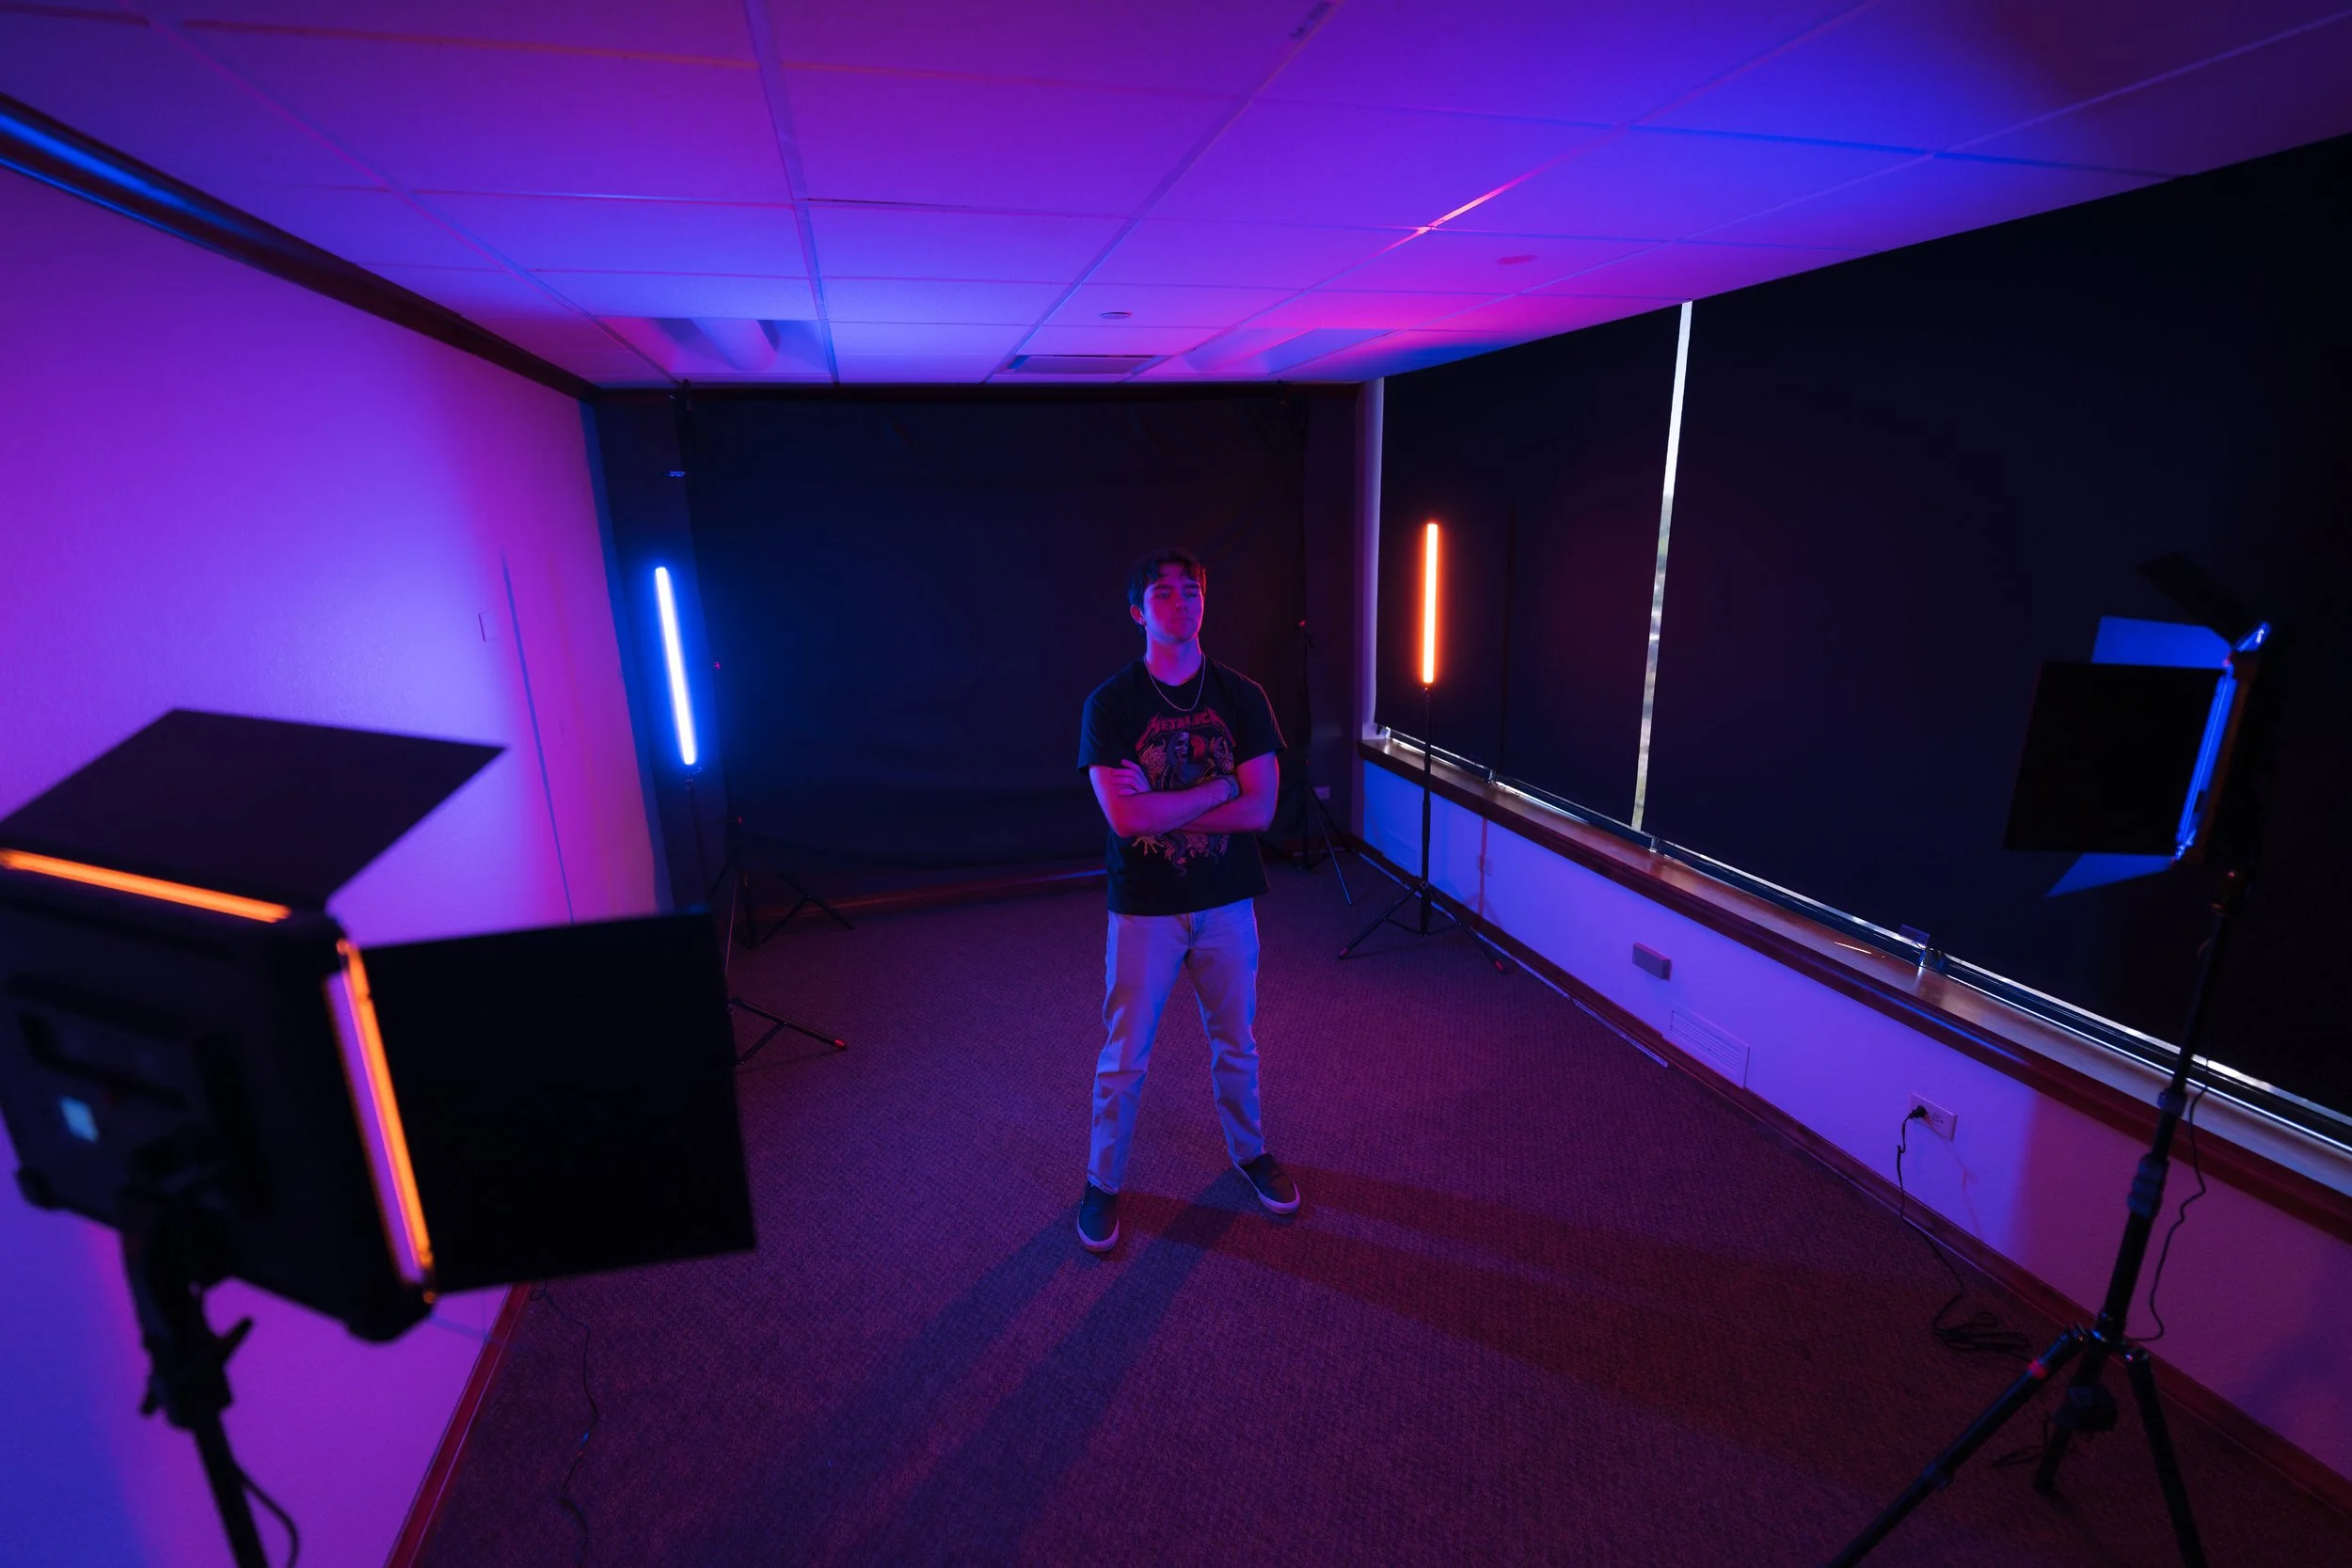
For my setup, I transformed an ordinary room using just a simple backdrop, two TL24RGB tube lights, and two US1014RGB panel lights. My goal was to build out a space that could produce a relatively clean portrait, but also give me the flexibility to completely change the mood using RGB lighting.
First, I chose a black backdrop behind my subject. A black backdrop works especially well when using colored lighting because it gives the colors plenty of room to stand on their own without competing with any ambient reflection behind the subject. By placing my subject roughly 5 feet ahead of the backdrop, I created separation that helped keep unwanted light from spilling onto the background while also giving me room to place lights behind the subject. For my lens, I chose to use my 85mm prime. Longer focal lengths are one of my favorite choices for portraits because they provide a clean perspective while allowing me to stand farther away from my subject, assuring my shooting position isn’t casting any unwanted shadows.. You don’t necessarily need an 85mm to create great headshots, but somewhere in the 50–100mm range is a great place to start.
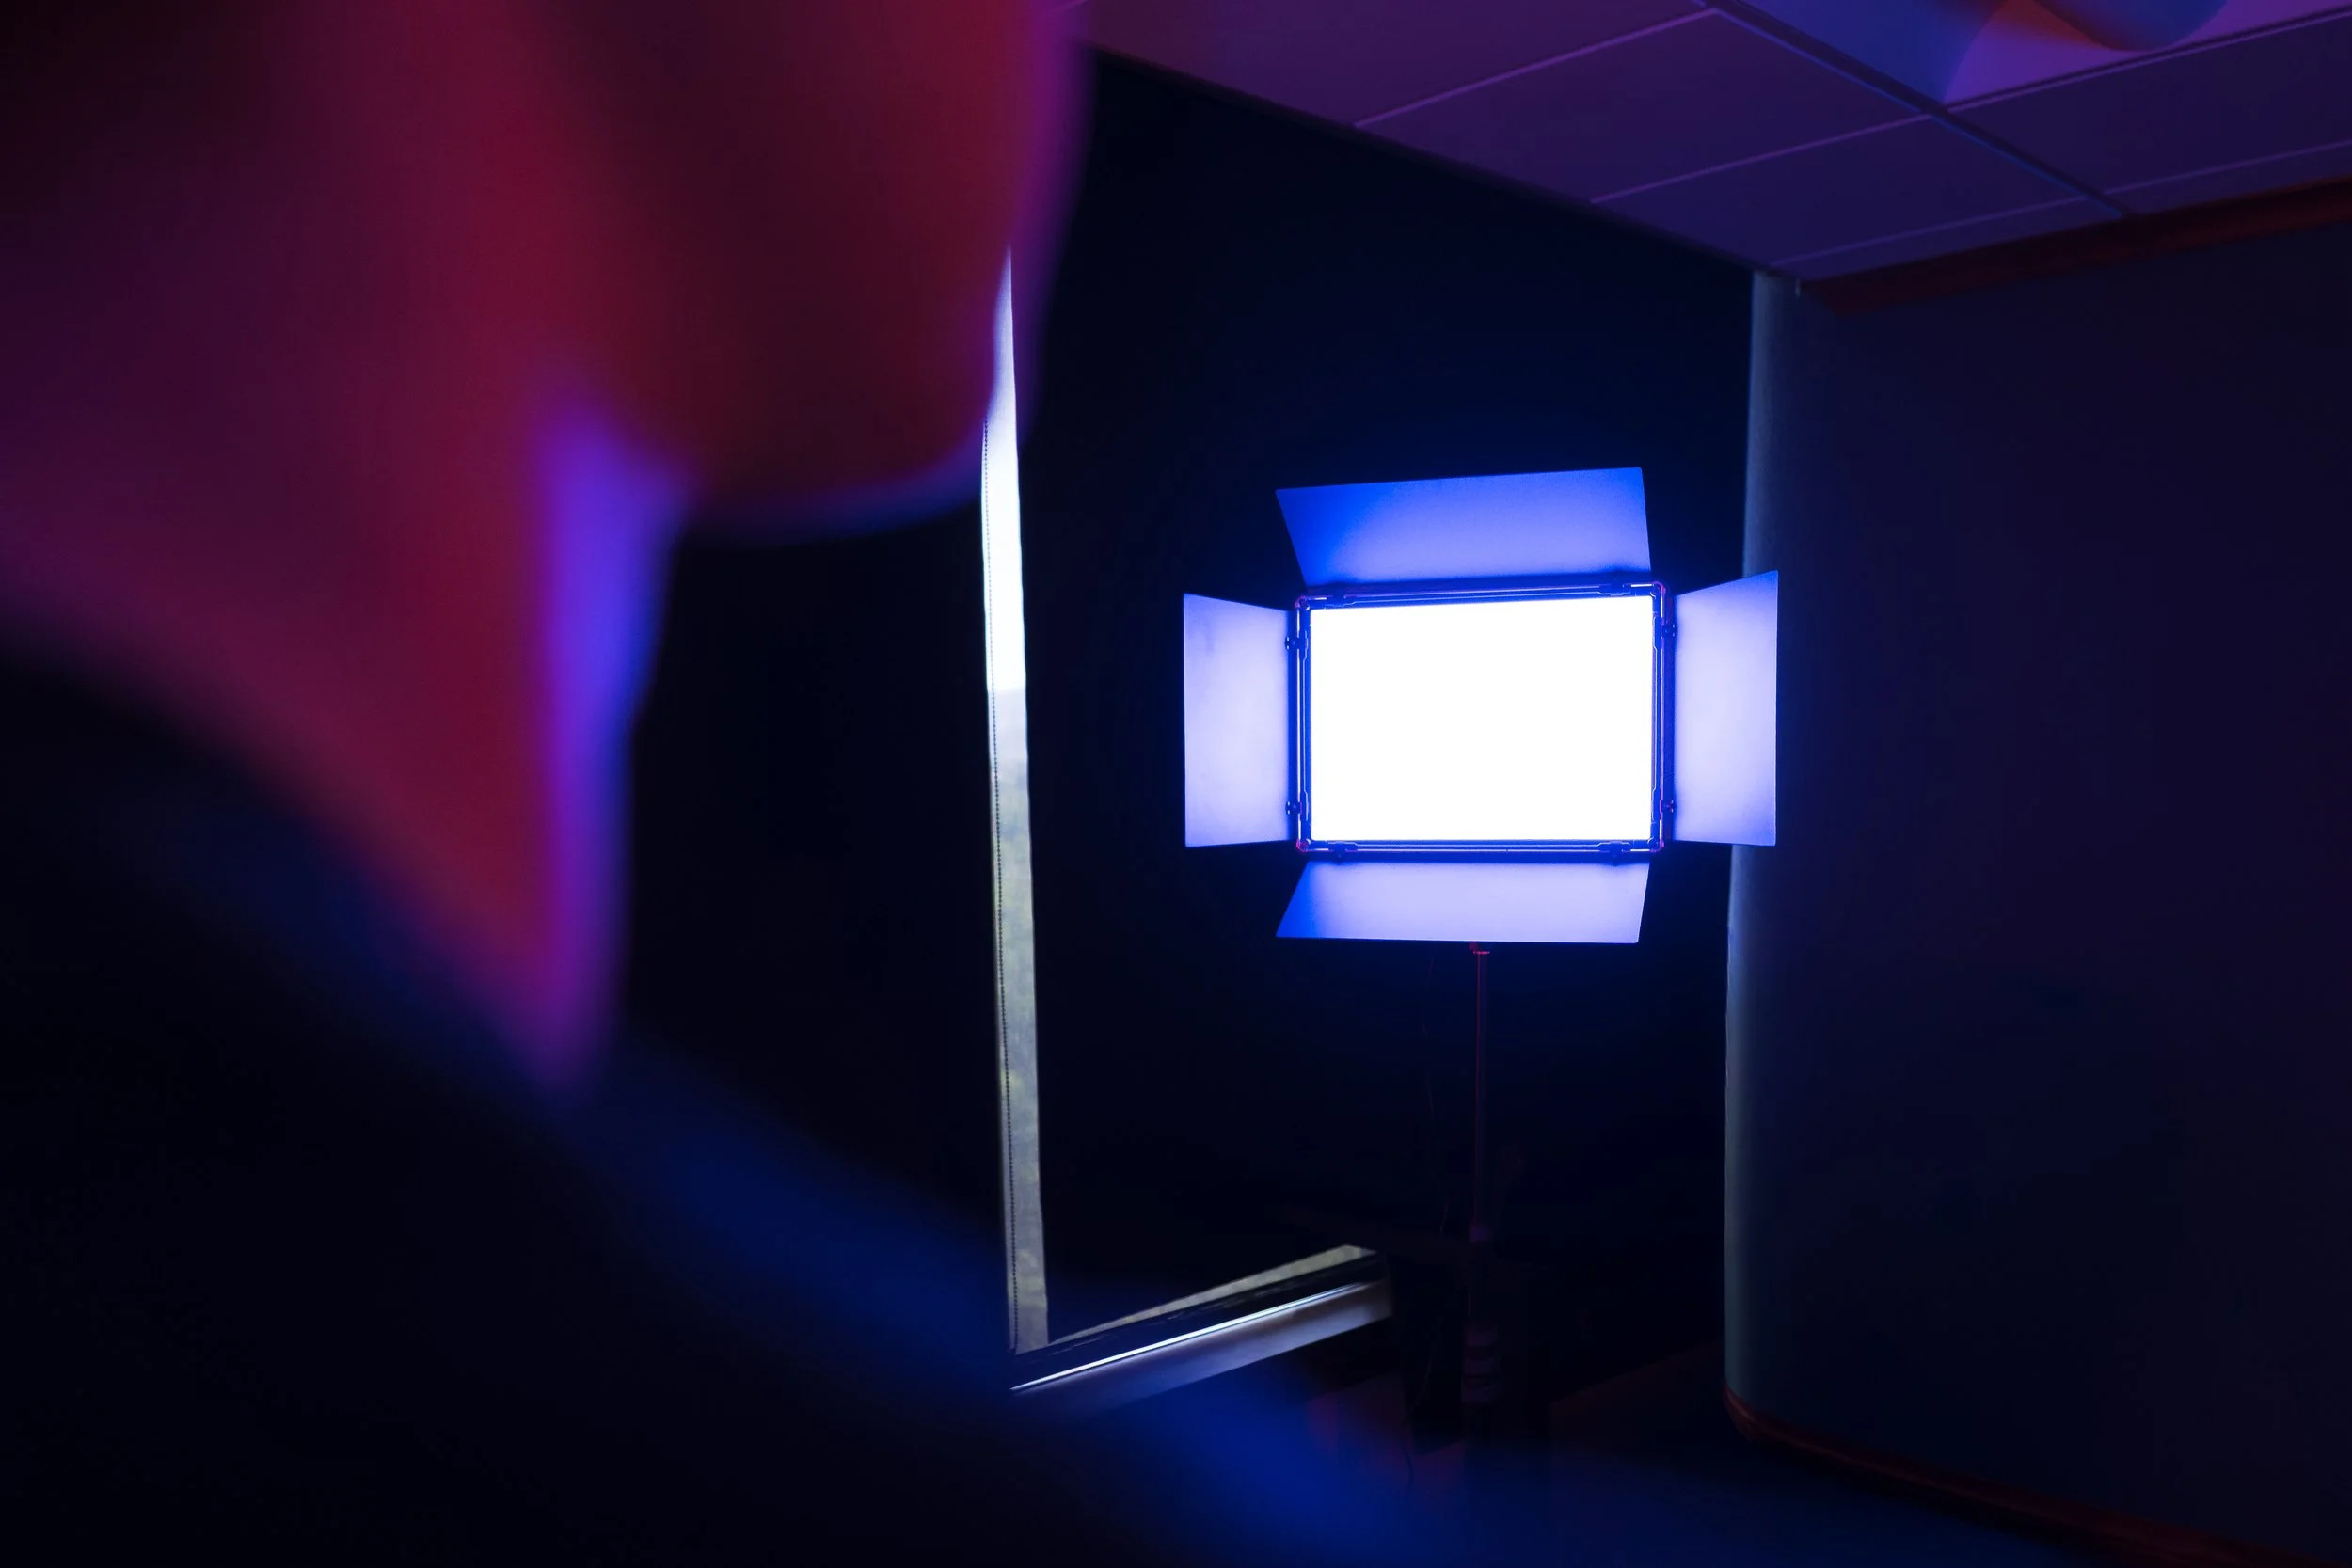
From there, I built out the keylight using two US1014RGB panel lights toward the front of my subject. These larger panels gave me control over the primary light falling across the face and body, eliminating any shadows. One of the advantages of using continuous lights for a setup like this is that what you see is essentially what you’re going to get. Instead of taking a photo, checking it, adjusting a flash and repeating the process, I can physically see the light changing as I move a panel or adjust its brightness. The barn doors on the 1014RGBs also gave me another way to control where the light lands on my subject. In a relatively small room with four lights operating at once, controlling spill becomes just as important as adding more light.
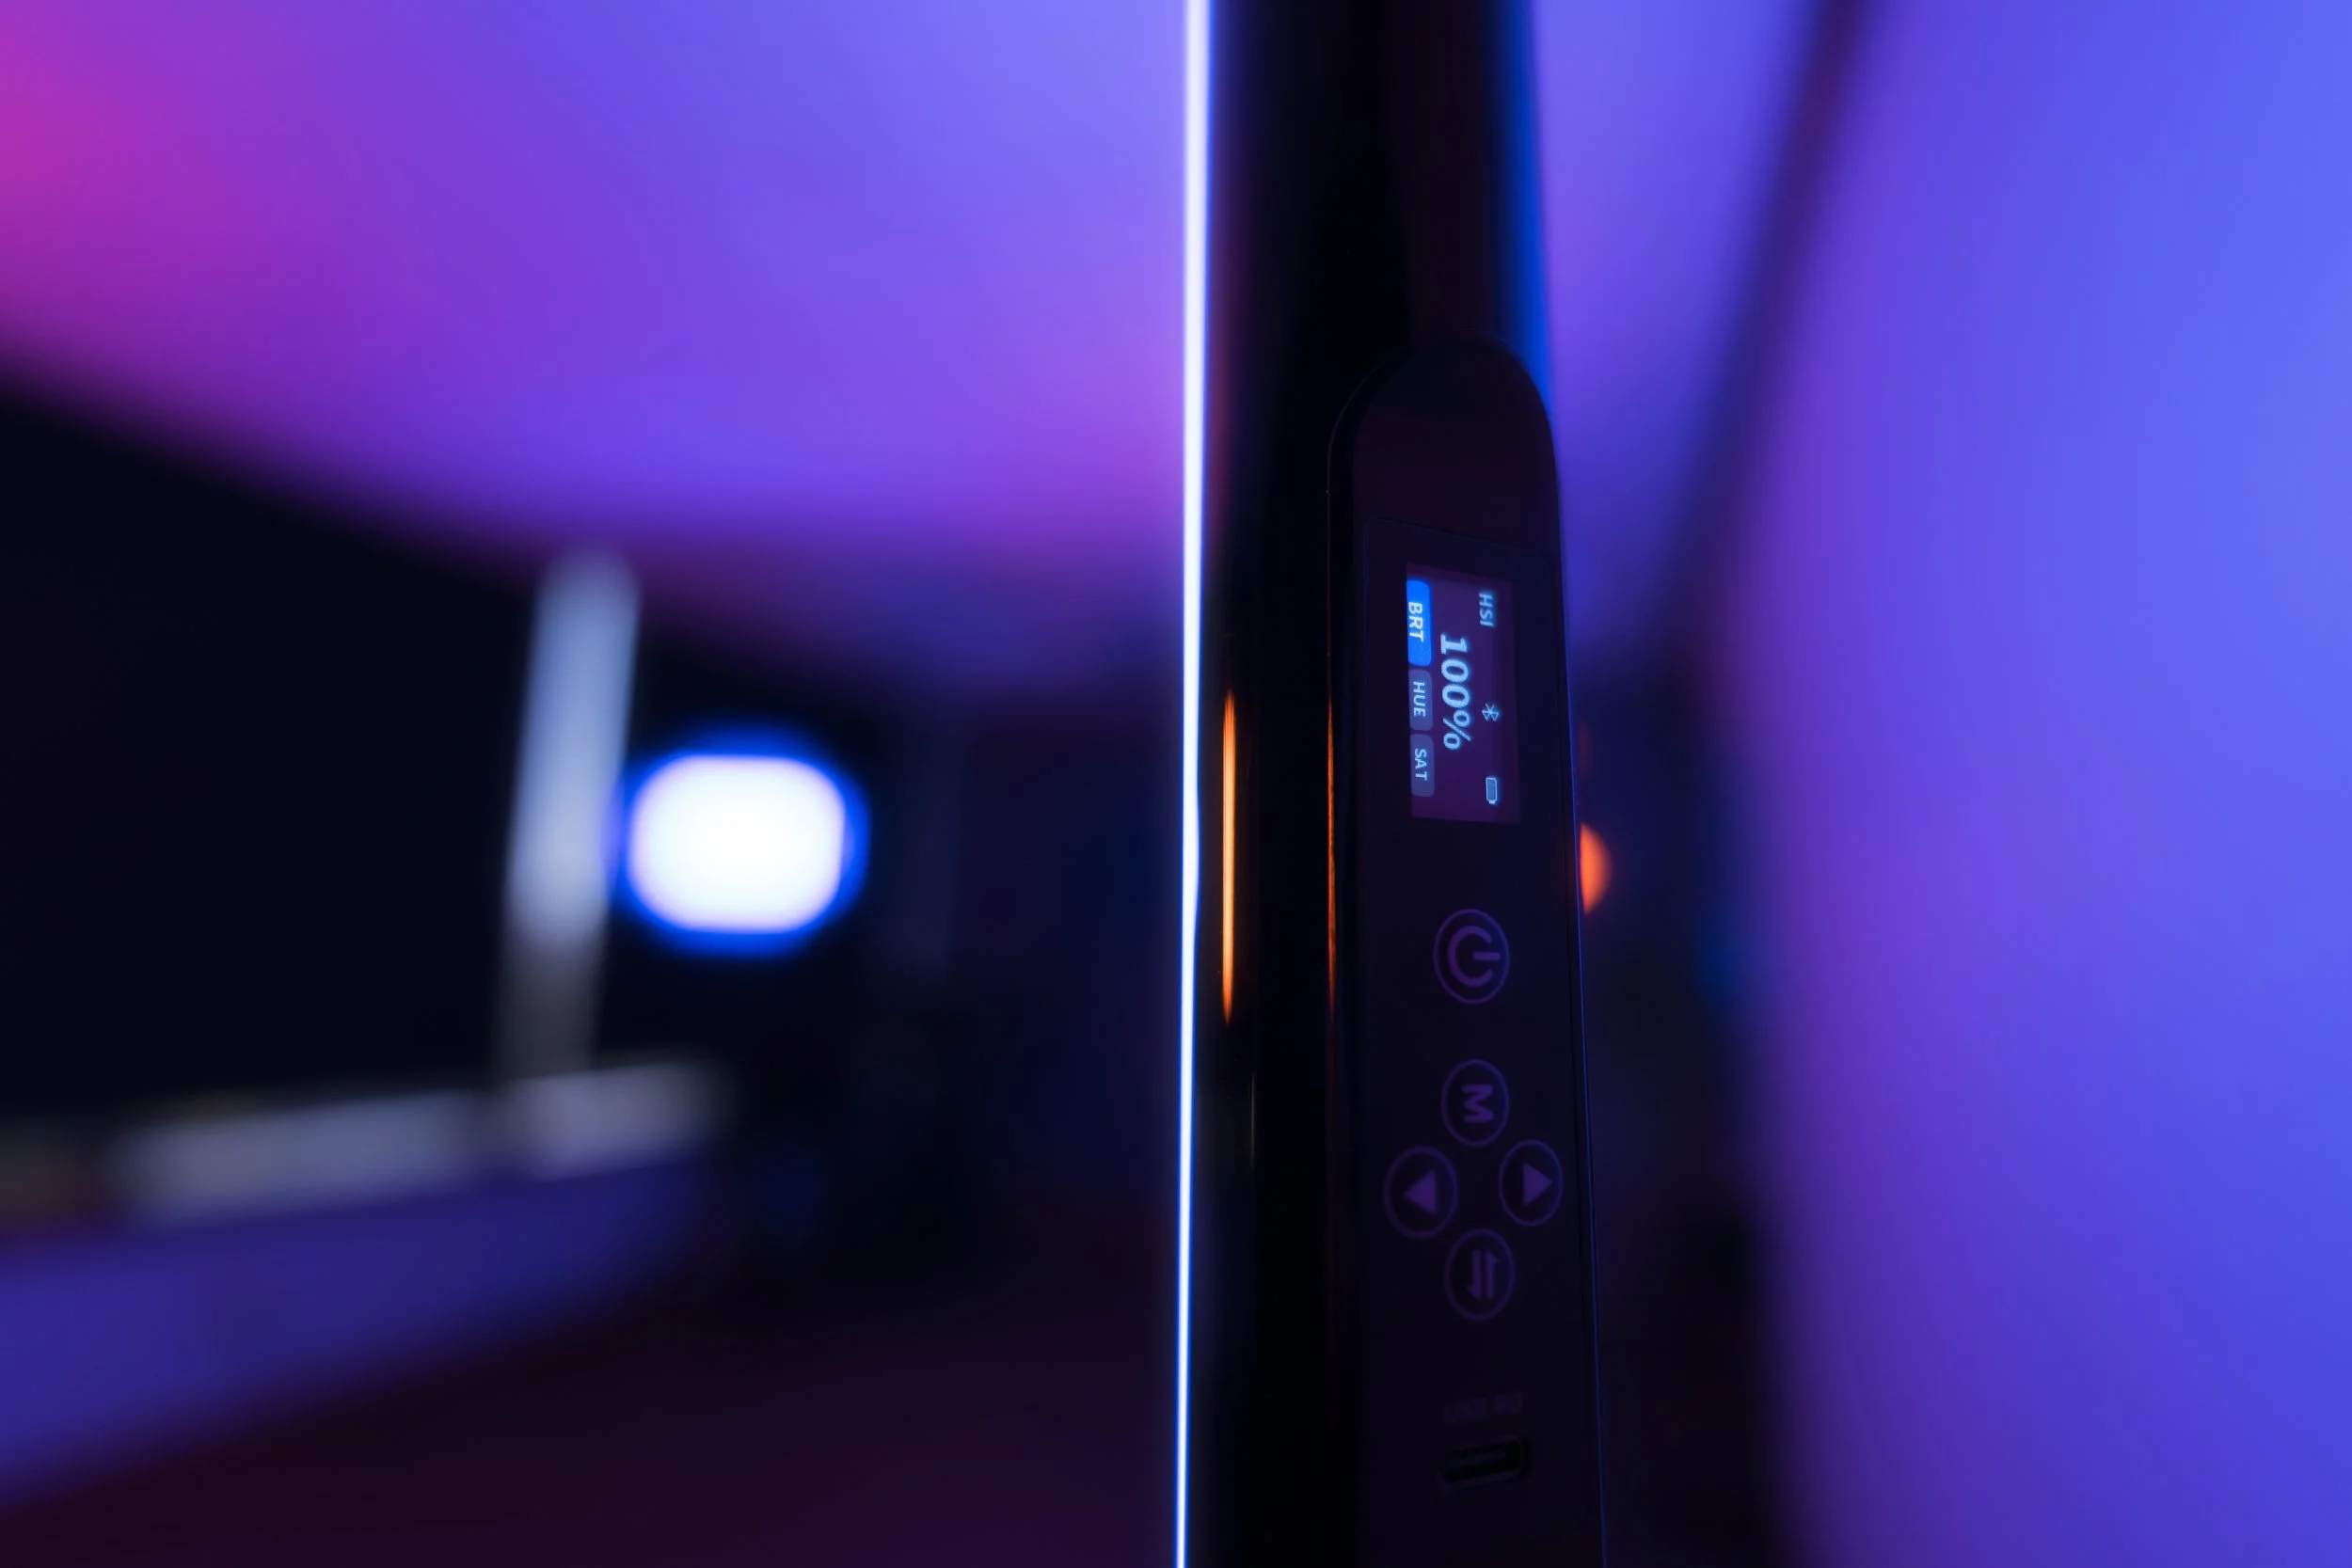
Two TL24RGB tube lights gave me the opportunity to get more creative. After mounting these lights on two Air Support Light Stands, I positioned one behind the subject on either side. This setup gave me a separate source for each edge of the portrait. To achieve an extra creative look, one side was set to a red/magenta color, while the other was blue. Against a black backdrop, these colors created separation along the subject’s face, hair, shoulders and arms that wouldn’t have existed otherwise. The backdrop remained a subtle addition, but a crucial one.
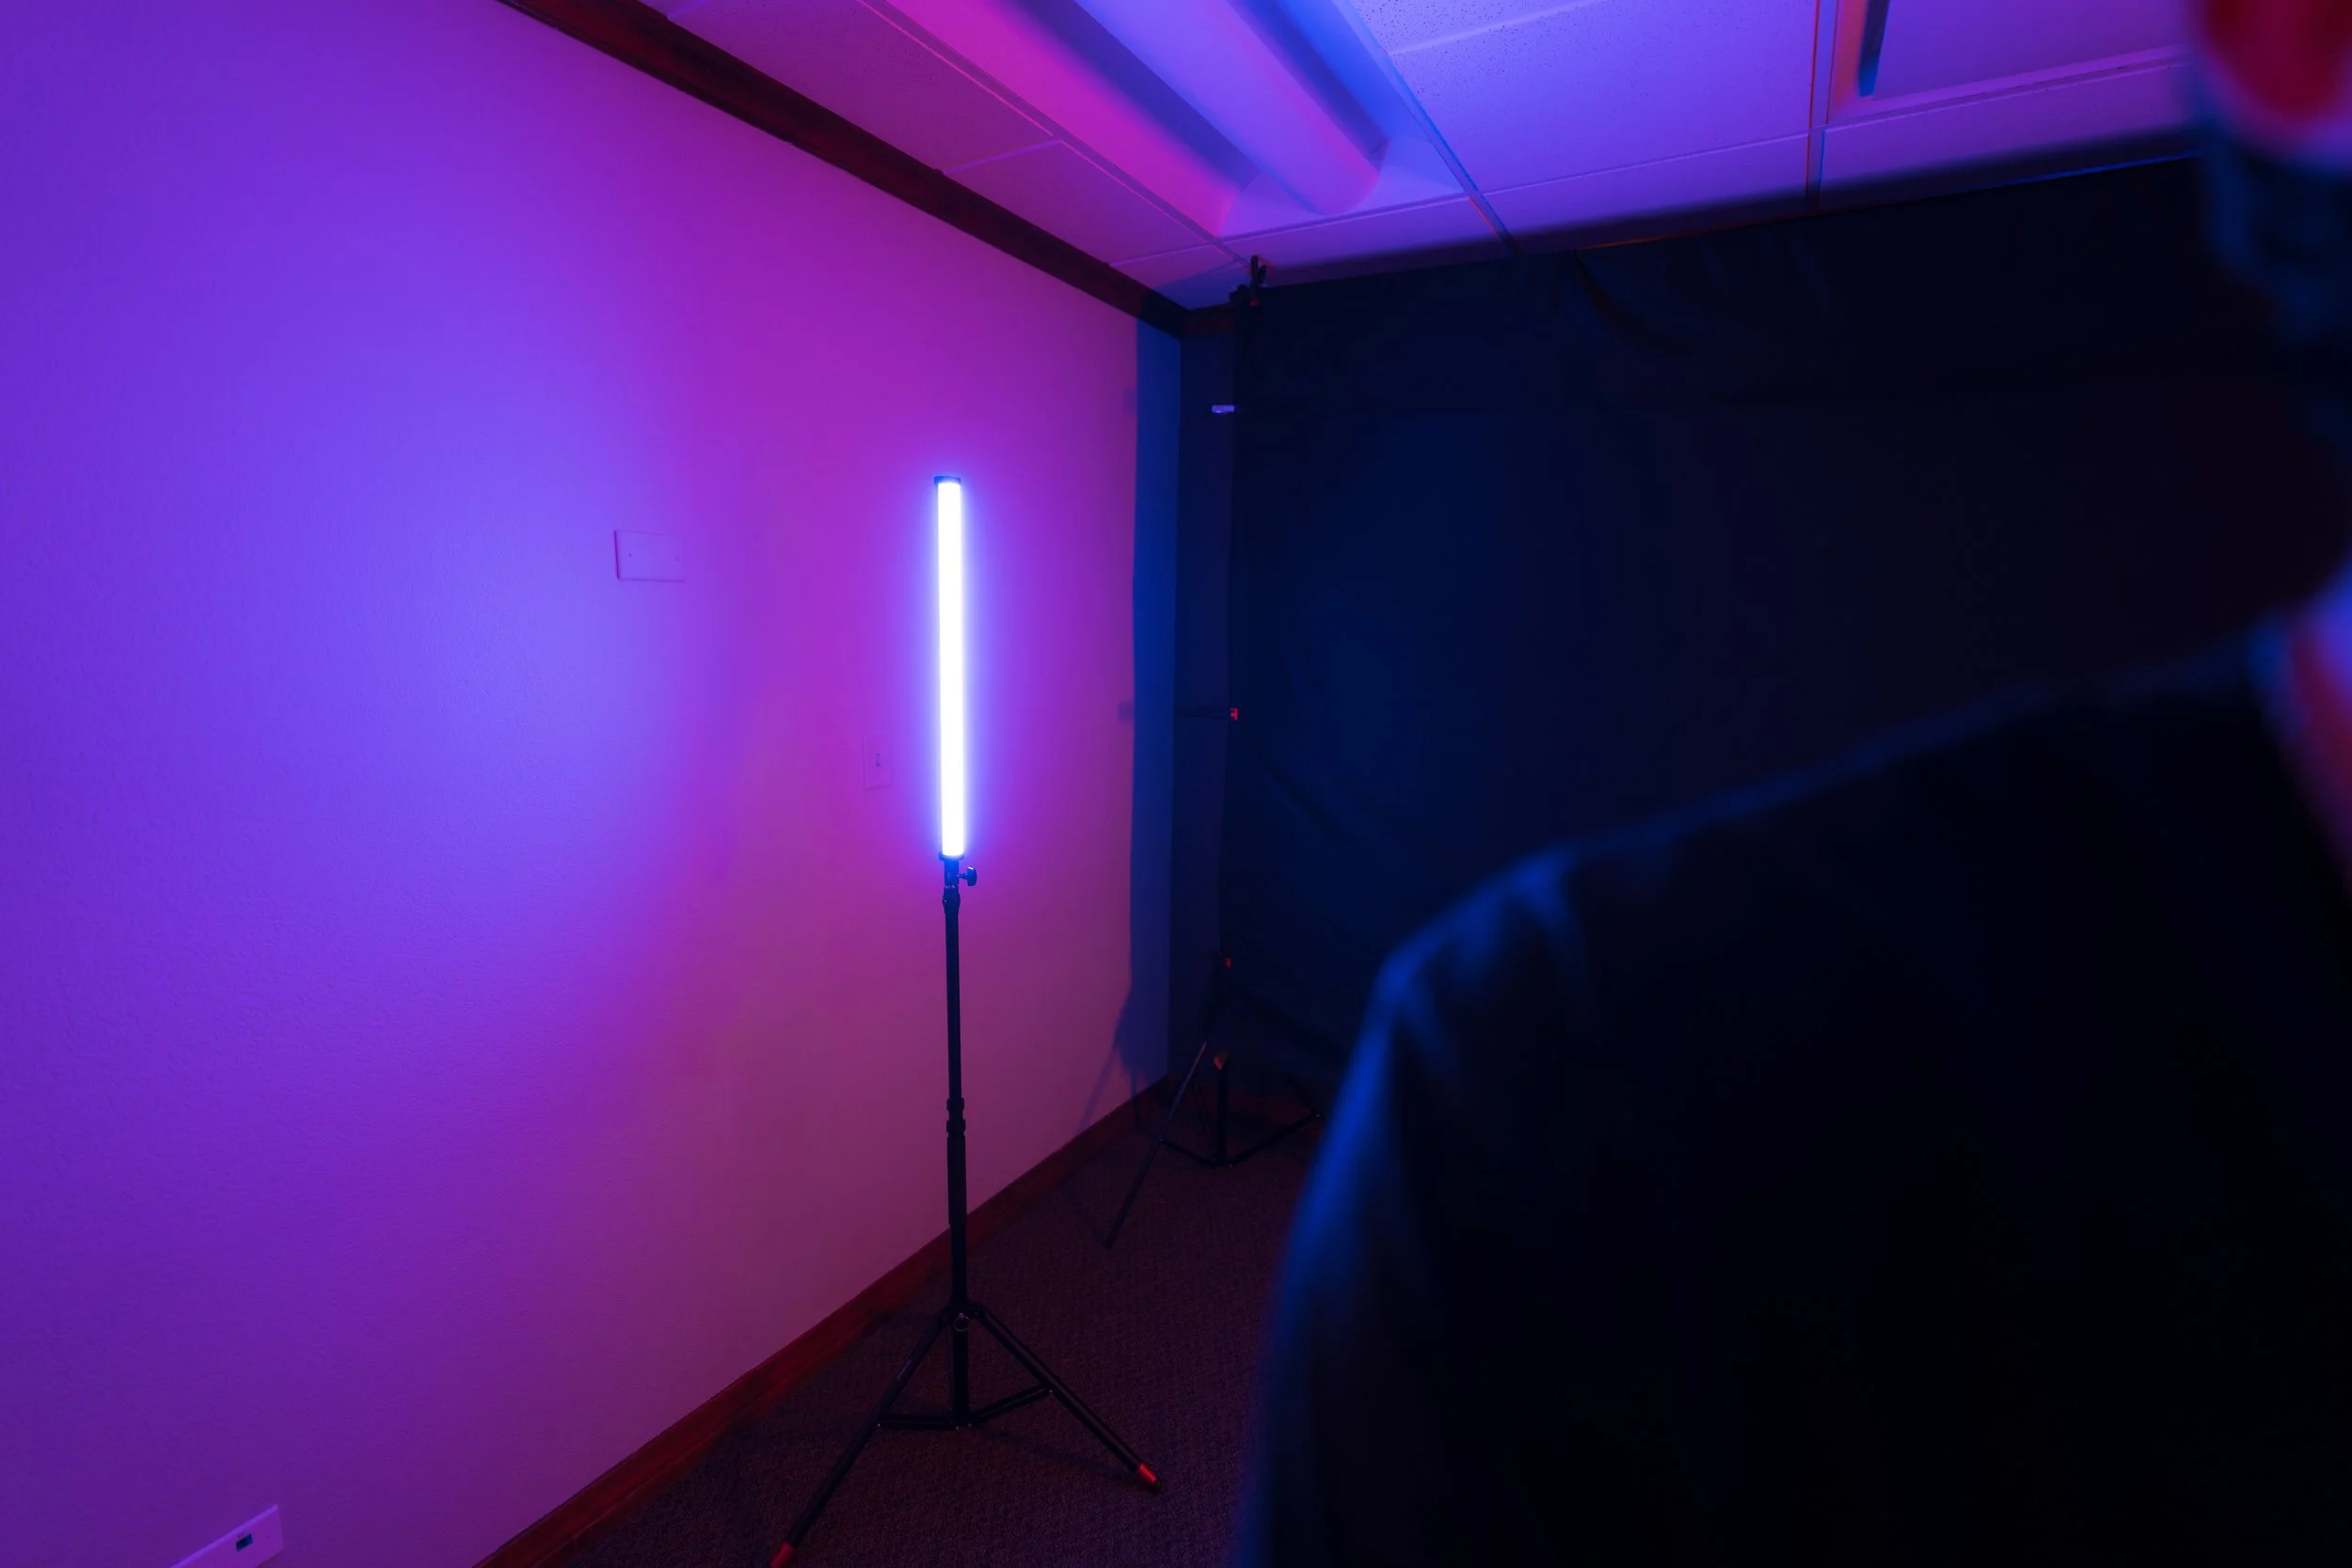
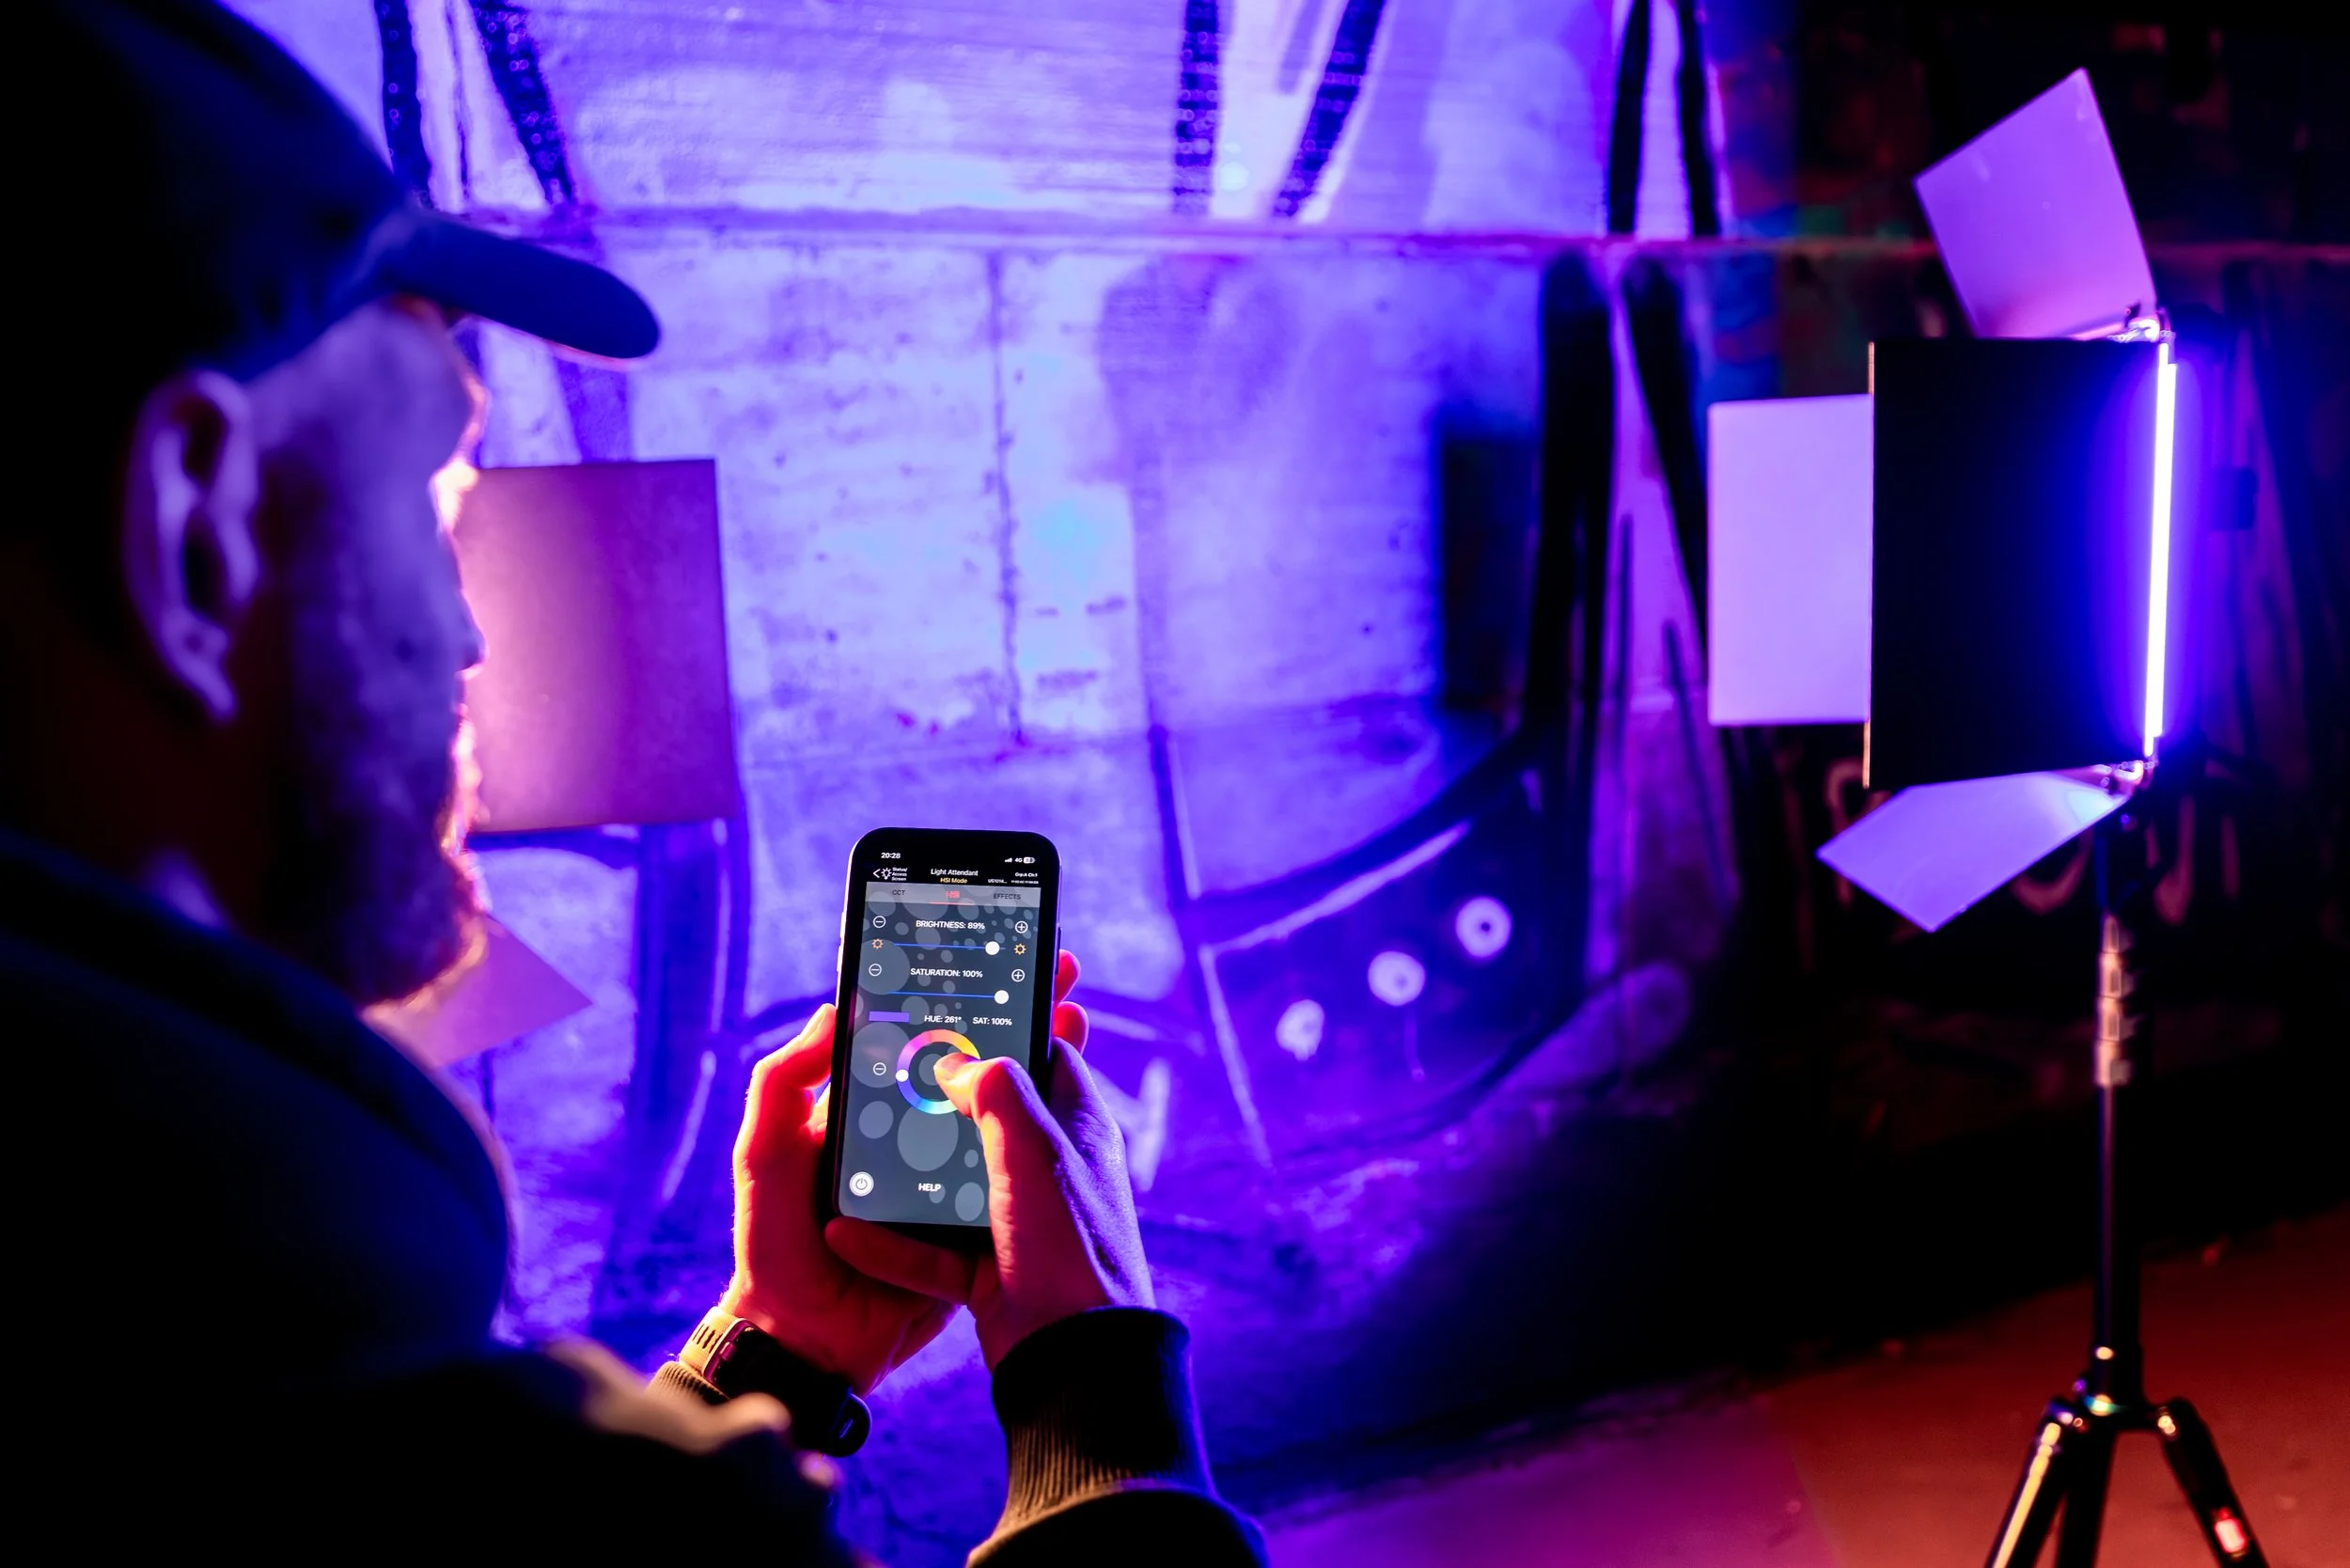
Now controlling four different lights can be tricky. It can quickly turn into a lot of walking back and forth, double checking that brightness and color are matching, and making sure things all look balanced. This is where the ProMaster Light Attendant app becomes particularly useful. After I paired the lights to my phone, I was able to see both groups and channels. This way I could select and control all four lights without walking away from my camera. For this setup, my two TL24RGB tube lights were placed in the same group, but in separate channels. I eventually settled on magenta at 100% saturation for one side, and a blue hue at 100% saturation for the other. From the Light Attendant app, I could adjust not only the hue, but also the saturation and brightness while standing behind the camera and immediately watch how those changes affected my subject. It made experimenting considerably faster, especially when a relatively small change in hue could completely change the appearance of the image.
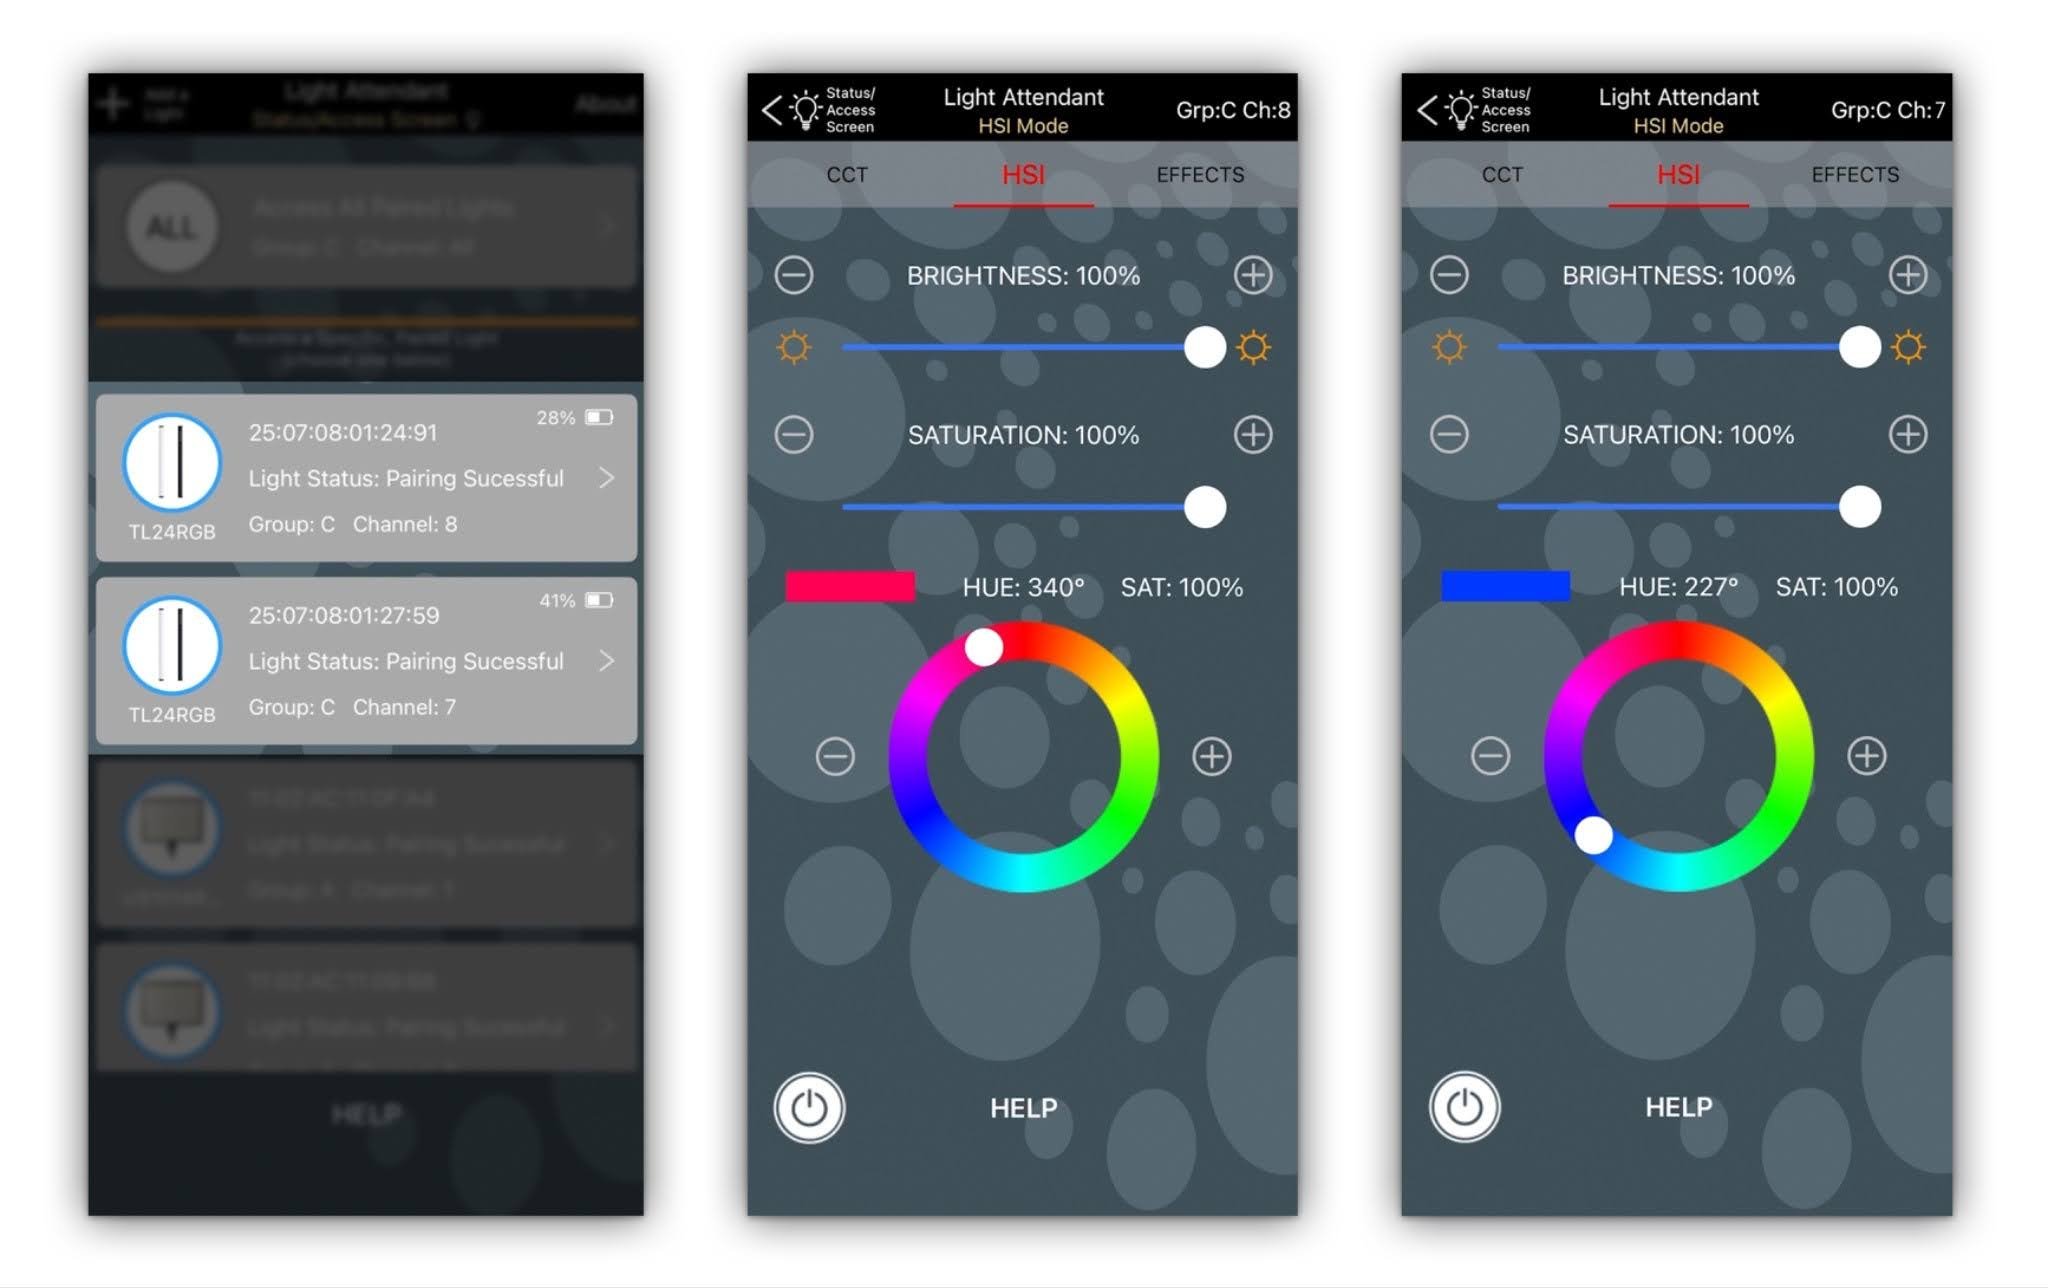
I kept the US1014RGB light kit on the same channel and in the same group. I wanted both of these lights to mirror each other with brightness and color temp, so that the key lightsource on the front of my subject was balanced on both sides, meaning no unwanted shadows or lingering light.
One thing I recommend when building a setup like this is to start simple. I began with a much more neutral portrait using just the US1014RGB light panels so I could pay attention to my exposure, focus, framing, and how the light was falling across my subject before getting carried away with color. Once you have a good foundation, introduce additional lights one at a time. Turn on one tube light and see what it adds. Then introduce the second. Move them closer or farther away, adjust their brightness, and experiment with different hues. RGB lighting has an almost endless number of combinations and moving a slider a few degrees produces an entirely different result.
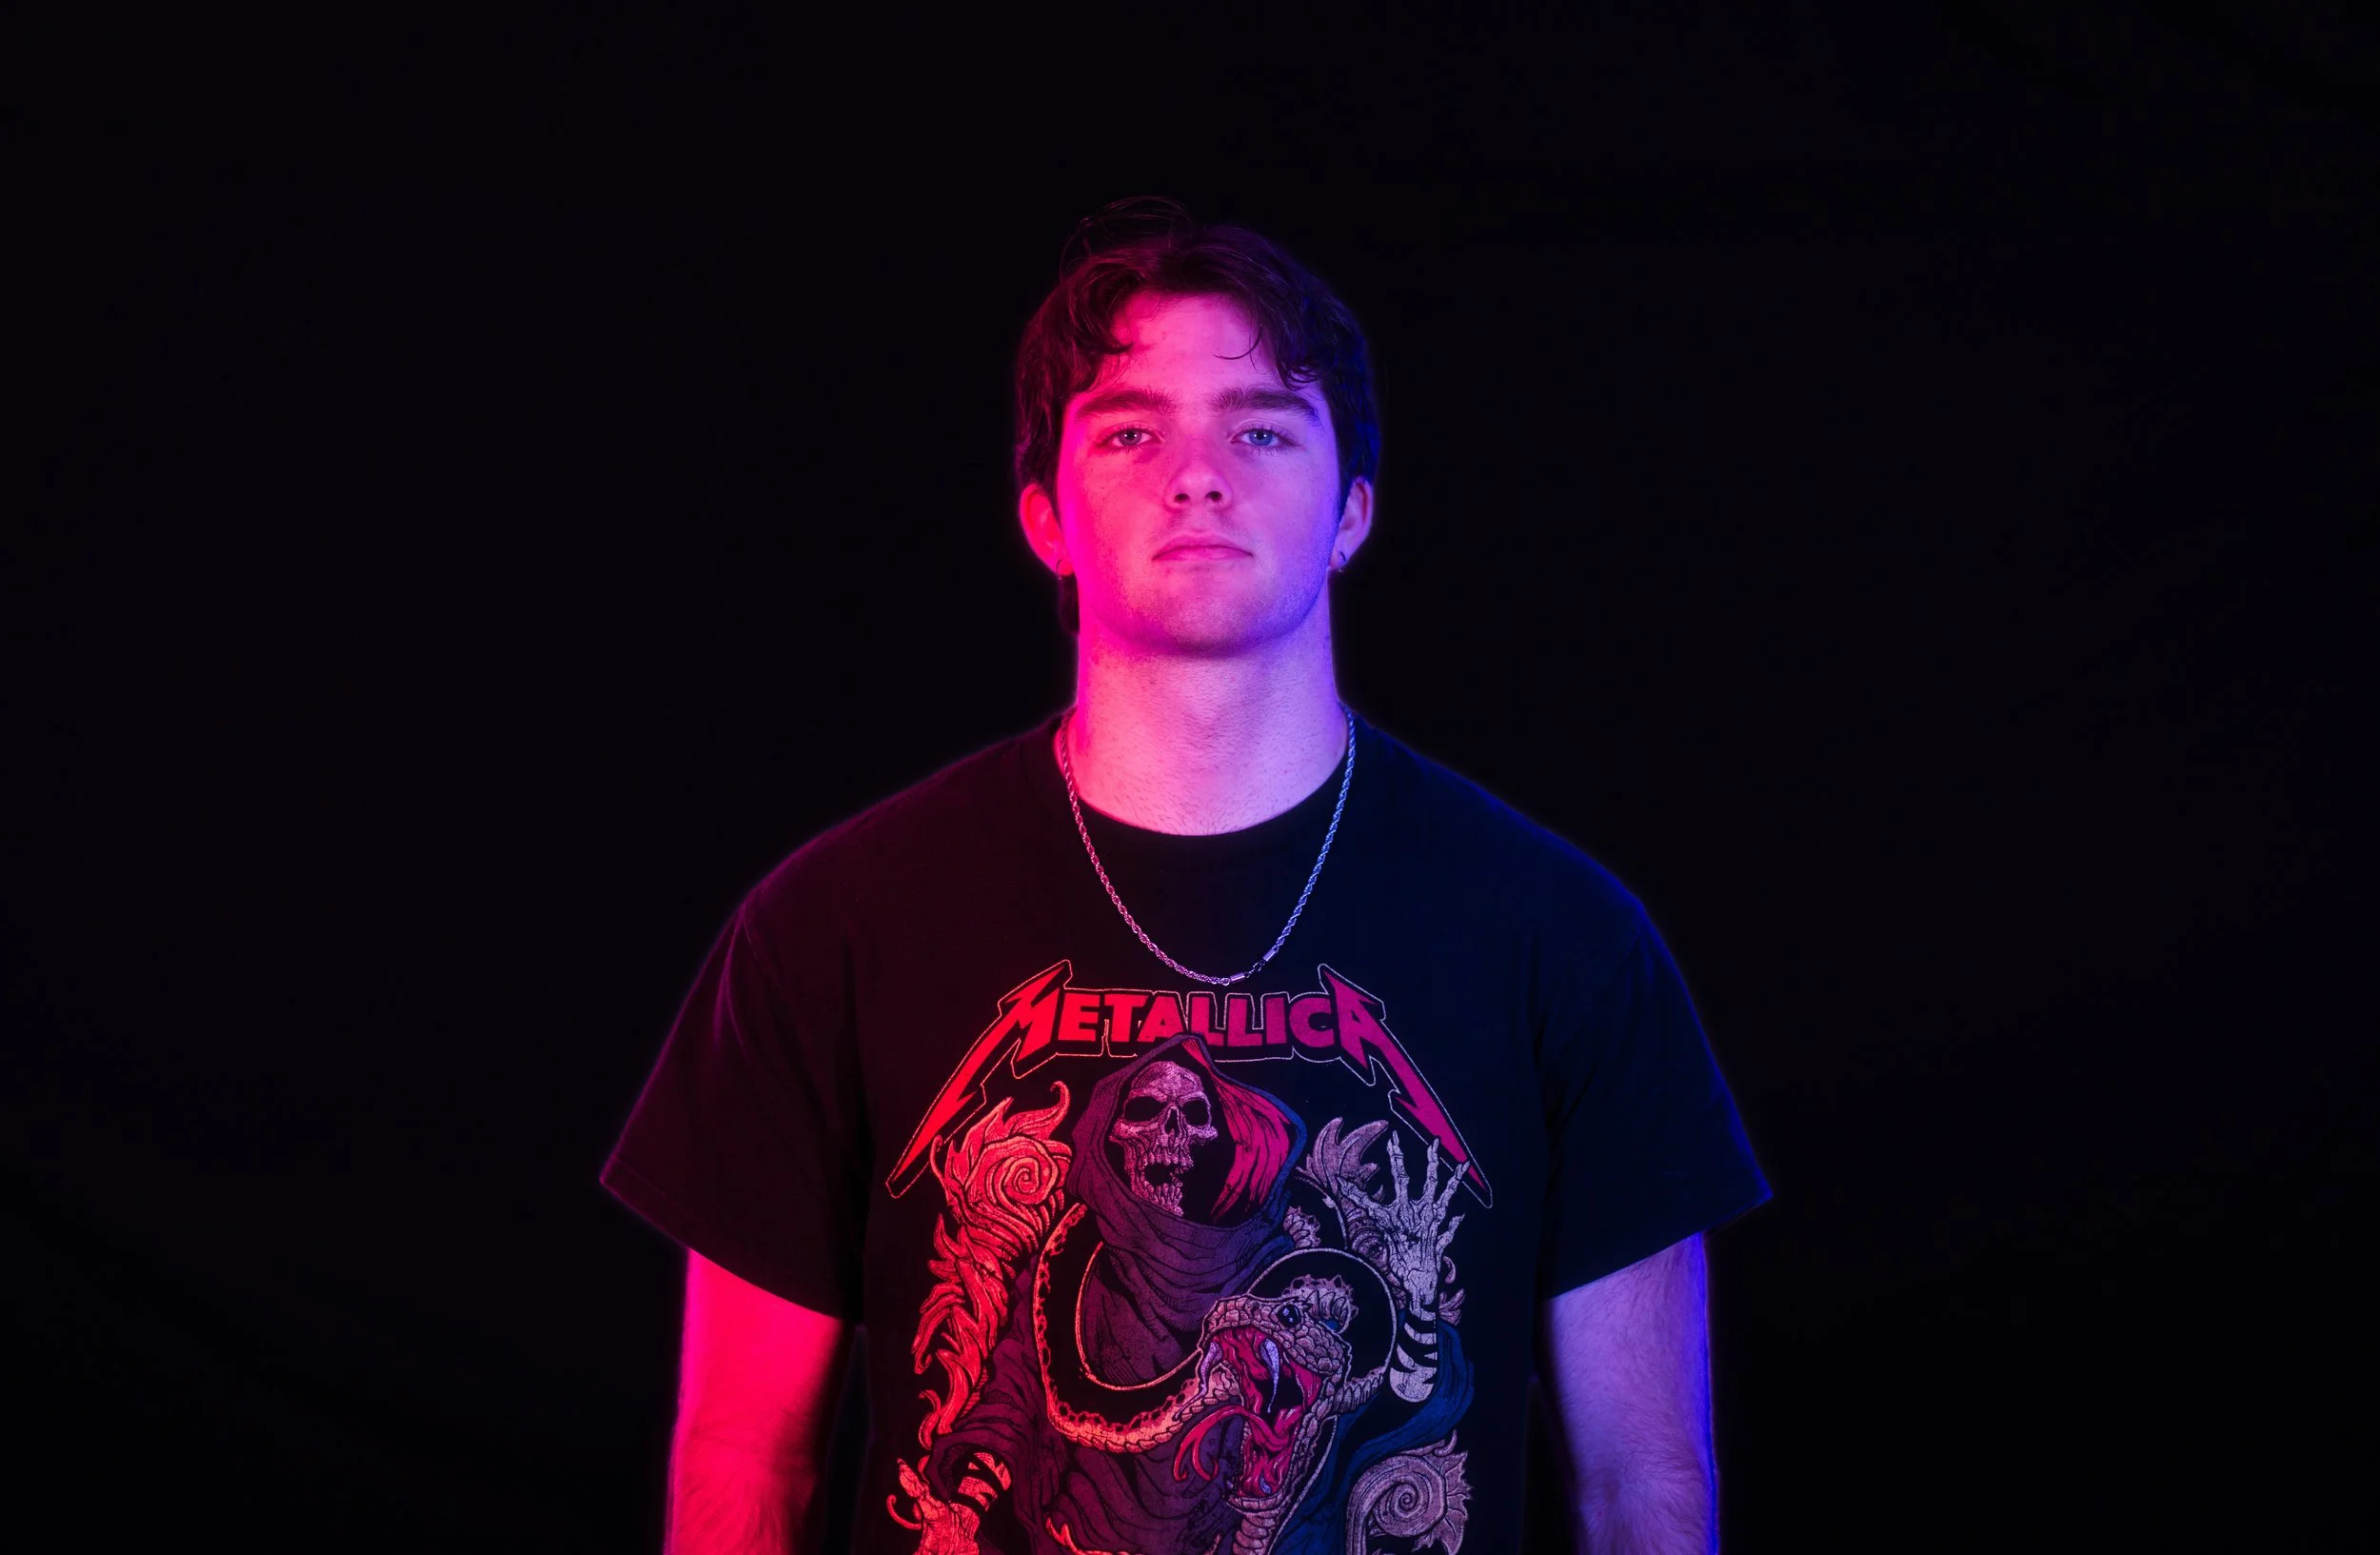
The best part about creating a studio for creative headshots like this is how little it takes to set one up. When I changed up how I used the four lights around my subject, I moved from a relatively traditional portrait to something filled with saturated magenta and blue light. You don’t need a permanent studio or dozens of lights to start experimenting with a studio setup. Find a room where you can control the ambient light, put up a simple backdrop, and start building your lighting one setup at a time. Once the foundation is there, the fun part is figuring out just how different you can make the next photo look.

Charlie Kruschek
Landscape photography is Charlie's true passion, chasing everything from storms to sunrises. Standing humbled before nature's raw power and in awe of the world's subtleties, Charlie's goal is to preserve heart-skipping moments of natural light, focusing on an emphasis of time. Charlie attempts to share his imagery as a method of inspiring others to appreciate life's beauty through a different optic and the fragility of each second.