Master Creative Portraits with Nick Joyce
There is nothing more fulfilling as a photographer than seeing your vision come to life. But the more complicated that vision is, the harder it is to pull it off. And this was definitely one of those shoots that I had a daunting creative vision for.
This all started a few months ago when I was brainstorming with ProMaster’s team on how to showcase their Ultrasoft US1014 RGB LED Lights and the Chroma TL9RGB 9” tube LED lights. Eventually the idea that we landed on was to capture one talent in a studio showcasing how these lights can help create interesting portraits.
Now typically I’m most comfortable in the lush rainforests of Washington shooting landscapes or adventure photos, not in fancy studios with air conditioning and cyc walls. But projects that push you out of your comfort zone are often the best way to help you grow as a creative.
Armed with that mindset and about a month to pull this off, I started planning.
Planning the Project
I began this project like I begin all creative projects, but scrolling Instagram, Tik-Tok and Pinterest for hours. I eventually started narrowing down my vision and created a pinterest board where I can save reference images and videos.
The next step is to move my favorite images to Canva and create a super clean document with photo inspiration, outfits, accessories, poses and camera information that I can reference during the shoot. This also makes it very easy to communicate poses and looks with the talent, that way I can show them a pose rather than trying to describe it.


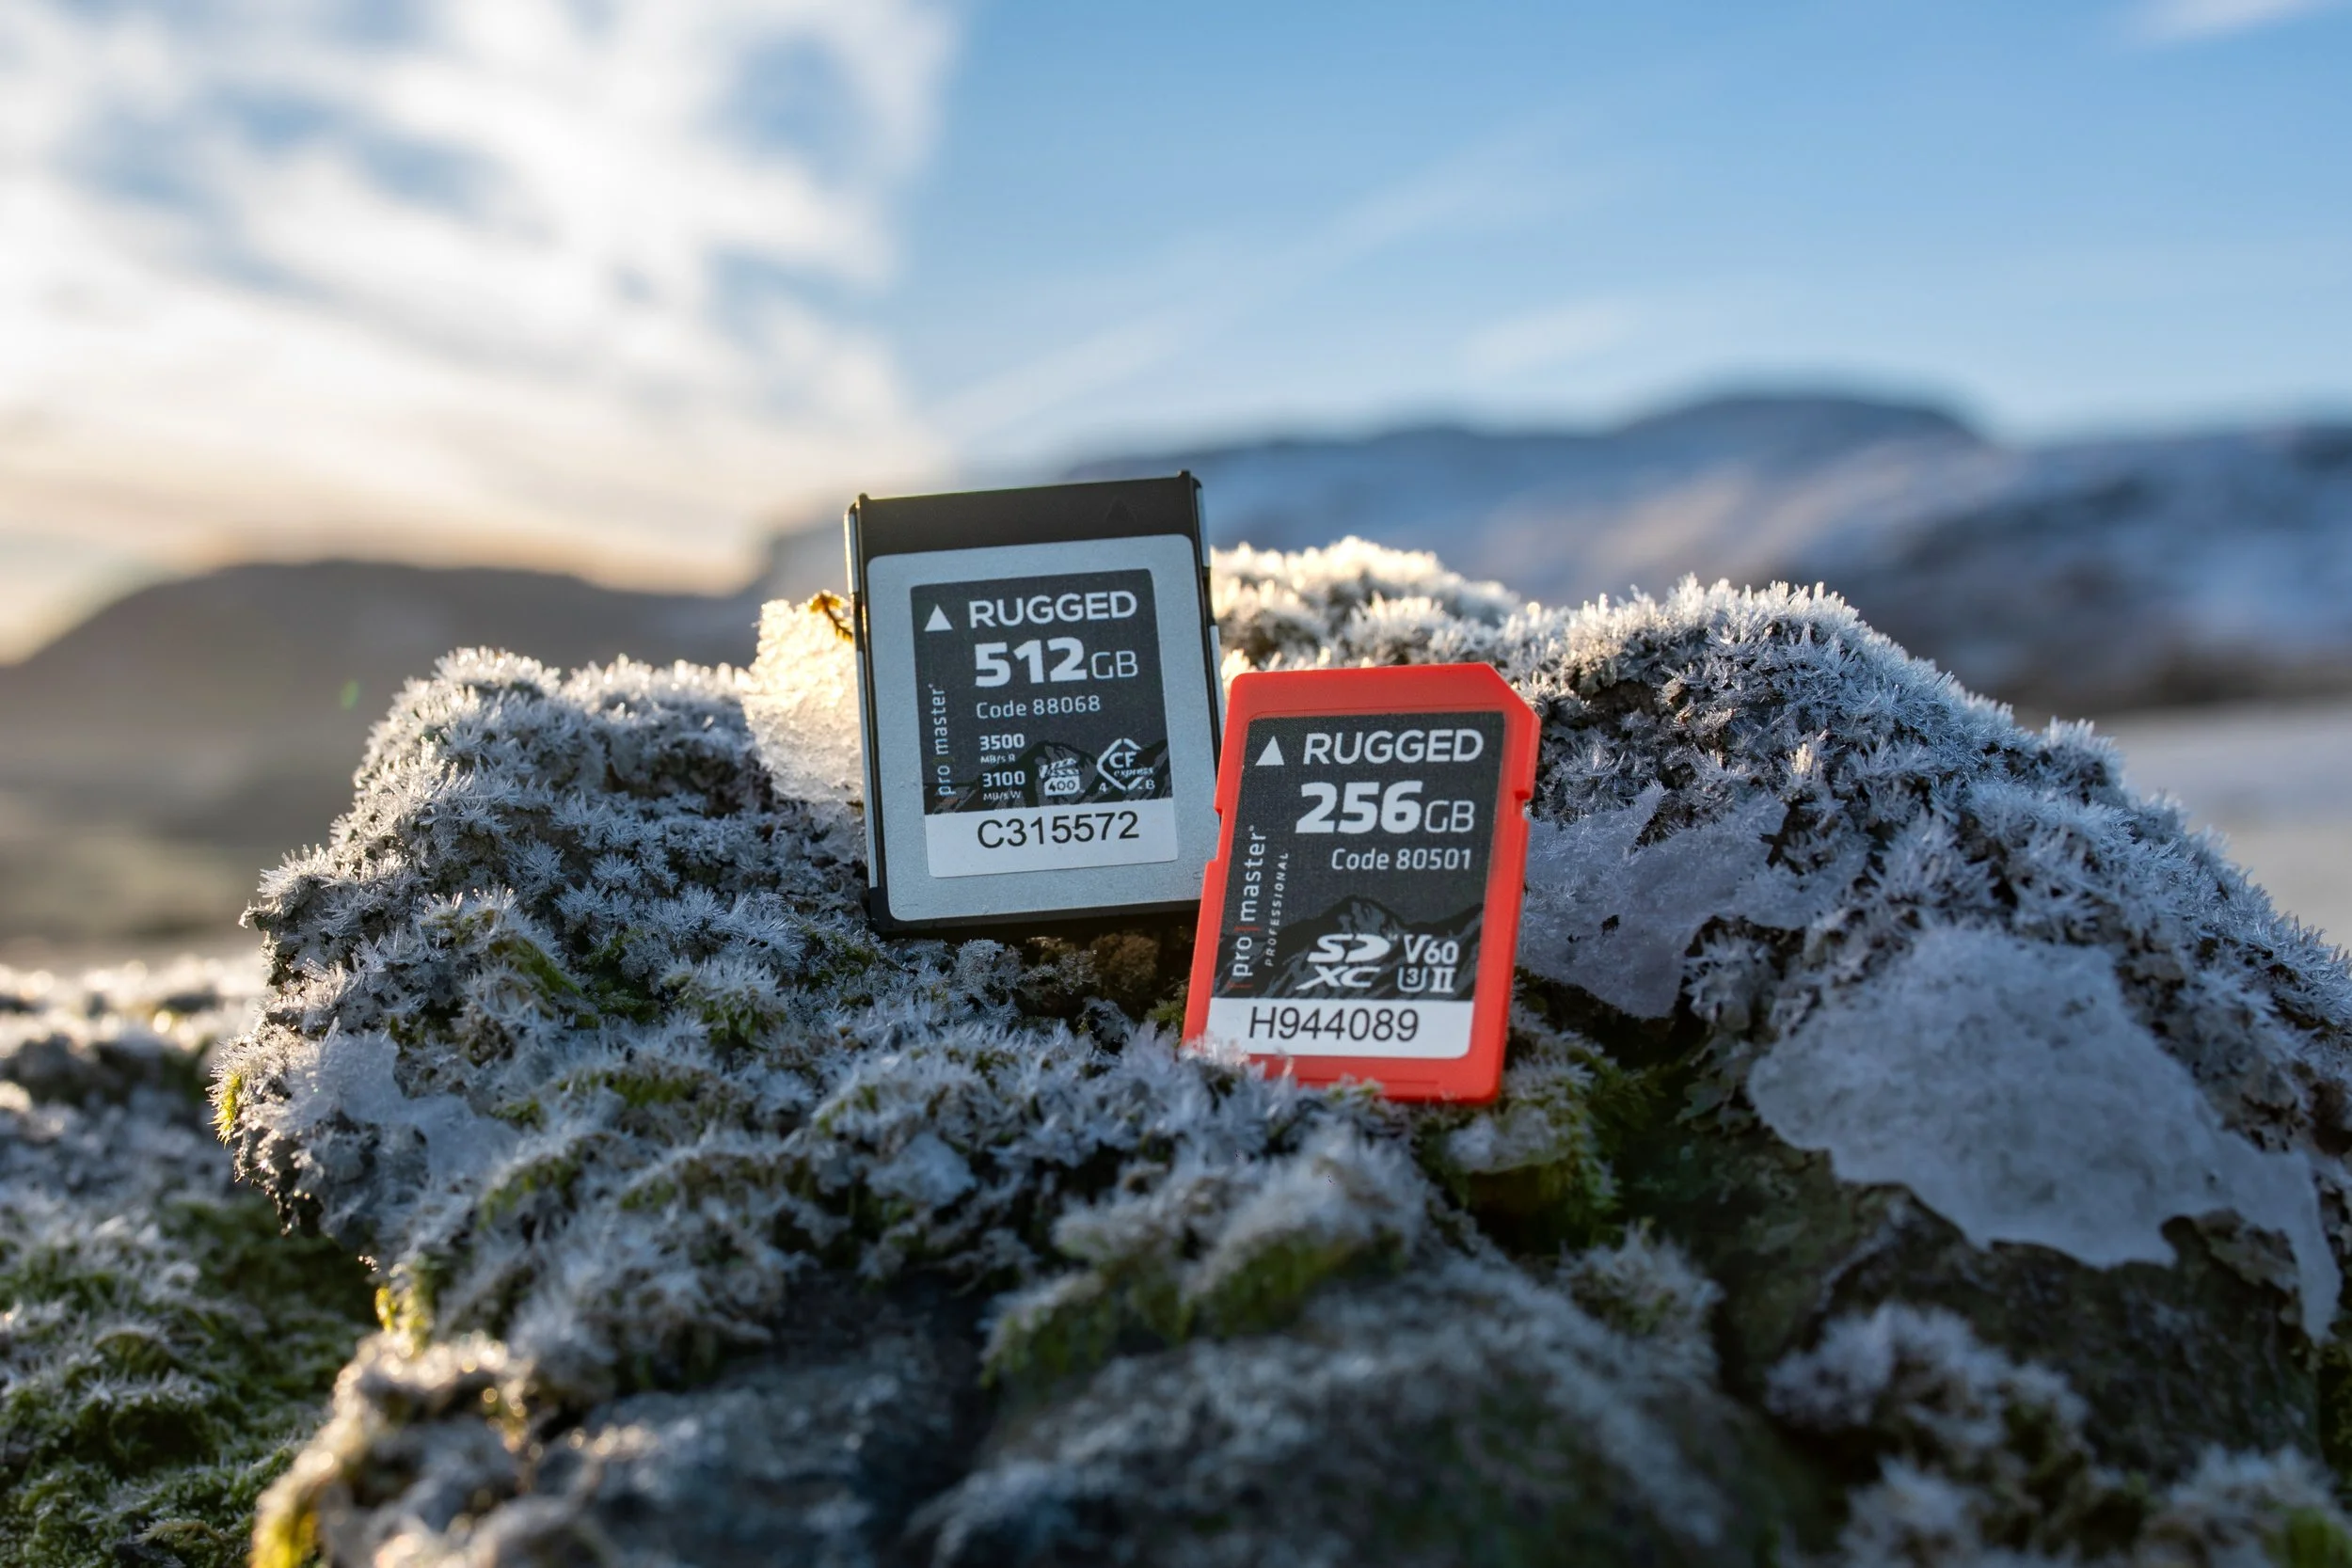
After the creative brainstorming was complete, my next step was to create a checklist for all gear needed for the shoot. This includes all cameras, memory cards, batteries, lights and anything else we might need on the shoot day. I like to start preparing for shoots at least 1-2 days in advance to give myself time to test gear, build out camera rigs and make sure they’re set up well for what we’re shooting.
The last step before leaving for the shoot is to always double check you have the essentials; cameras, memory cards, batteries and in this case the lights!
Setting up the Shot
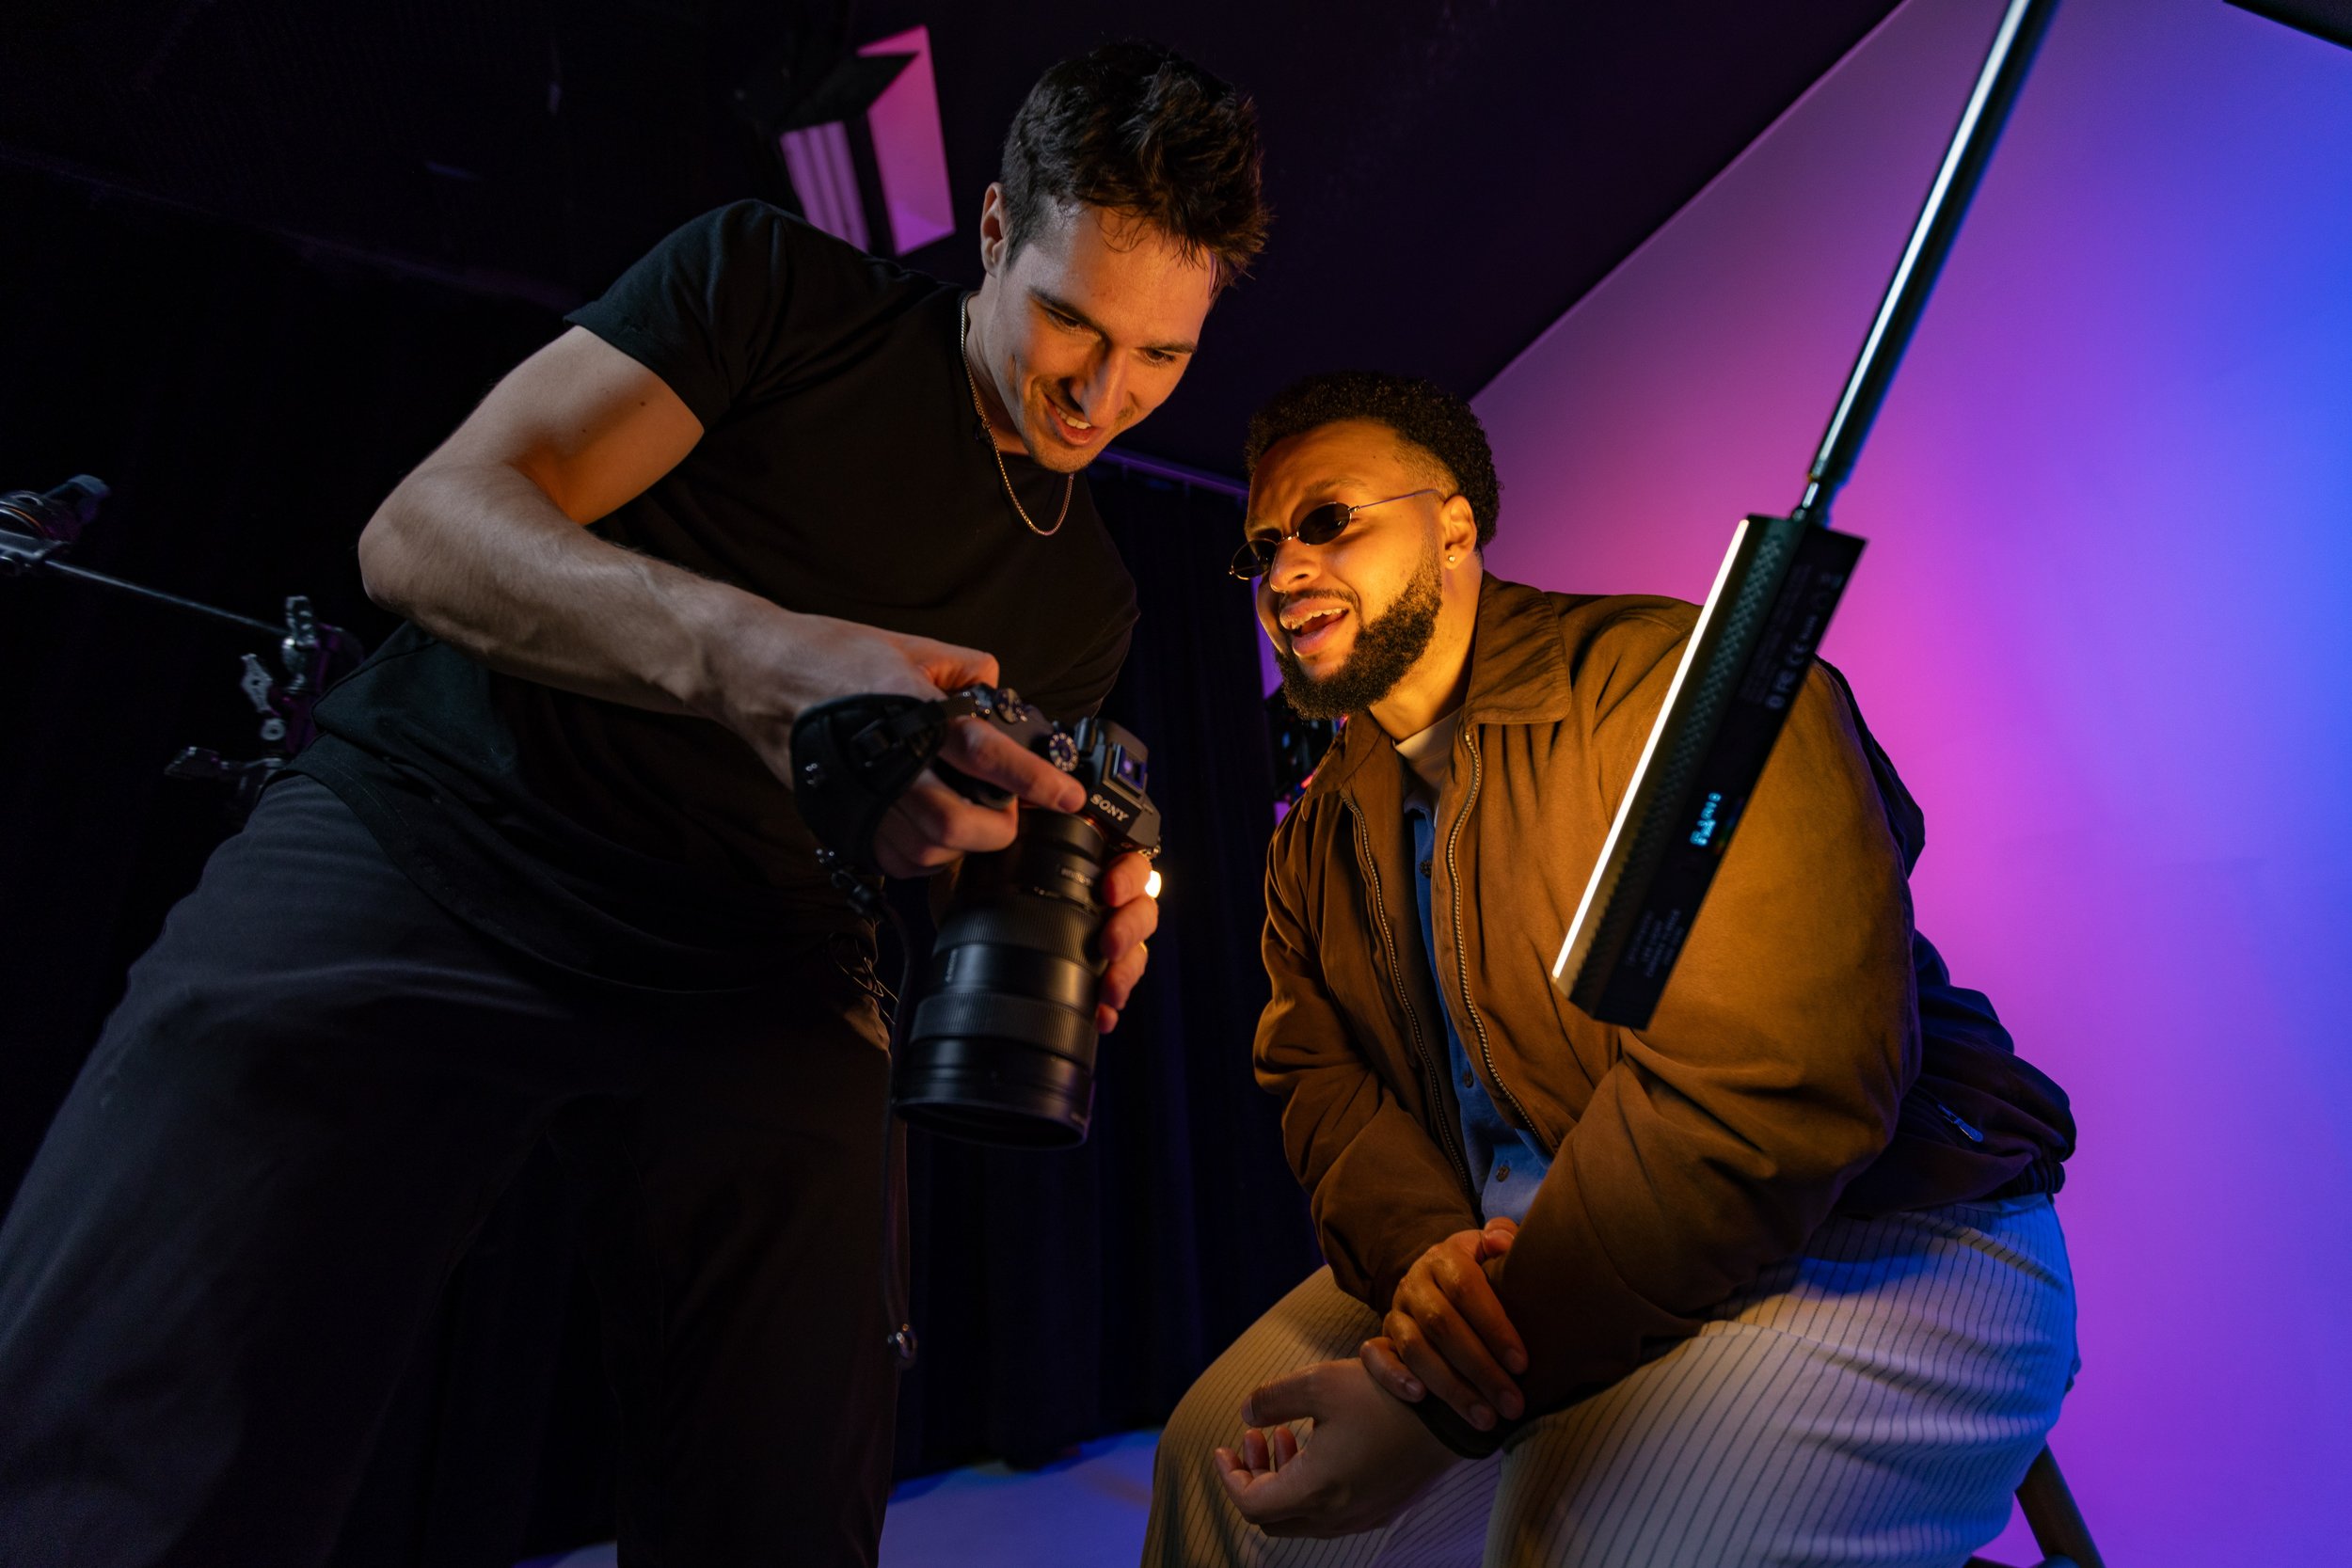
We had a nimble and skilled crew for this shoot which included myself, one talent, one assistant and one videographer. We also had limited time in the studio, so efficiency was crucial to make sure we captured all project assets.
We arrived an hour ahead of our talent and began setting up the studio immediately. The Ultrasoft US1014 RGB LED Lights were insanely easy to set up and we were able to connect to the iPad via bluetooth in seconds.
Now normally setting up lights can be a pain. They’re hard to move around and it can be difficult to adjust color temperature. However, we were able to set up these lights in only a few minutes.
One accessory that allowed for efficiency were the Air Support Light Stands. These stands use air instead of mechanical parts to lower and raise the tripod. What makes these stands so great is they can literally be set up in less than five seconds. Yes you read that correctly! All you have to do is grip the main padded handle on the column and pull up. You can then easily adjust the height by squeezing the two release buttons on the head.
After we had both our Ultrasofts set up, we then started trying out the Chroma TL9RGB Tube Lights. One excellent feature these tube lights offer is they have a magnetic base, along with a 1/4"-20 screw in mount. These mounting options made it super easy to attach the lights to c-stands and adjust them in unique angles around our subject.
Executing the Photoshoot
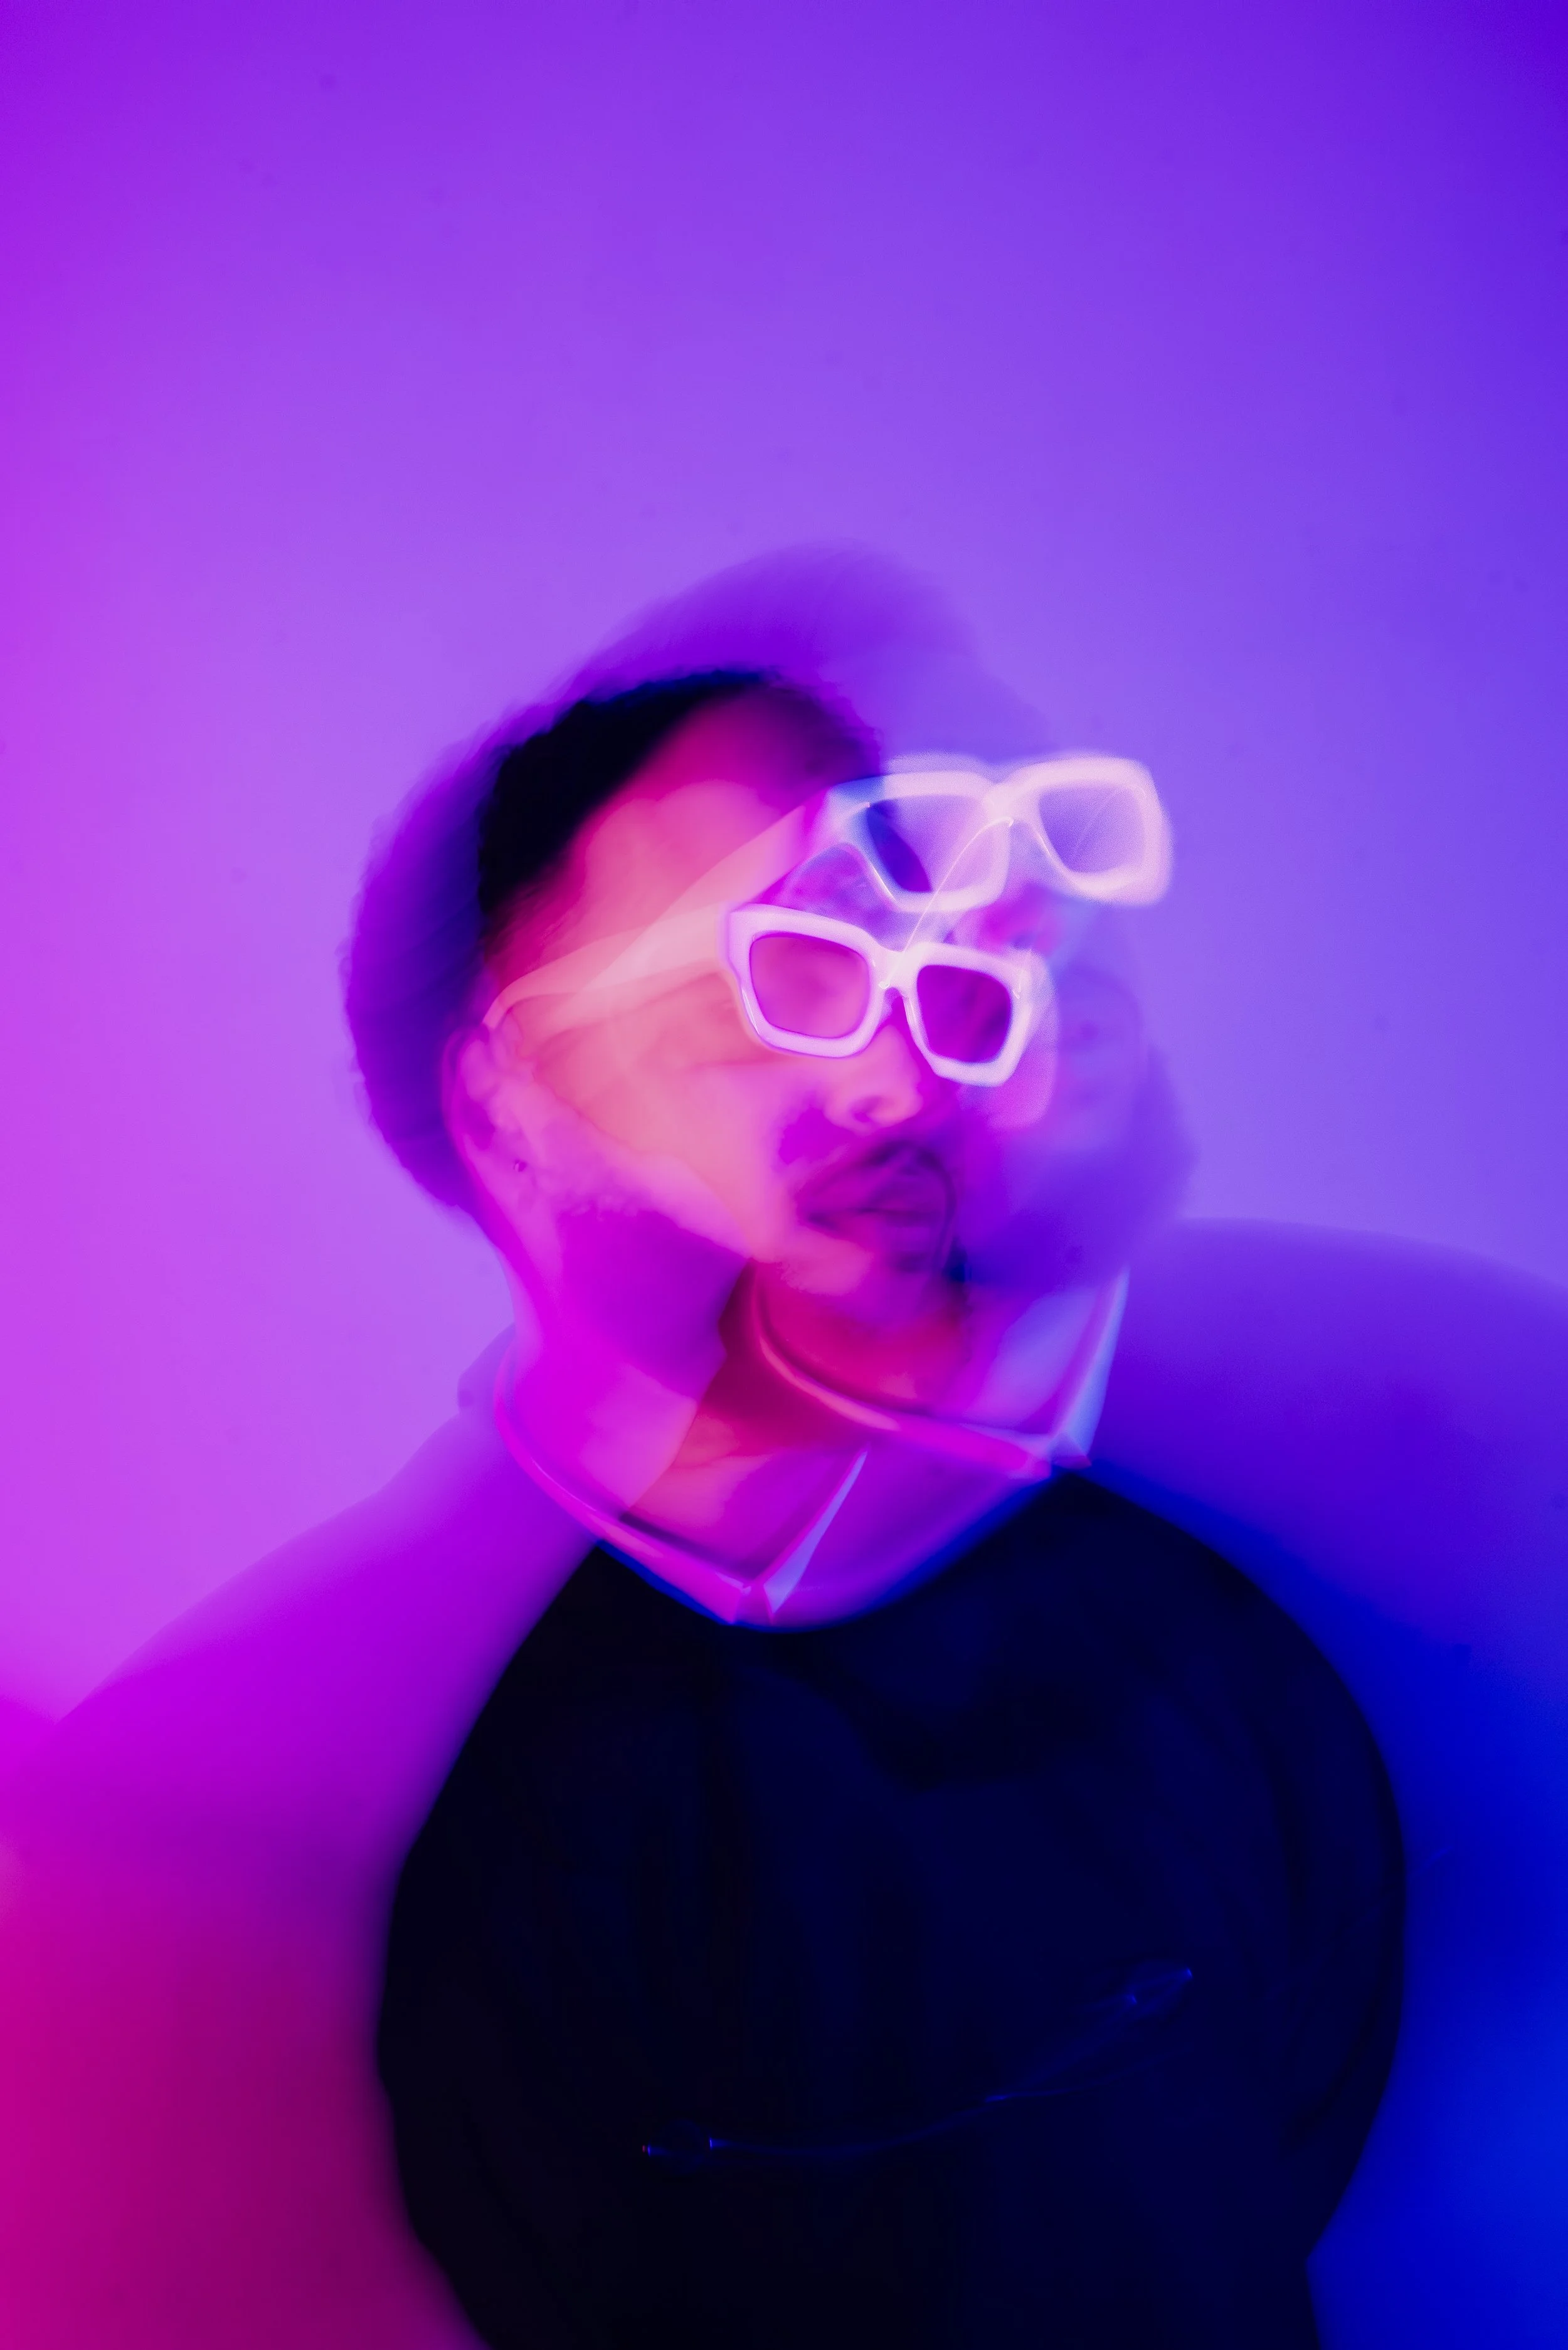
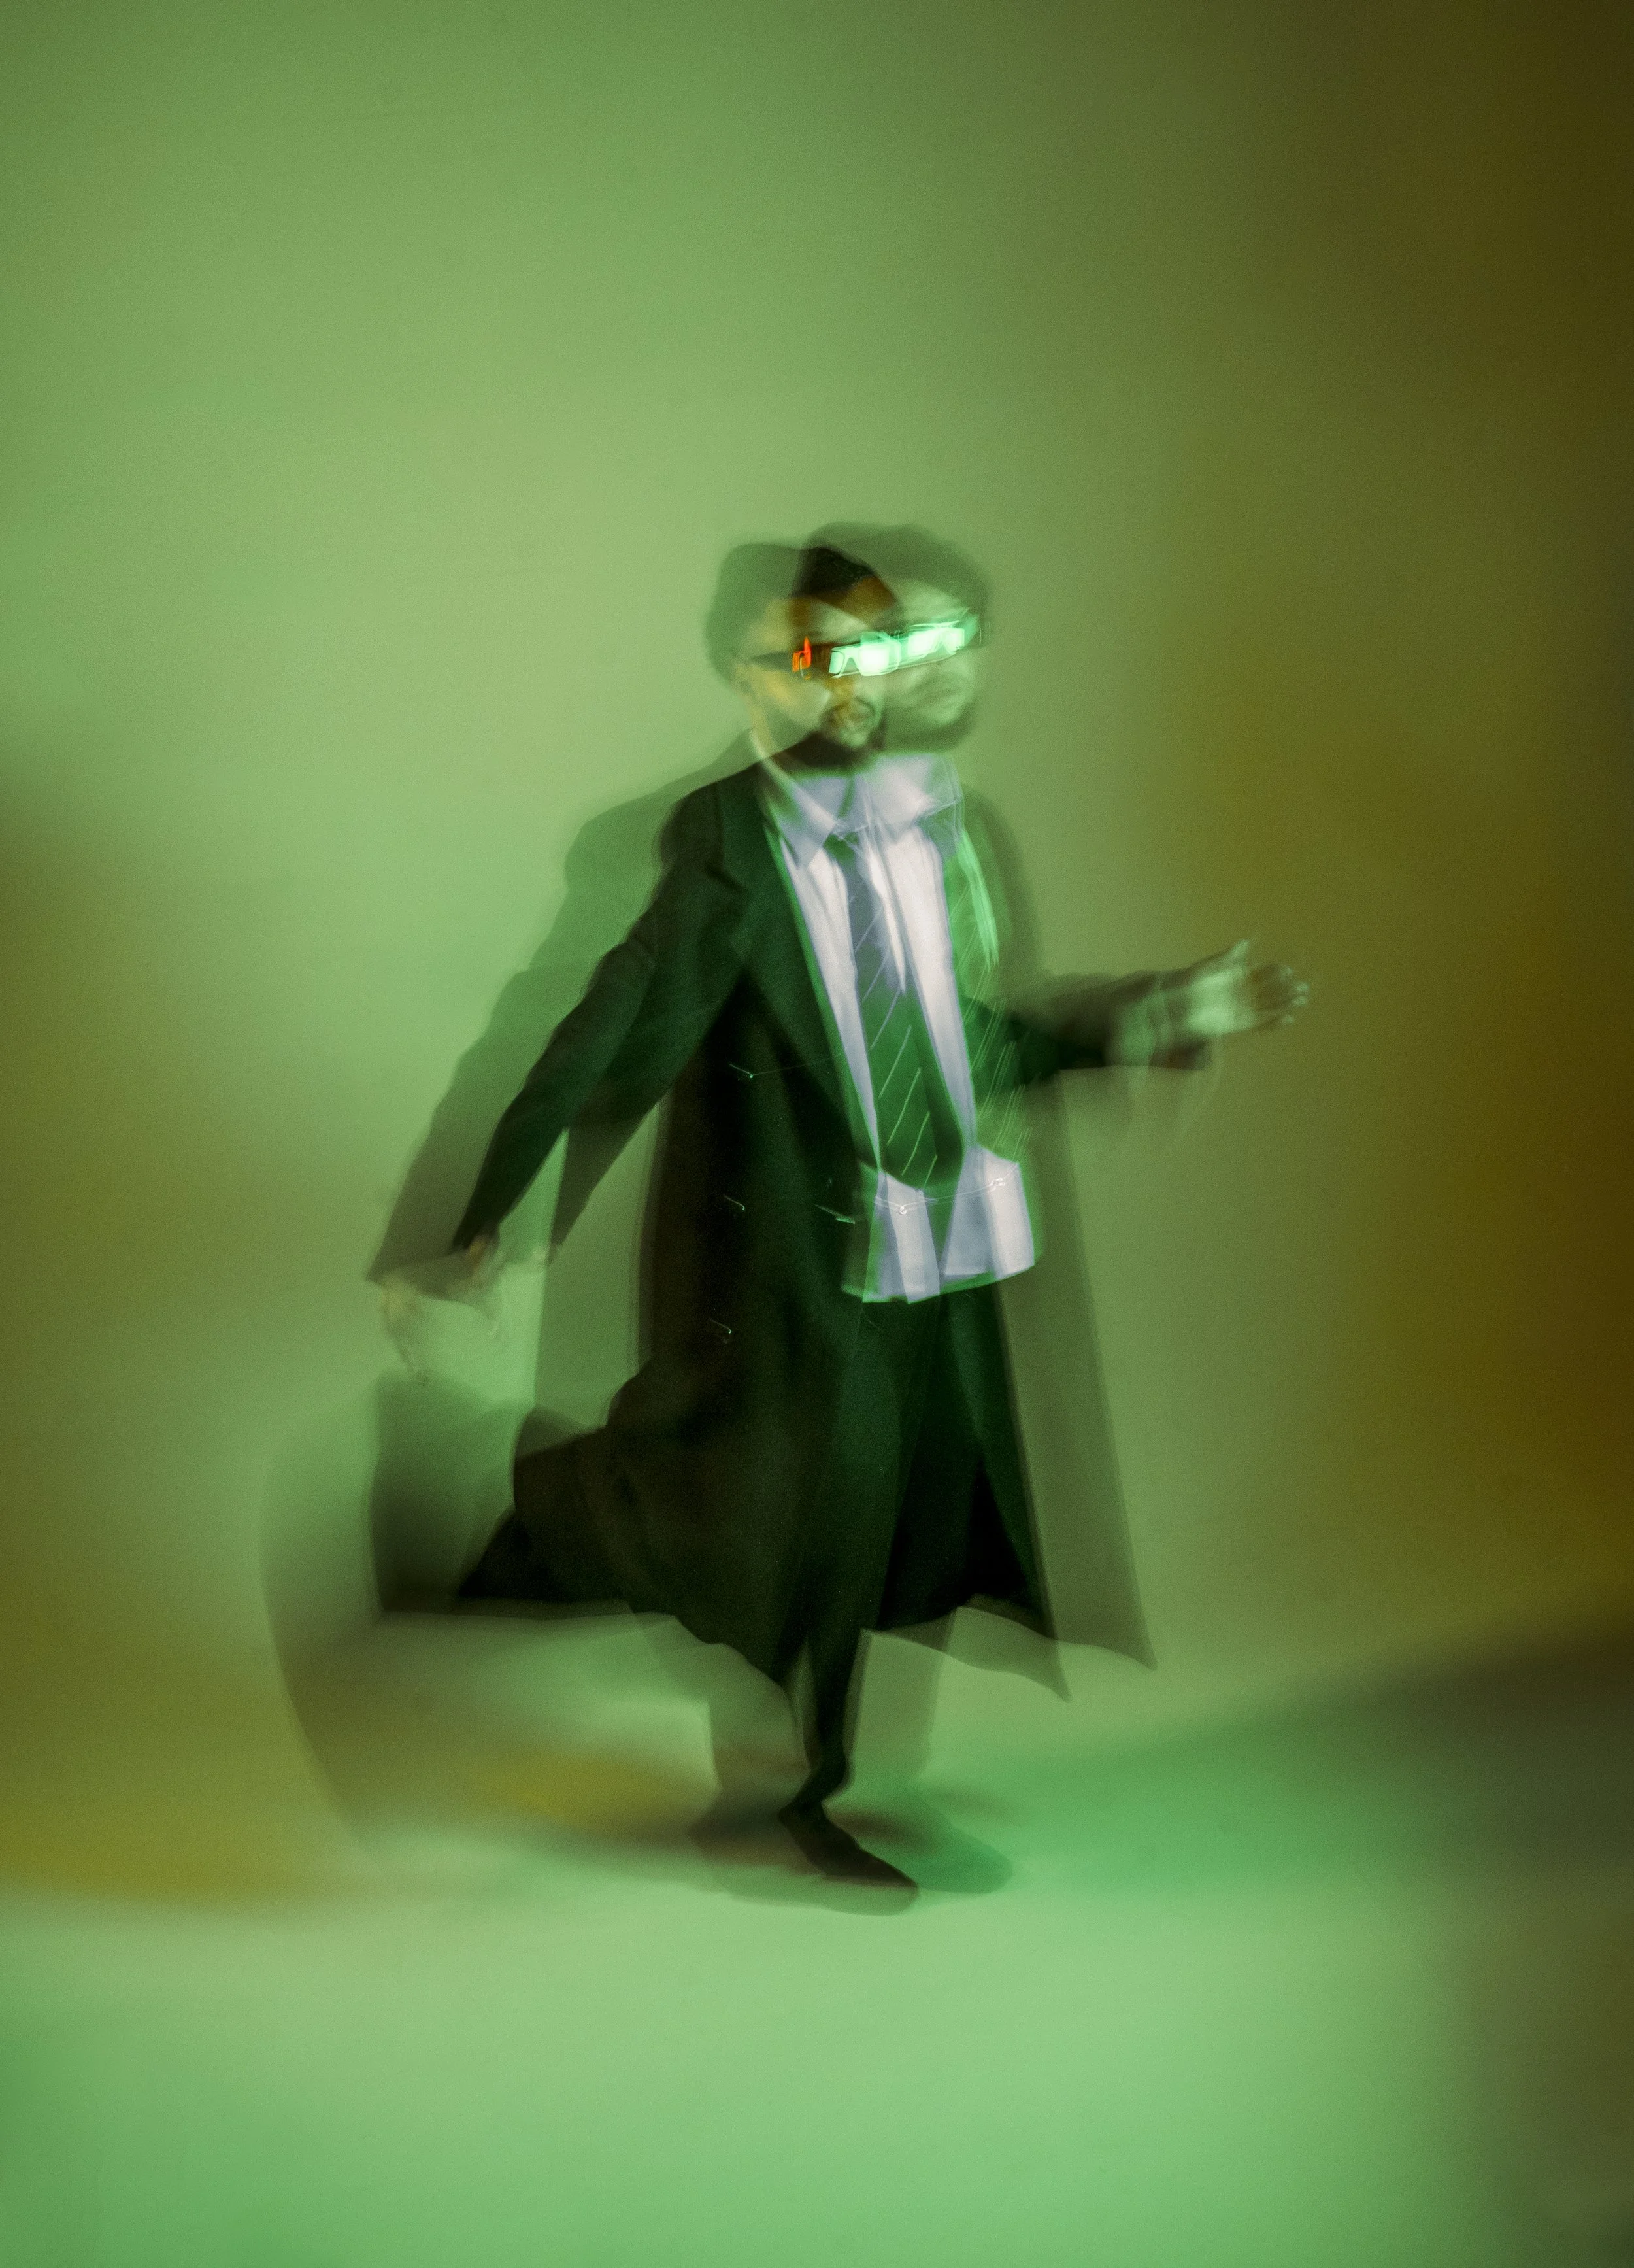
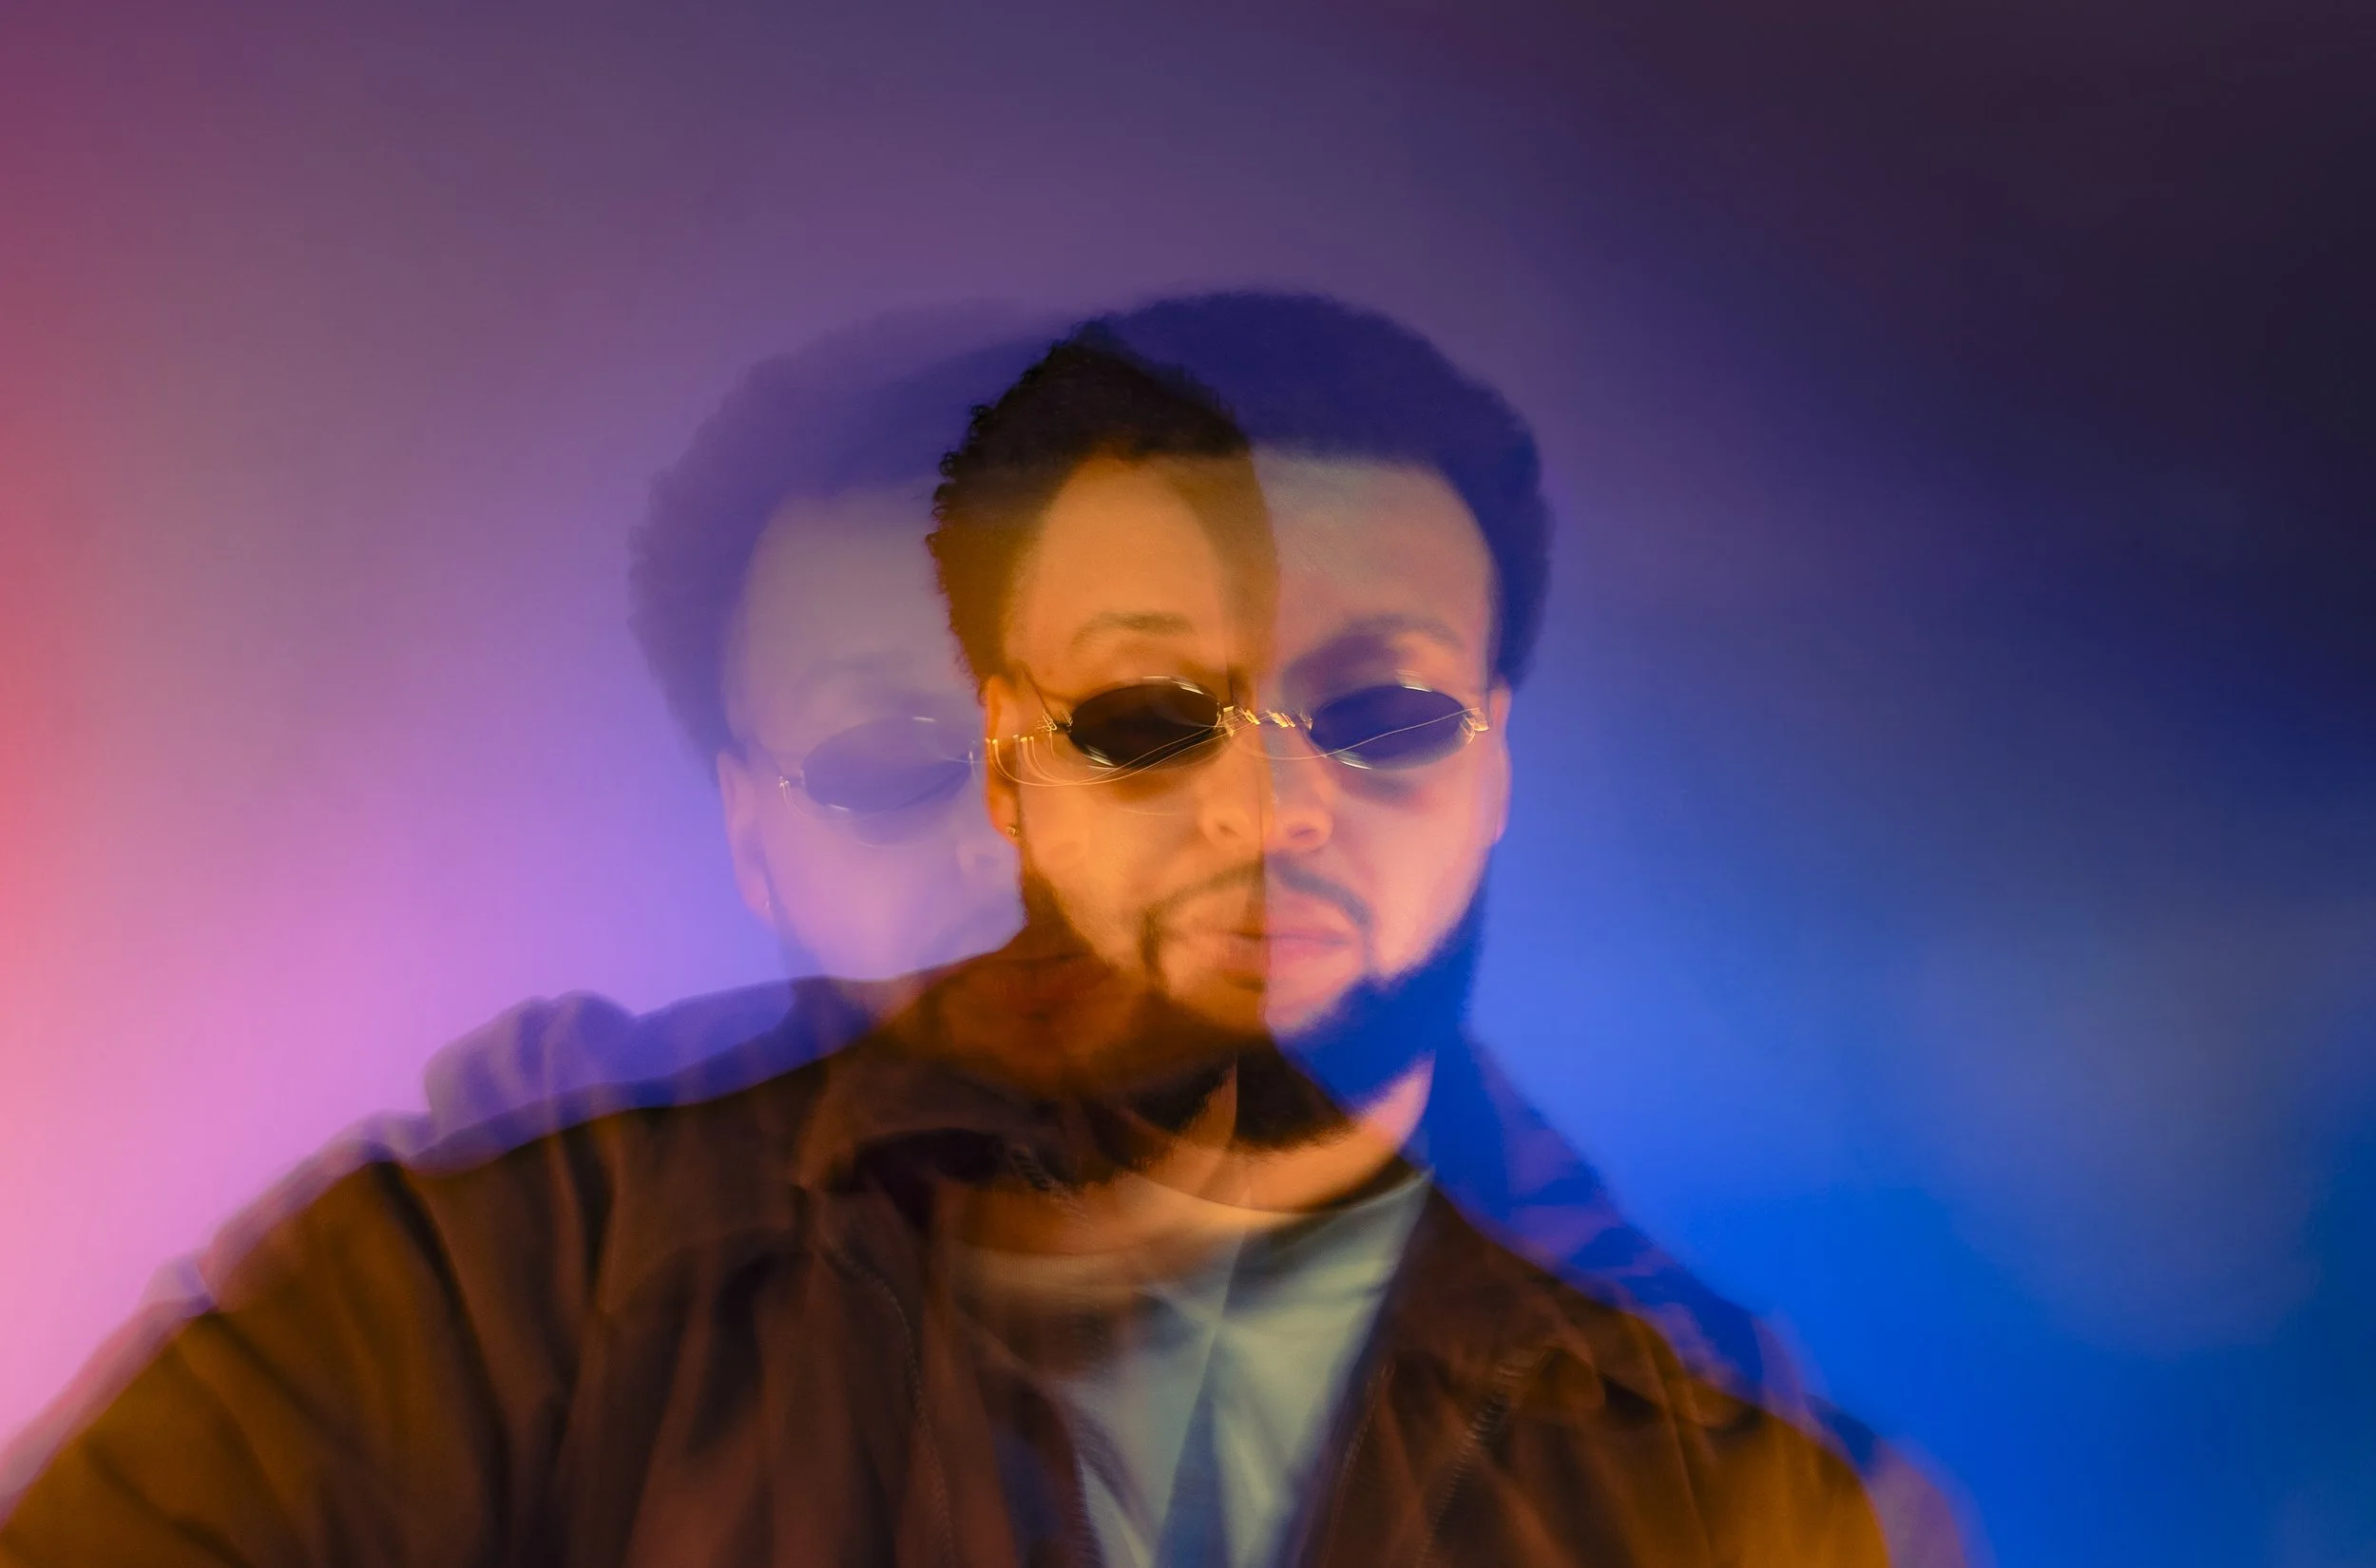
Now that our lights were set up, we were ready for our first look. One element that I wanted to try for this shoot was “slow shutter”. Slow shutter is when you turn down your camera’s shutter speed and either have your subject move or you move the camera around when you’re shooting. This technique paired with the right lighting can lead to some really cool light trails. To capture these images I had our talent stand in the center of the frame, I lowered my shutter speed to 1/5th and 1/6th and then had our talent move and I also jittered the camera while shooting.
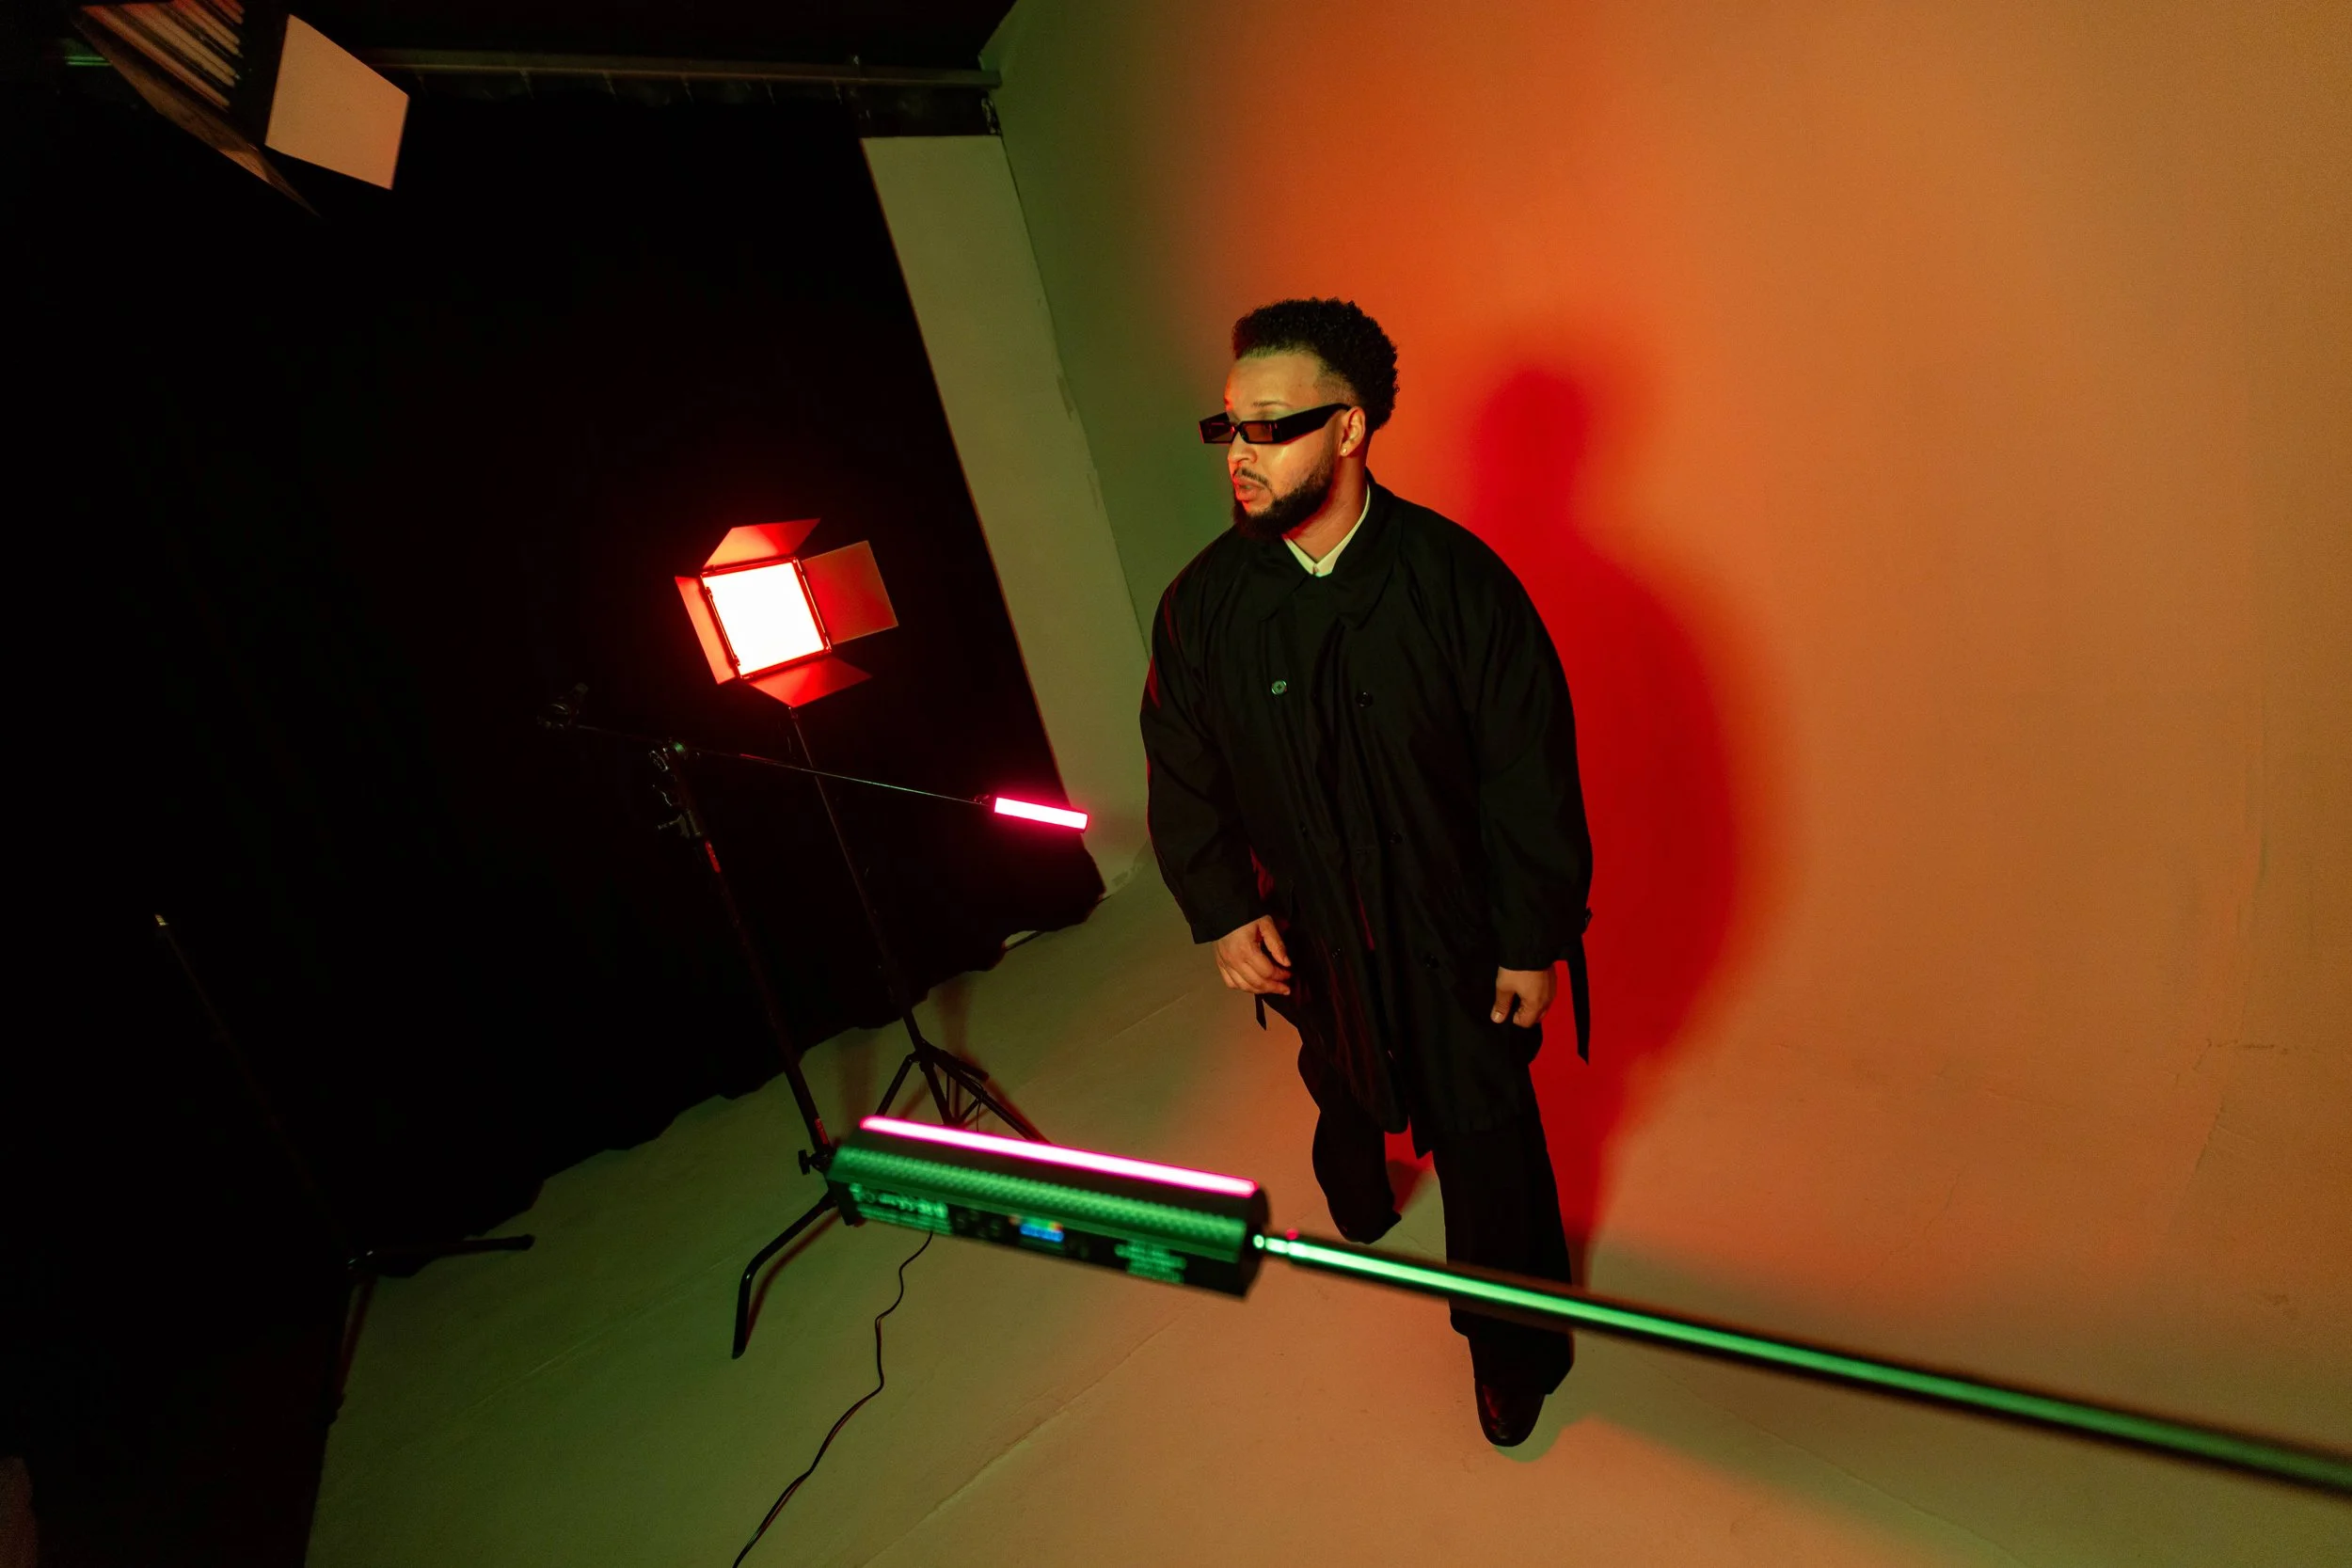
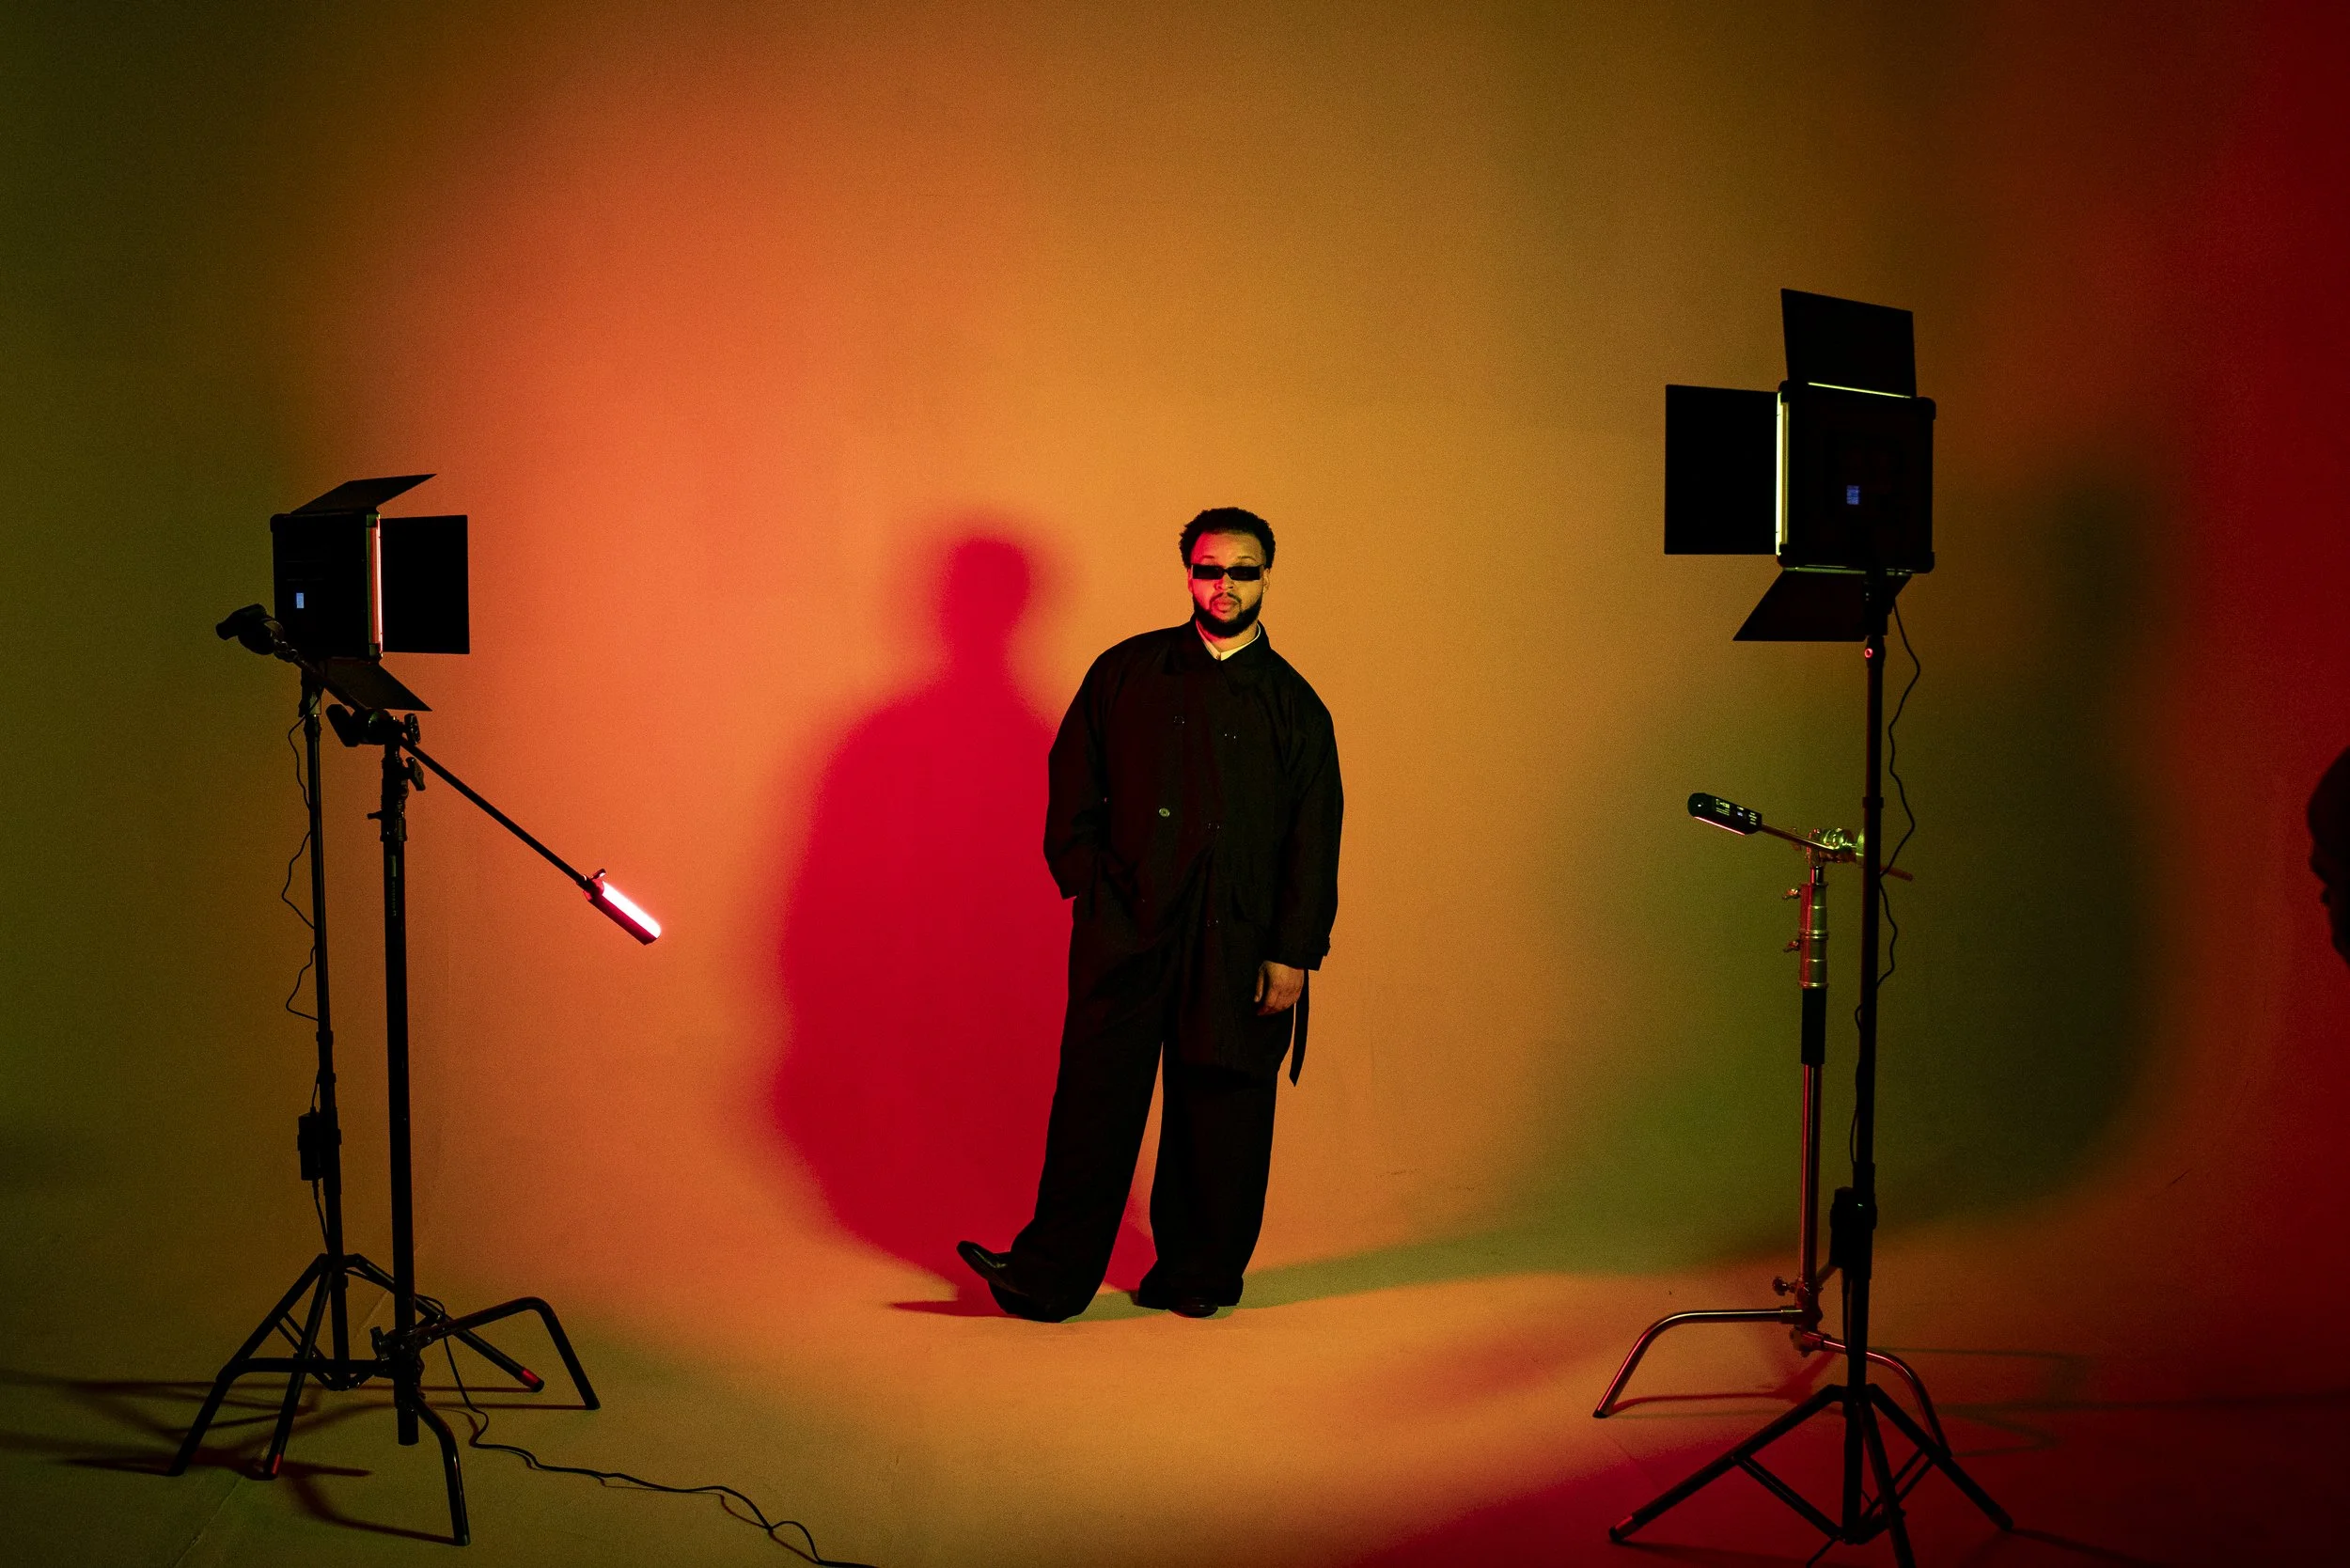
The next setup we lit was capturing our talent in an all black outfit against bright orange hues. I loved how these Ultrasoft RGB’s blended in with the Chroma Tube lights creating an array of orange and green hues which contrasted sharply against the all black look. For this setup I knew I wanted to get a wide shot, but I knew if I moved the lights too far away from our subject that would change the color. So I took a few steps backward and shot a wide shot with the lights surrounding our subject. Then using photoshop I was able to mask these stands out for a really clean looking wide shot.

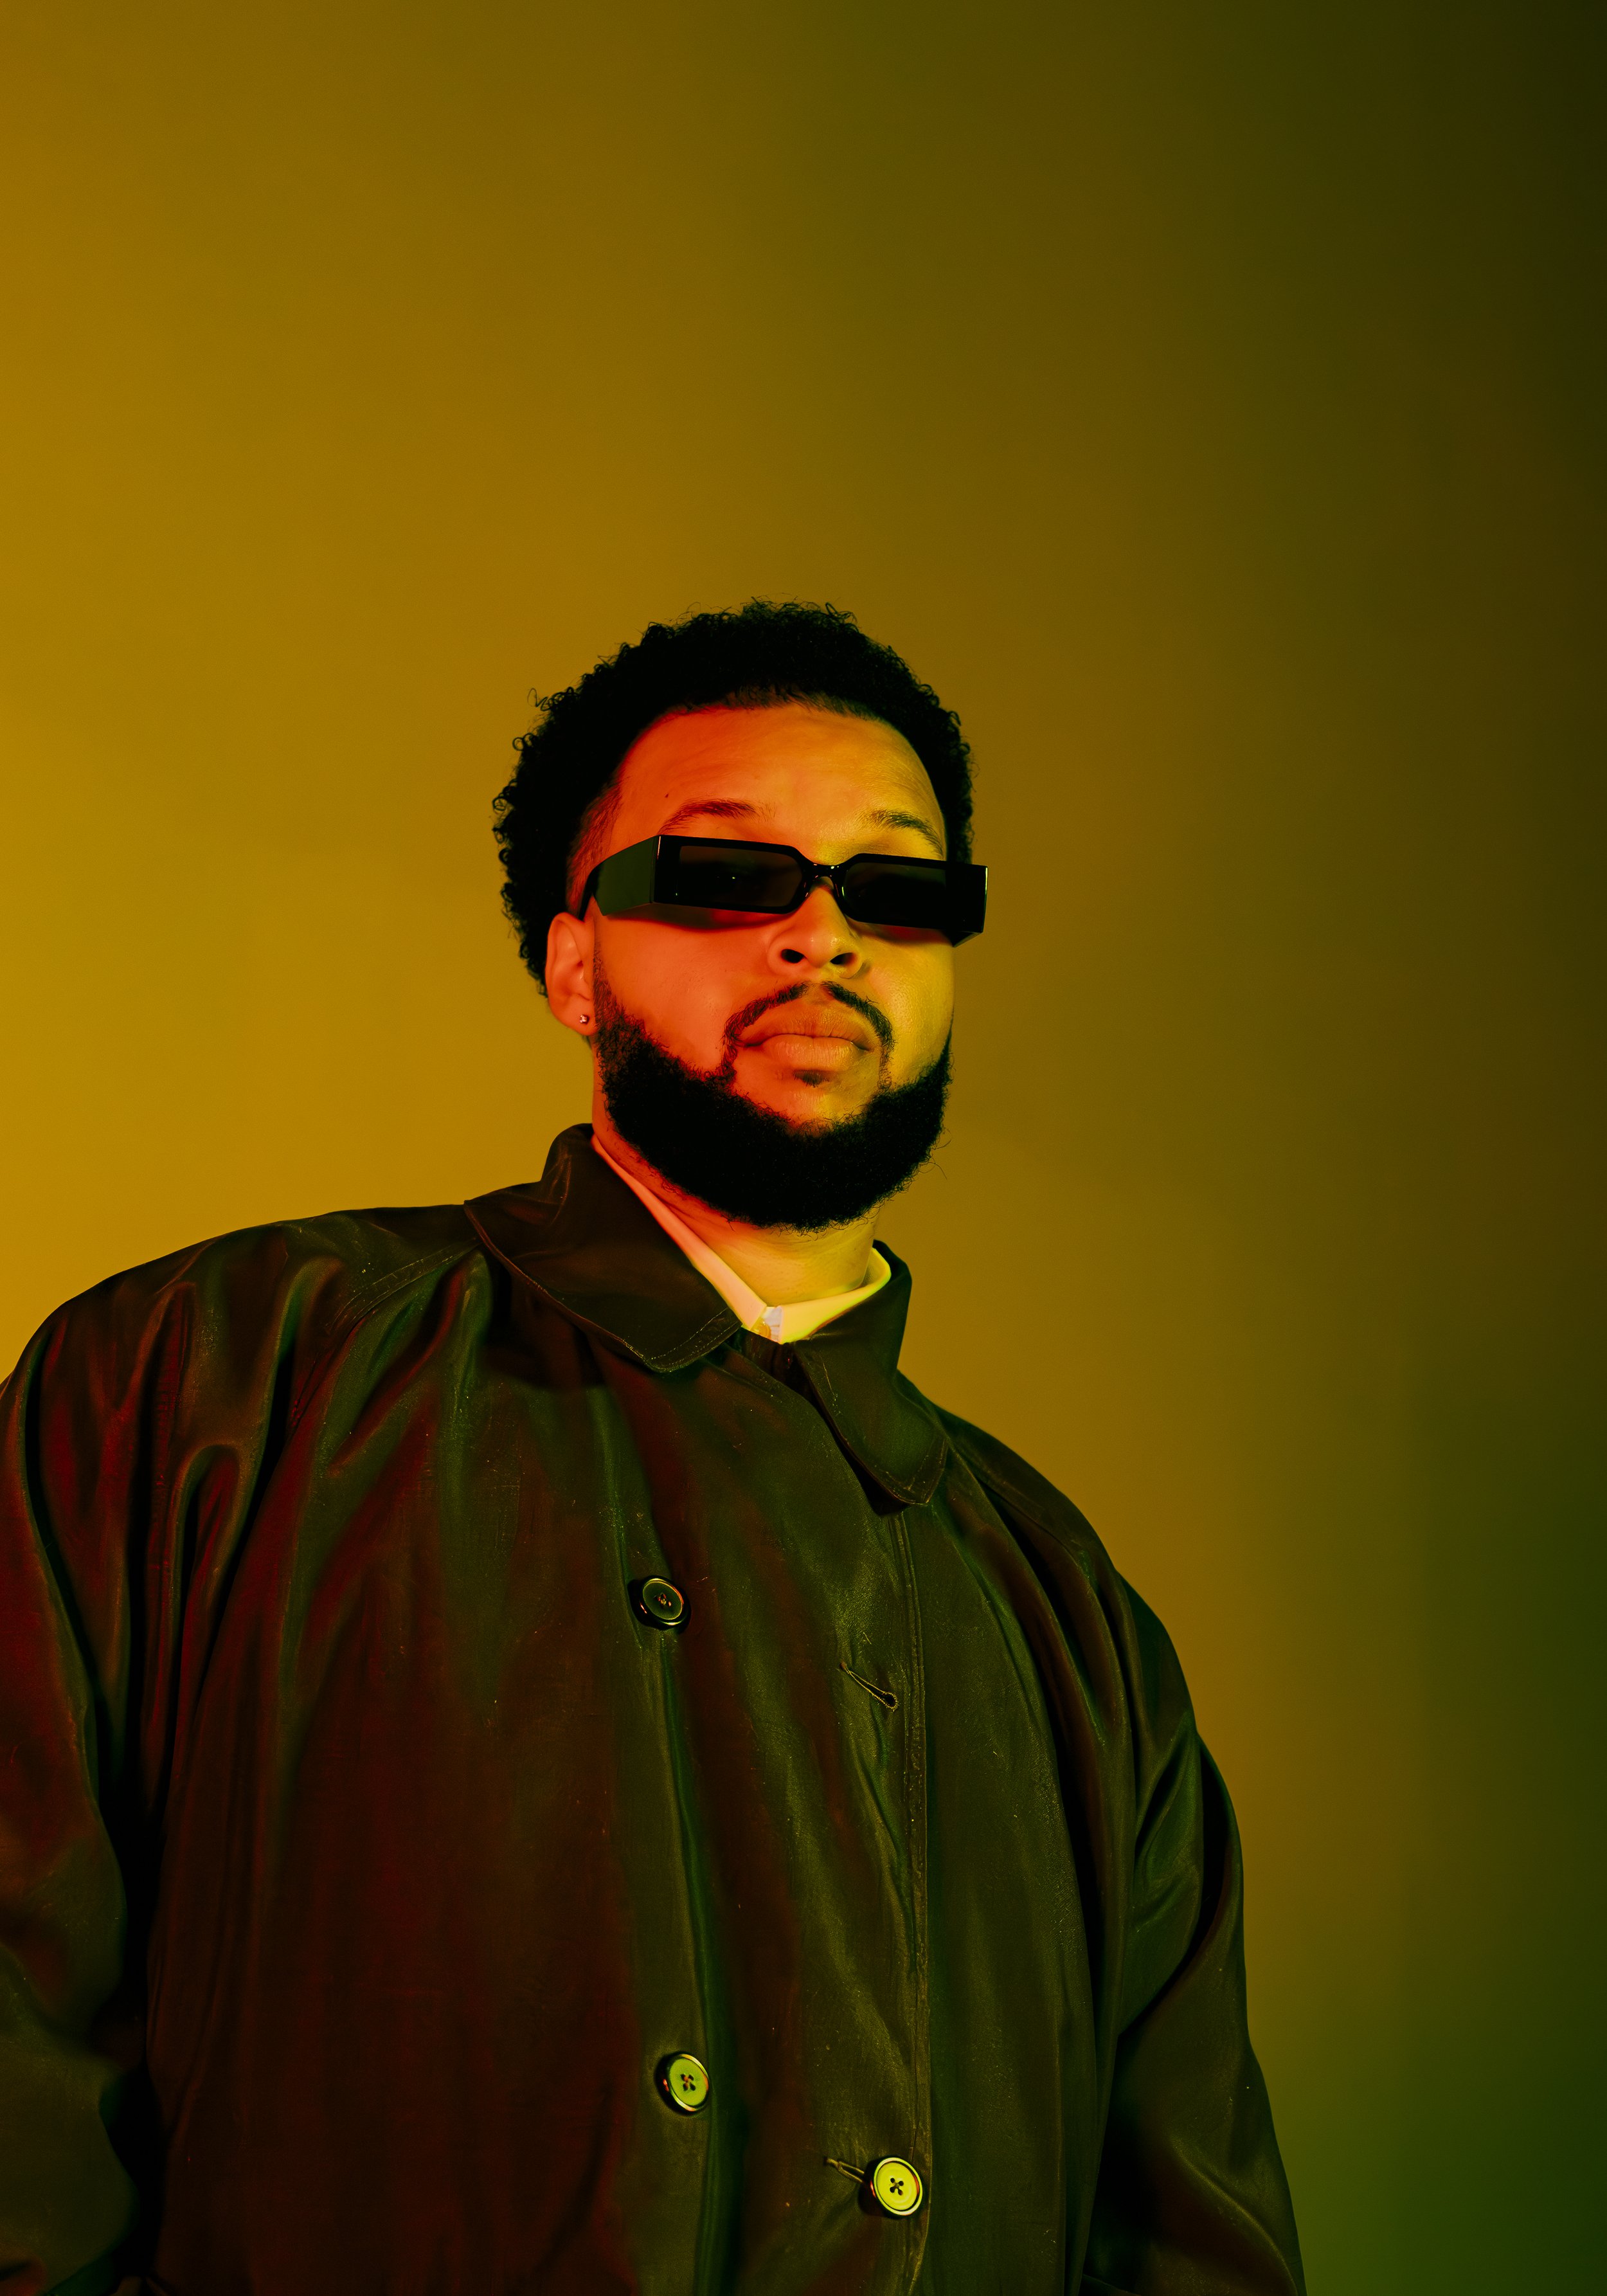
After a quick outfit change we were ready for our next setup. For this I wanted to capture our talent against a green/yellow backdrop and just barely add in a little red/orange to the outer edge of the image. We set the main Ultrasoft lights to a yellow/green hue and then placed out tube lights to the side and set those to red and orange.
For this shot I set my shutter speed to 1/5th and then just as my shutter was about to close I quickly moved the camera down. This helped create that blur effect while still maintaining focus.
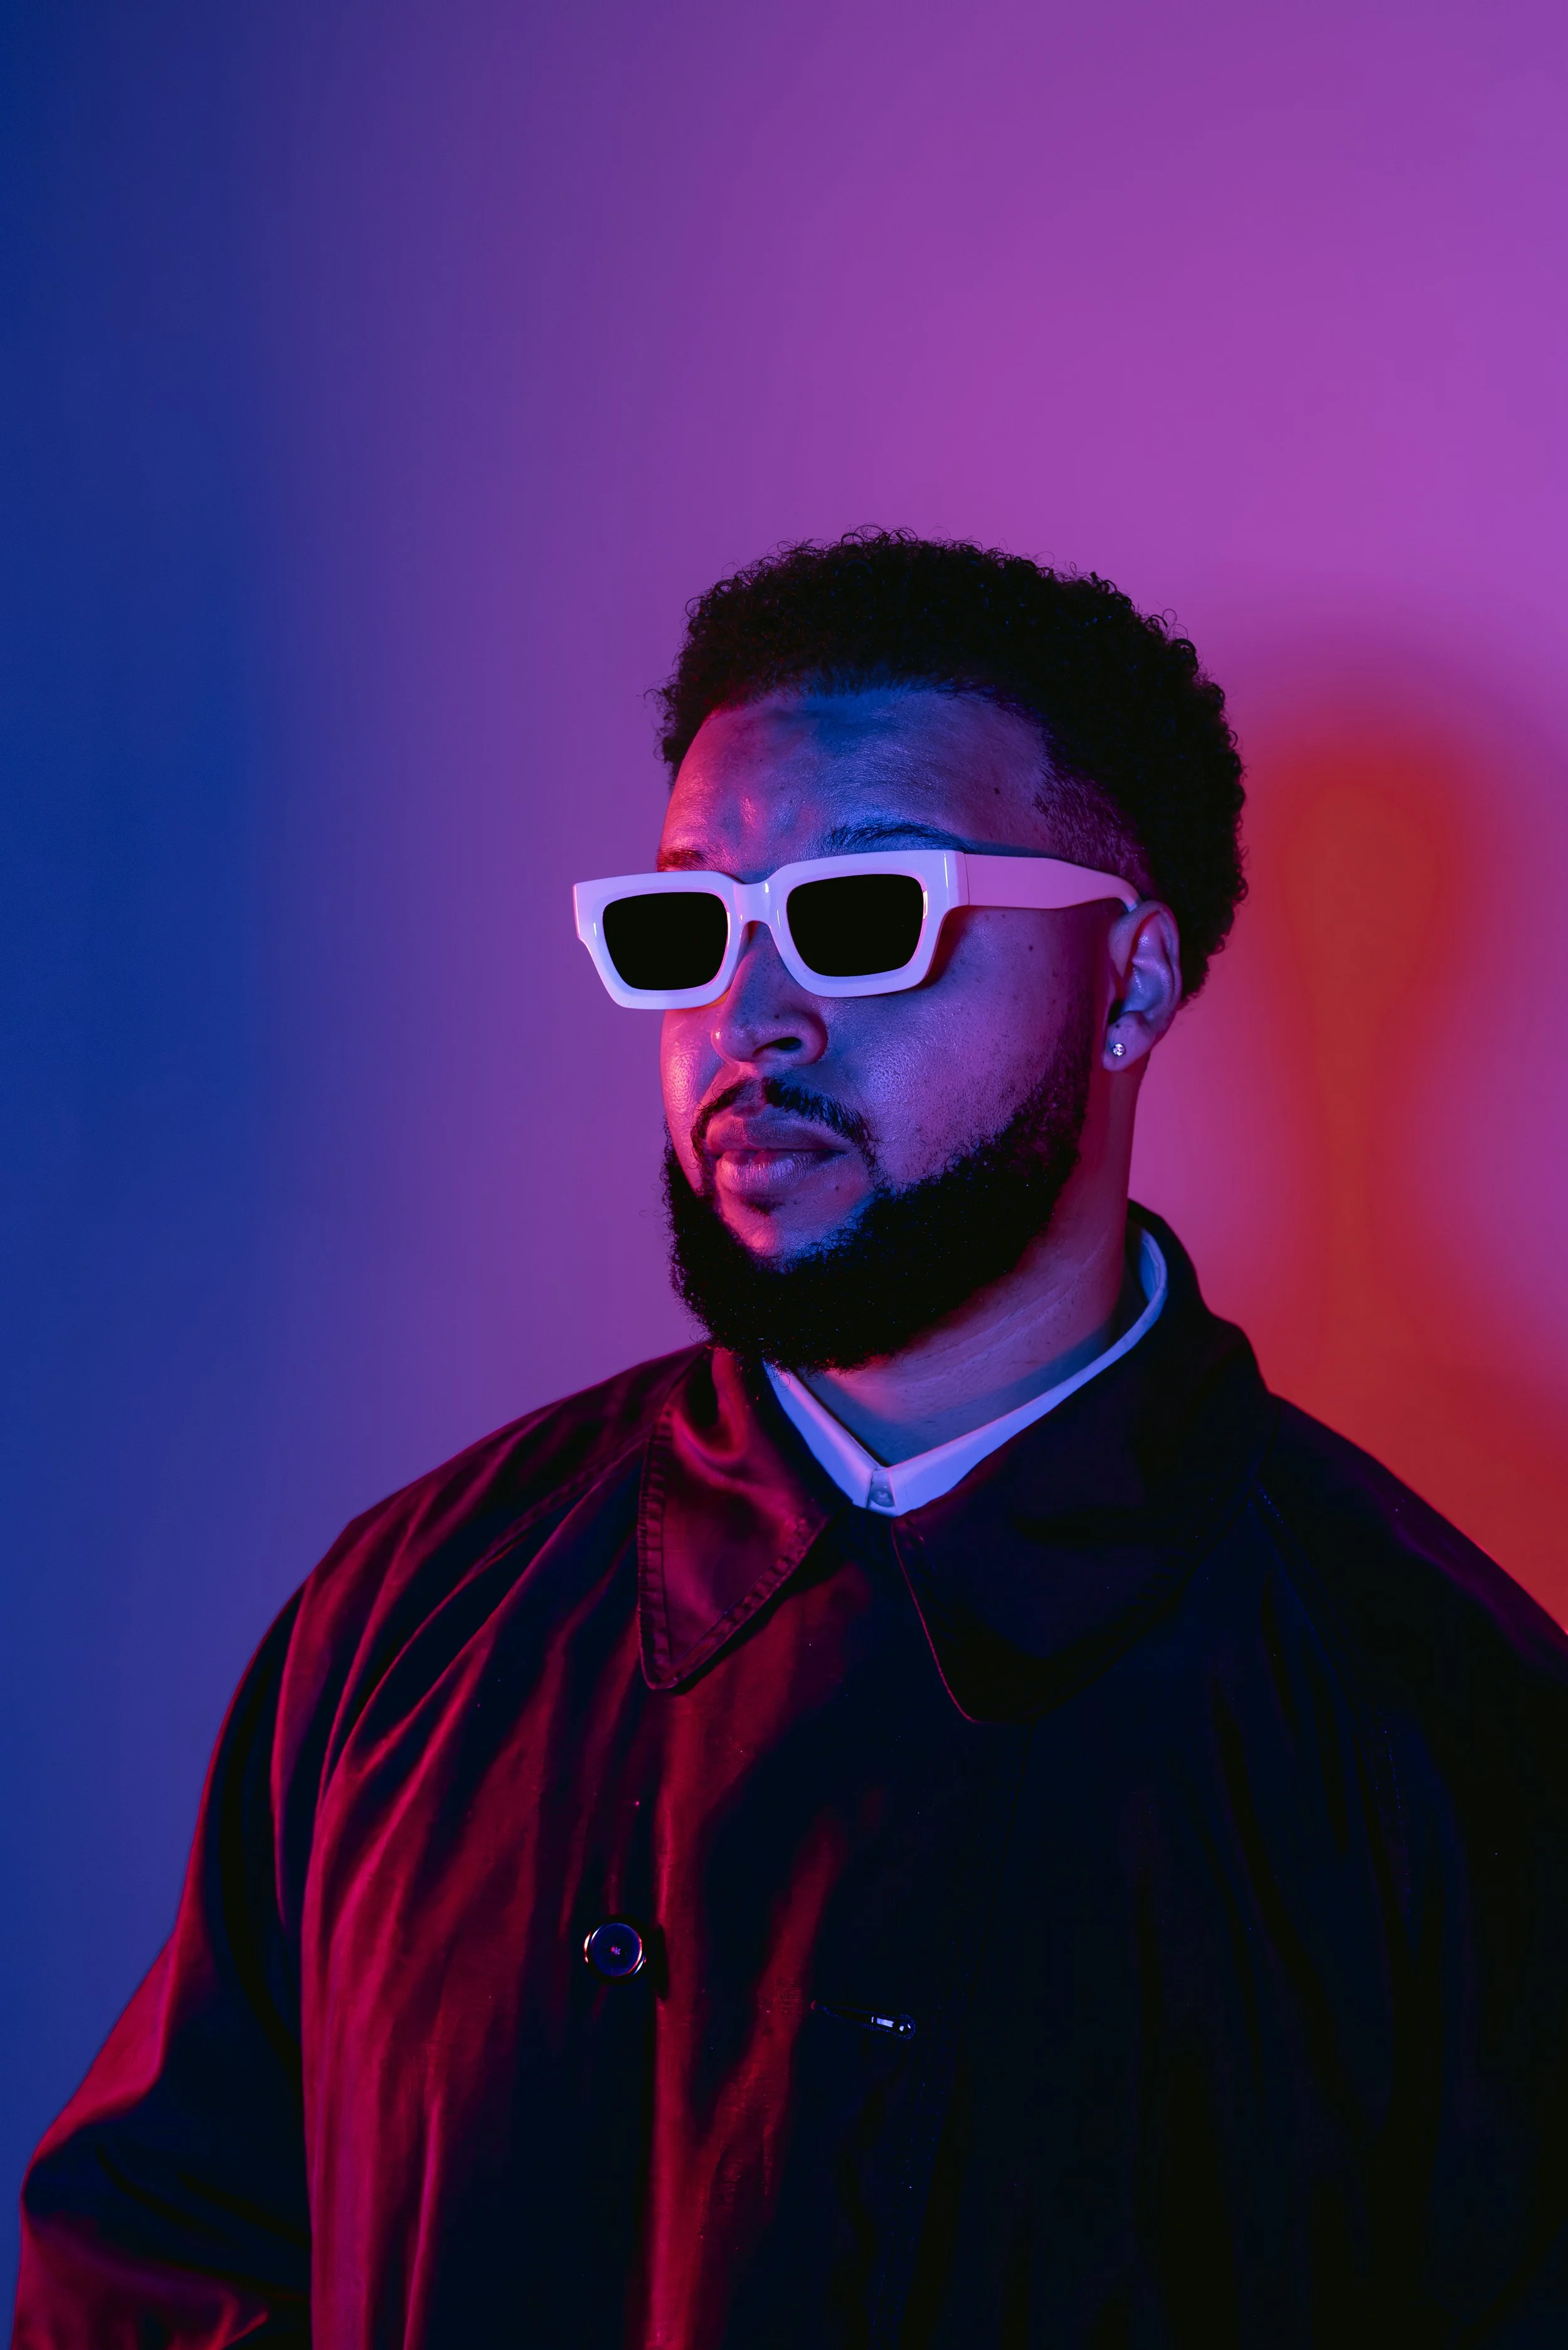
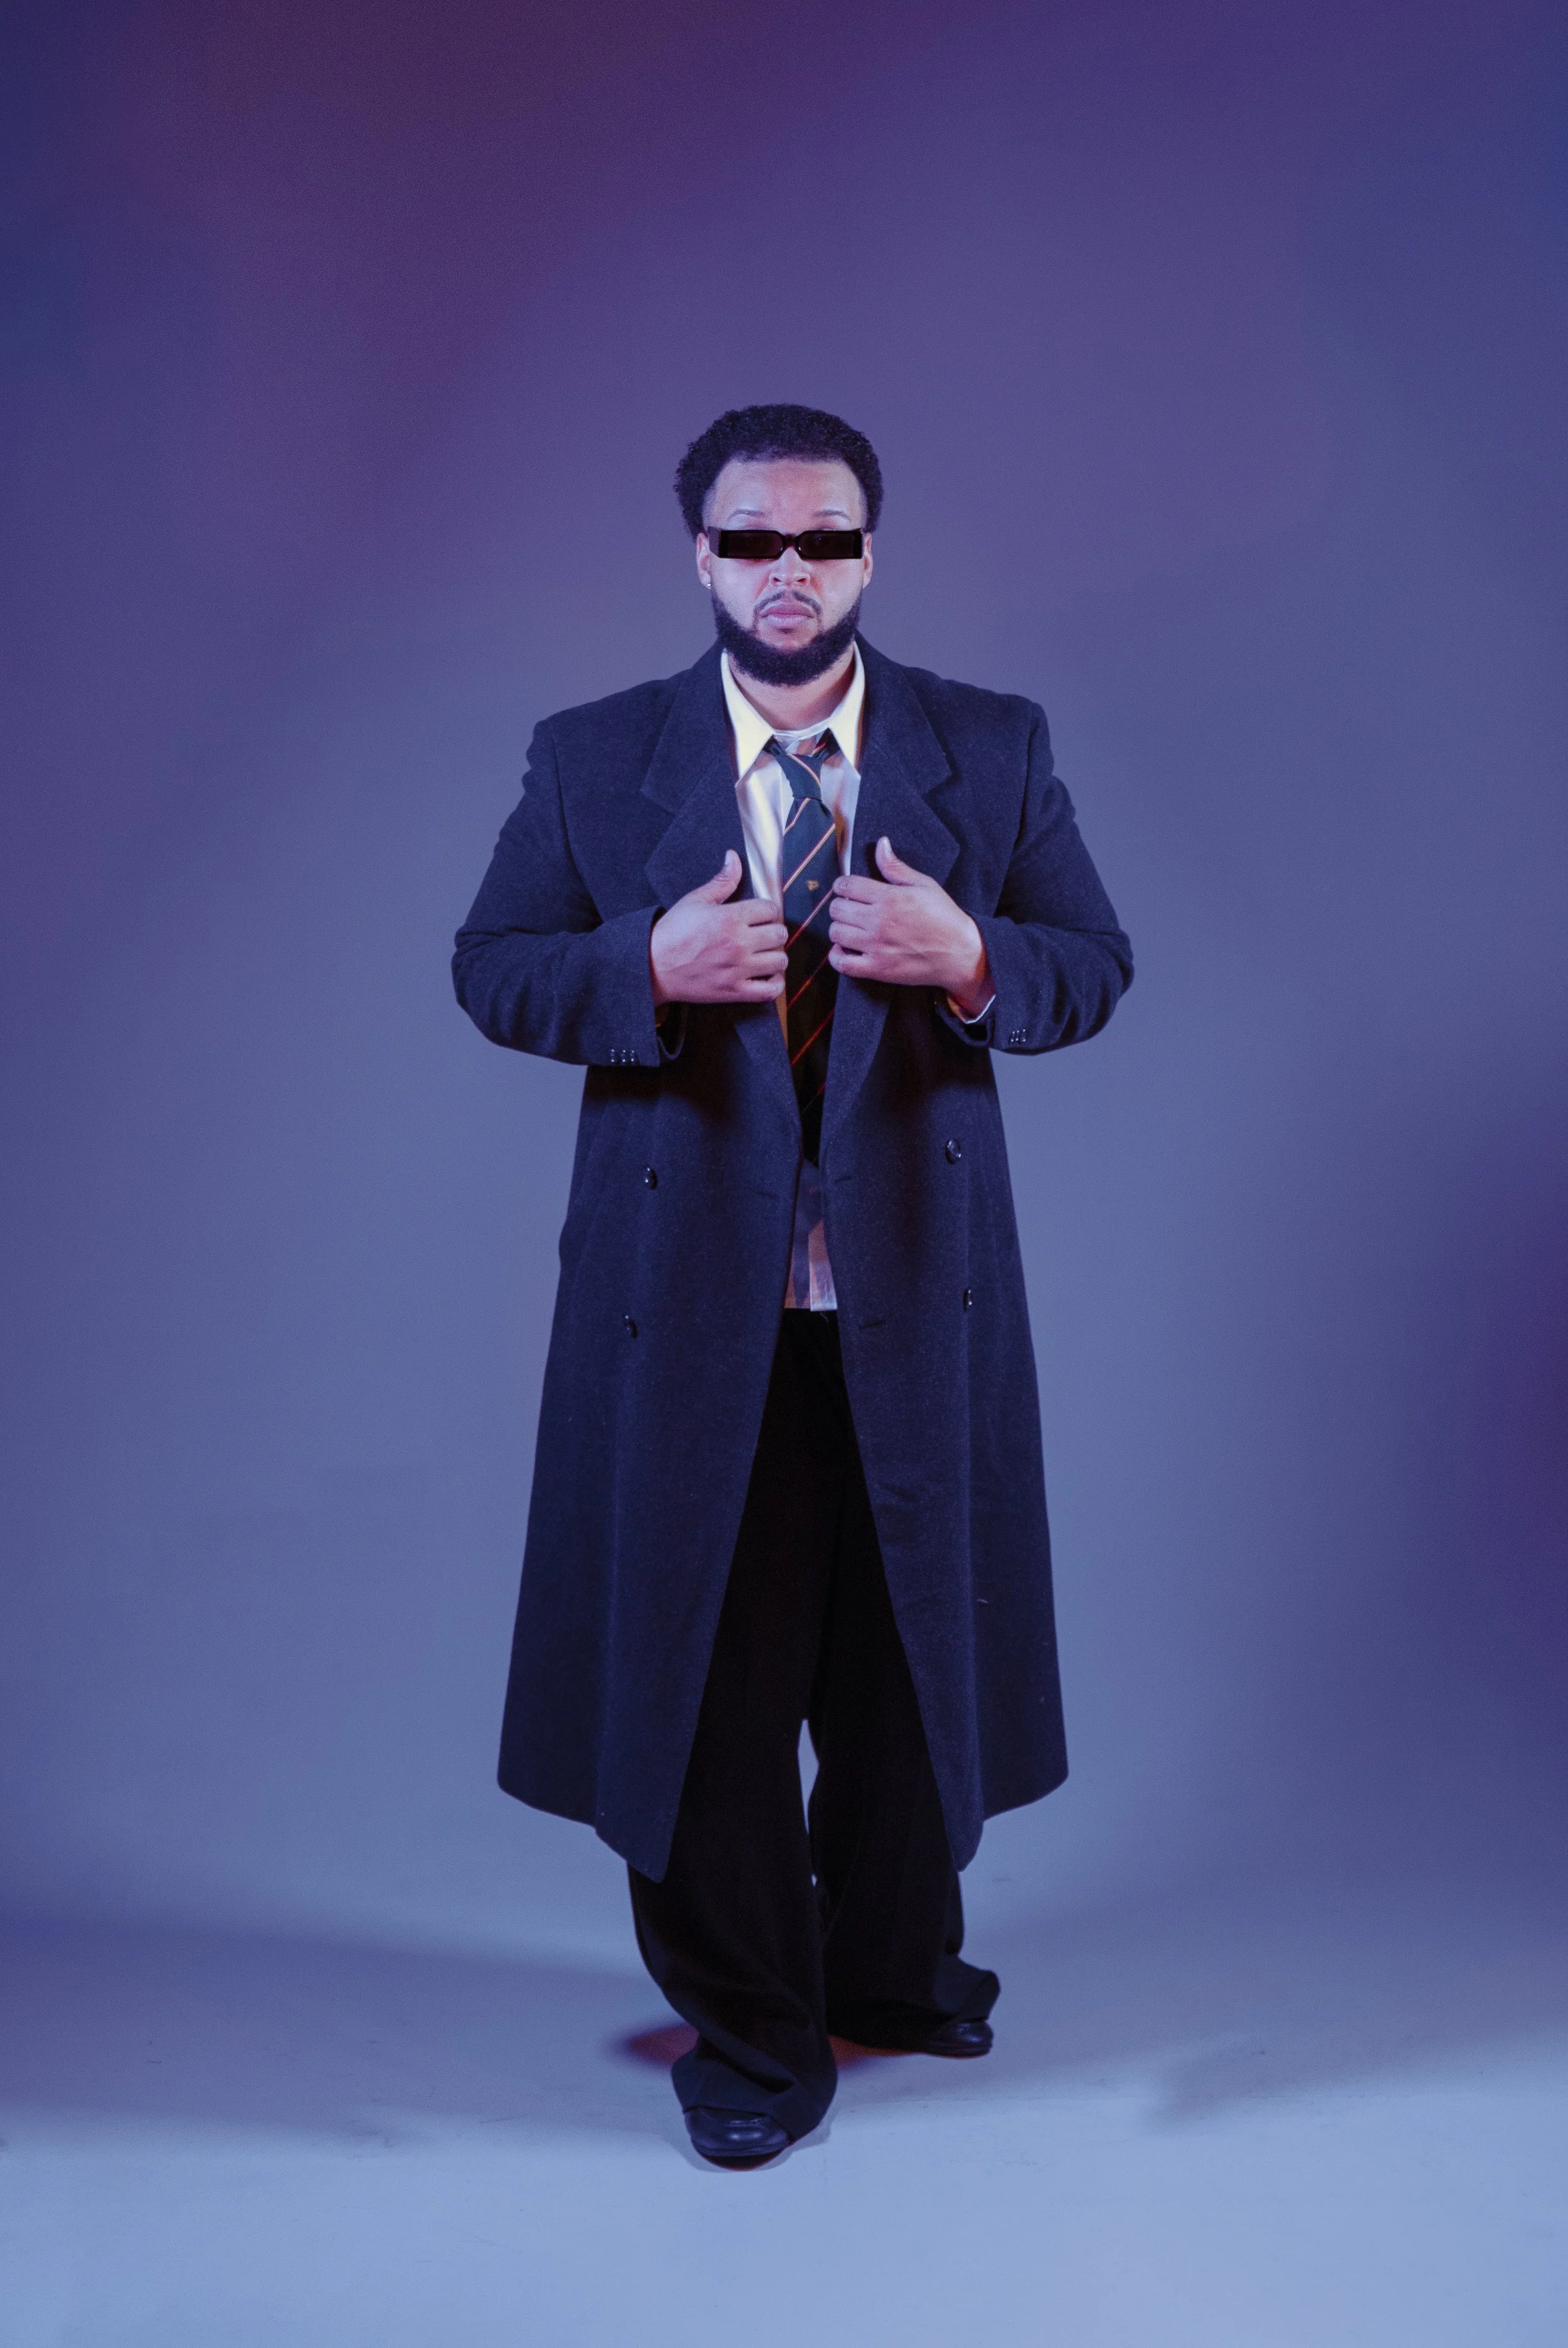
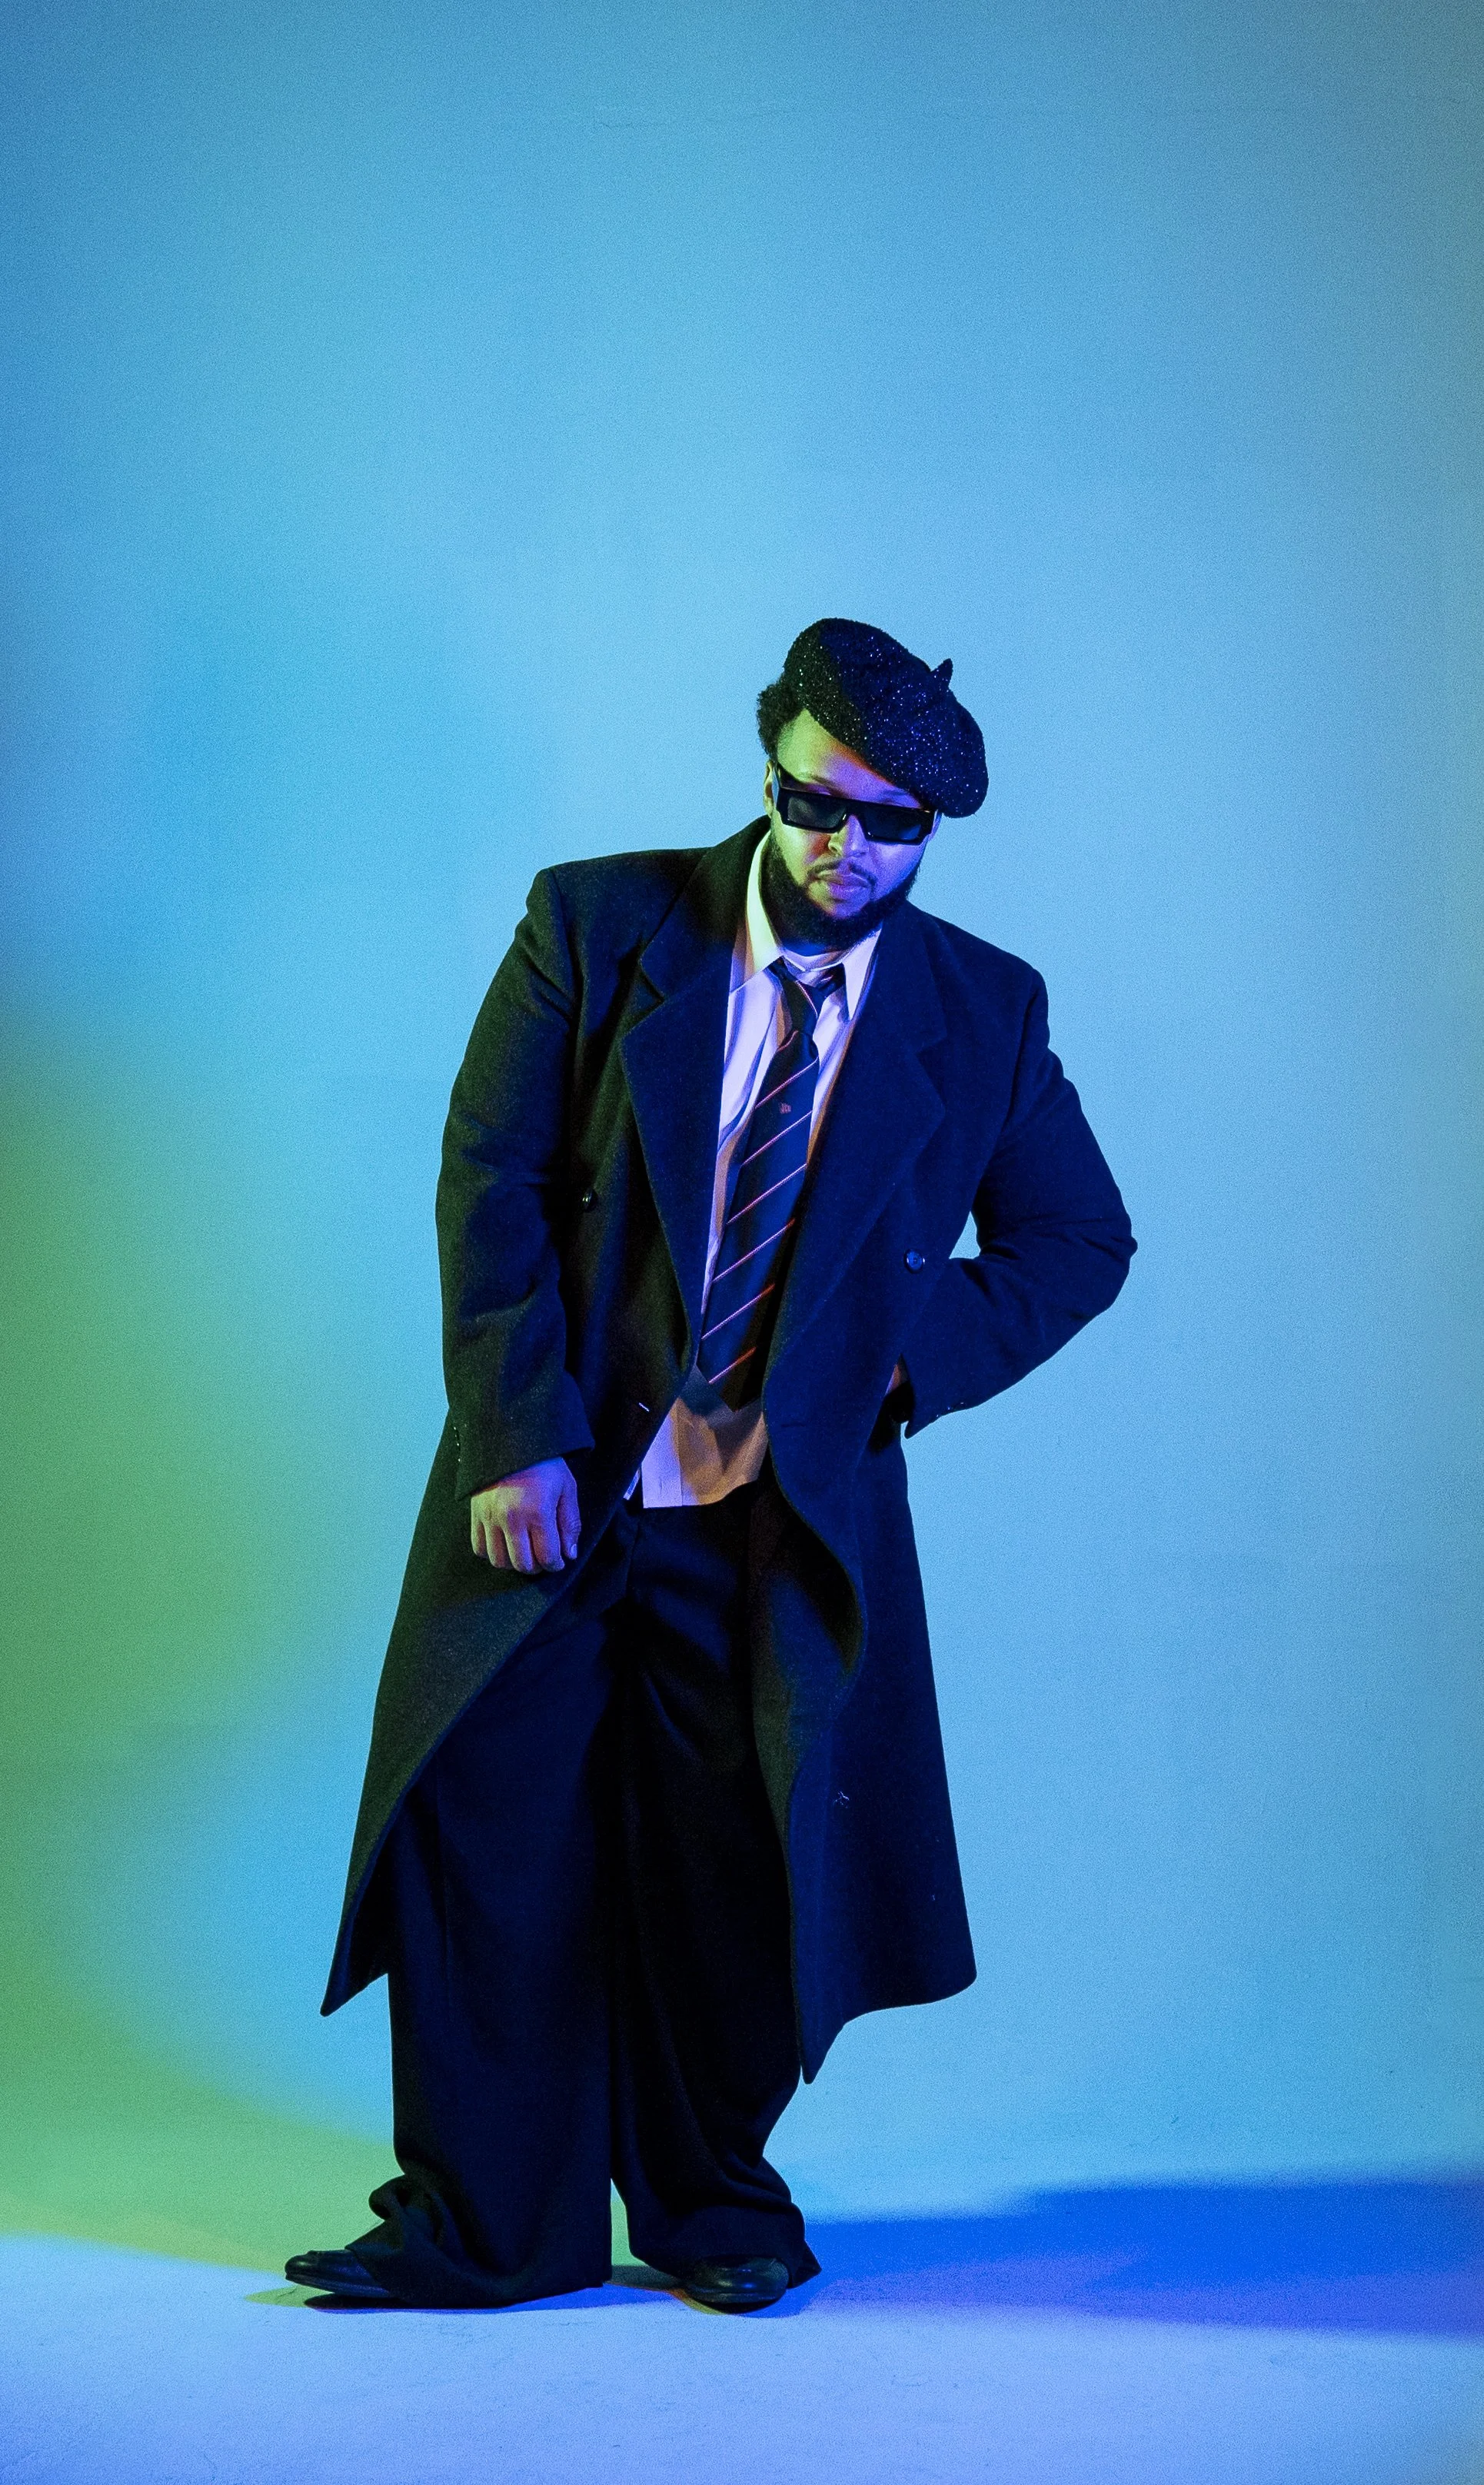
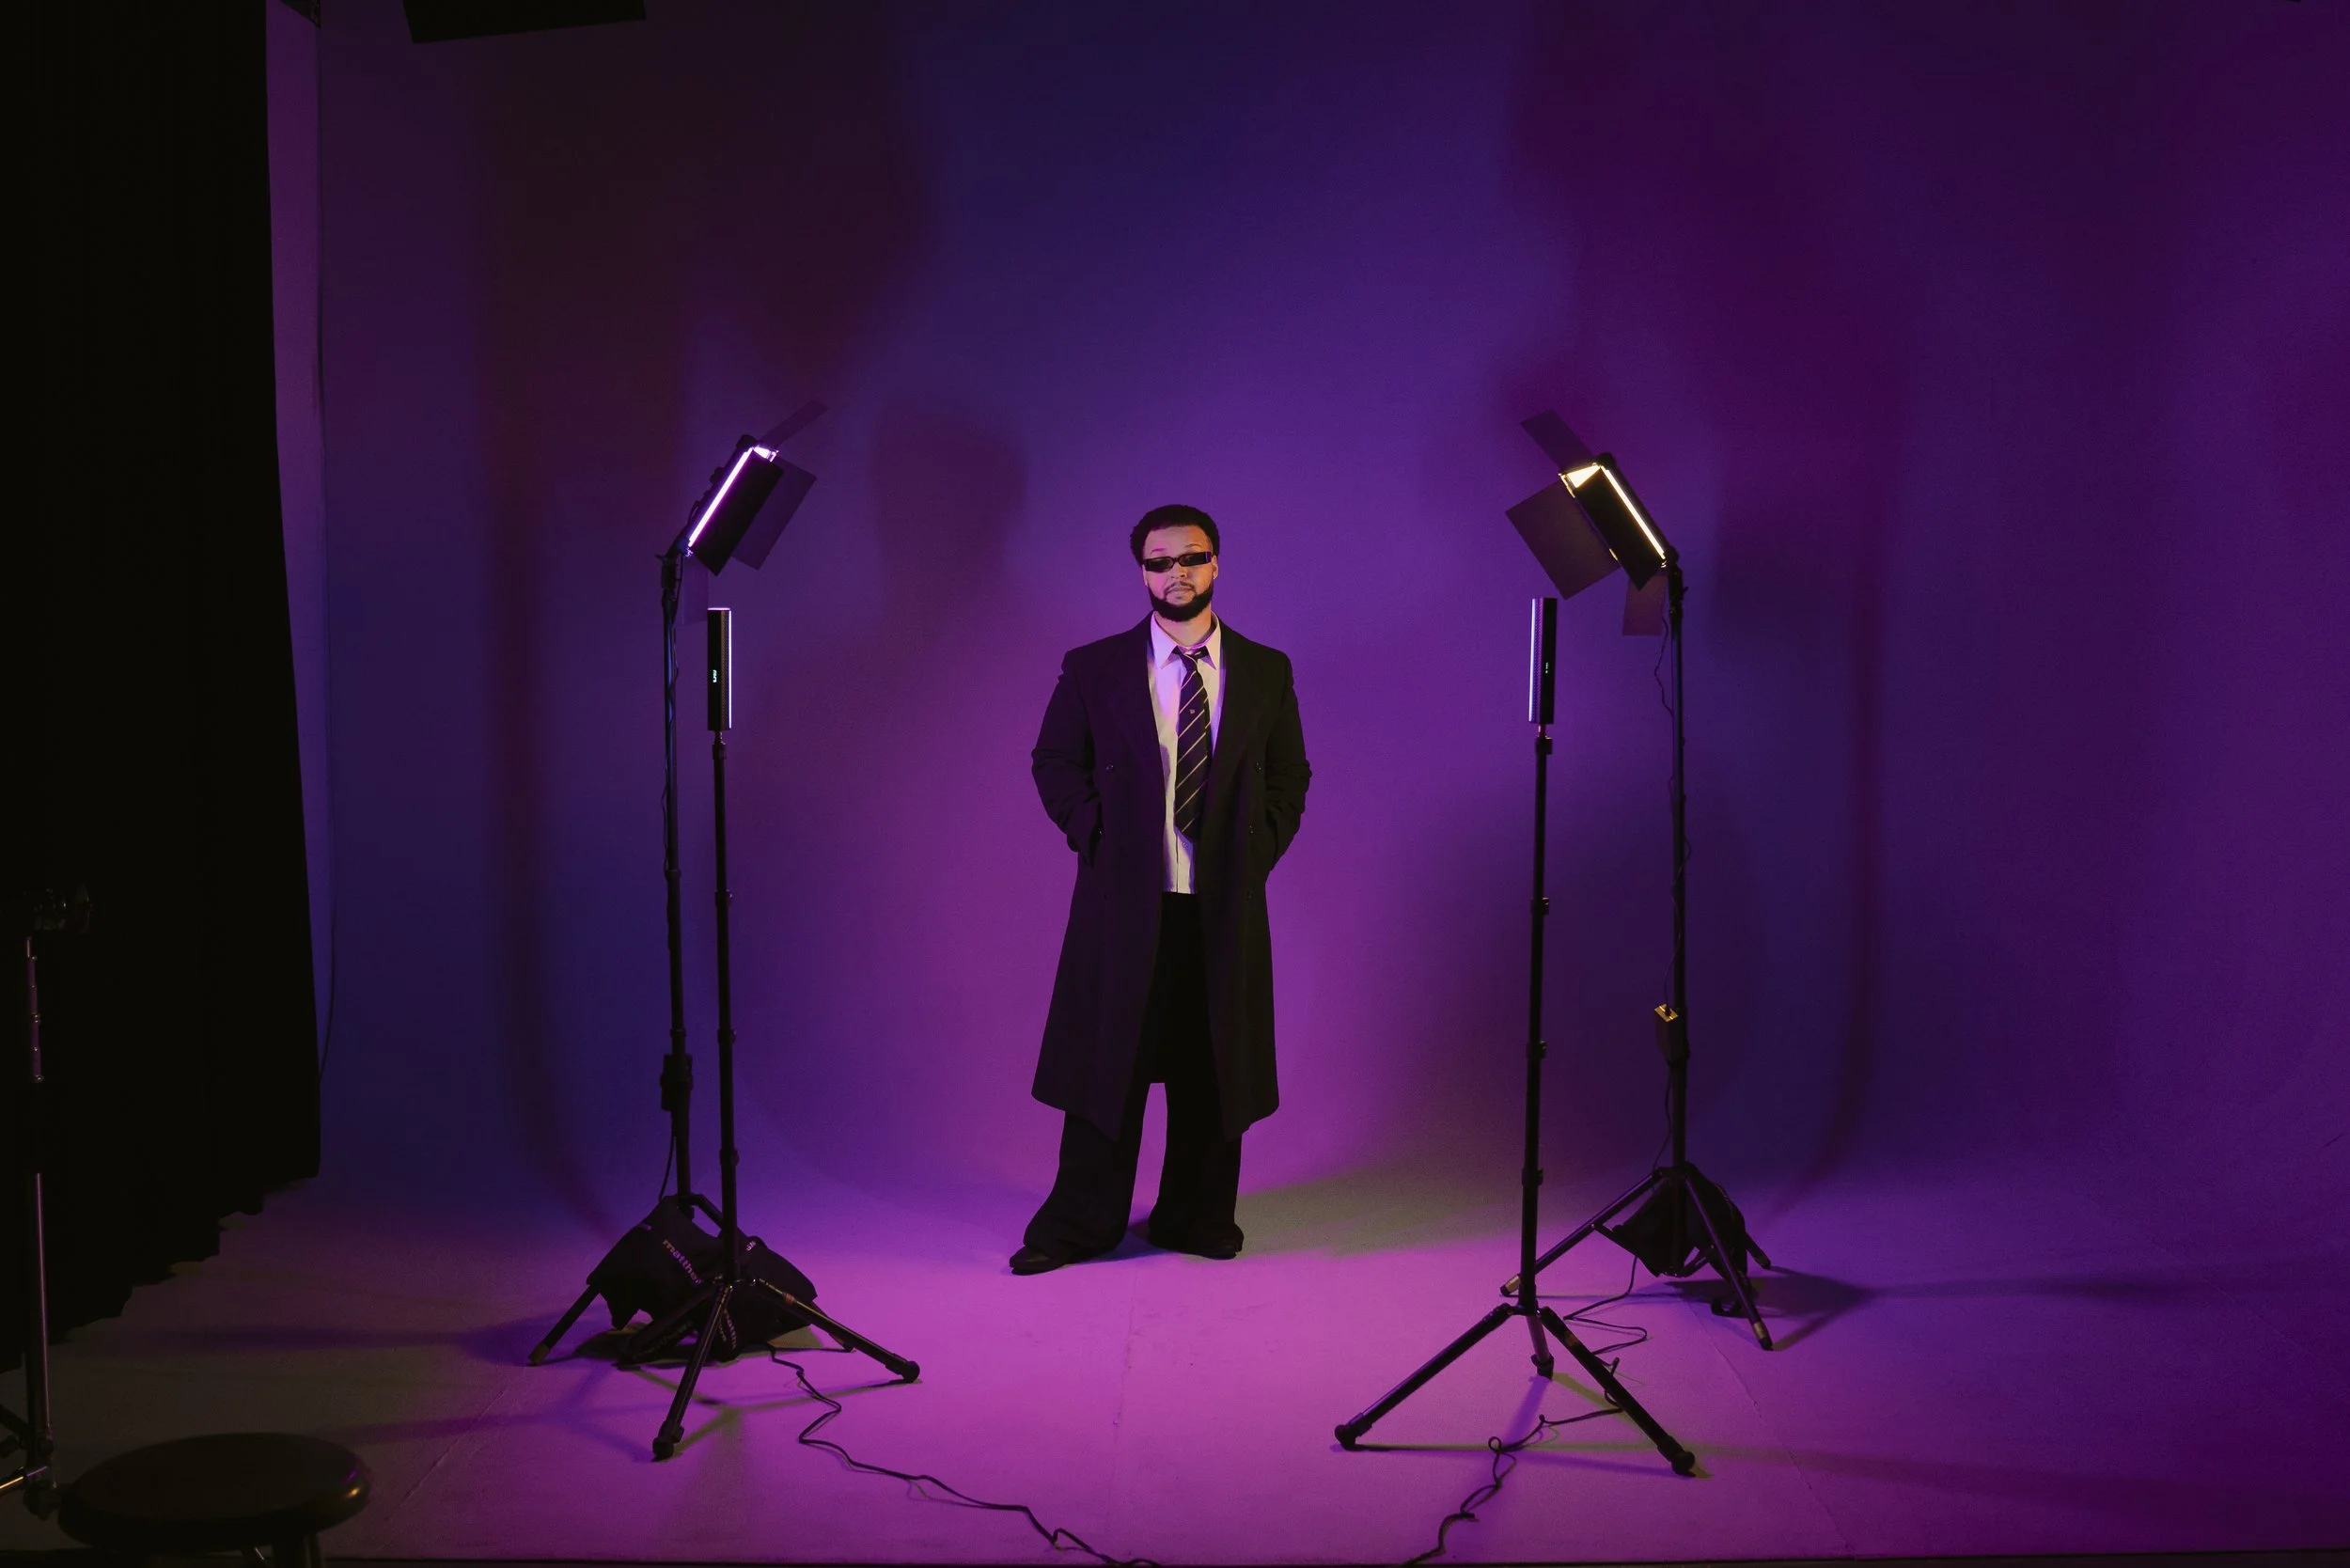
Another great feature about these lights is how easily they can be controlled. For our next setup I wanted to dial back the saturation of the colors to help our subject pop more. We faced our Ultrasofts to our subject and turned down their brightness and color saturation to a lighter blue. We then placed our tube lights in front and set the color temp to a red hue to contrast the blues and purples, which created a really cool look.
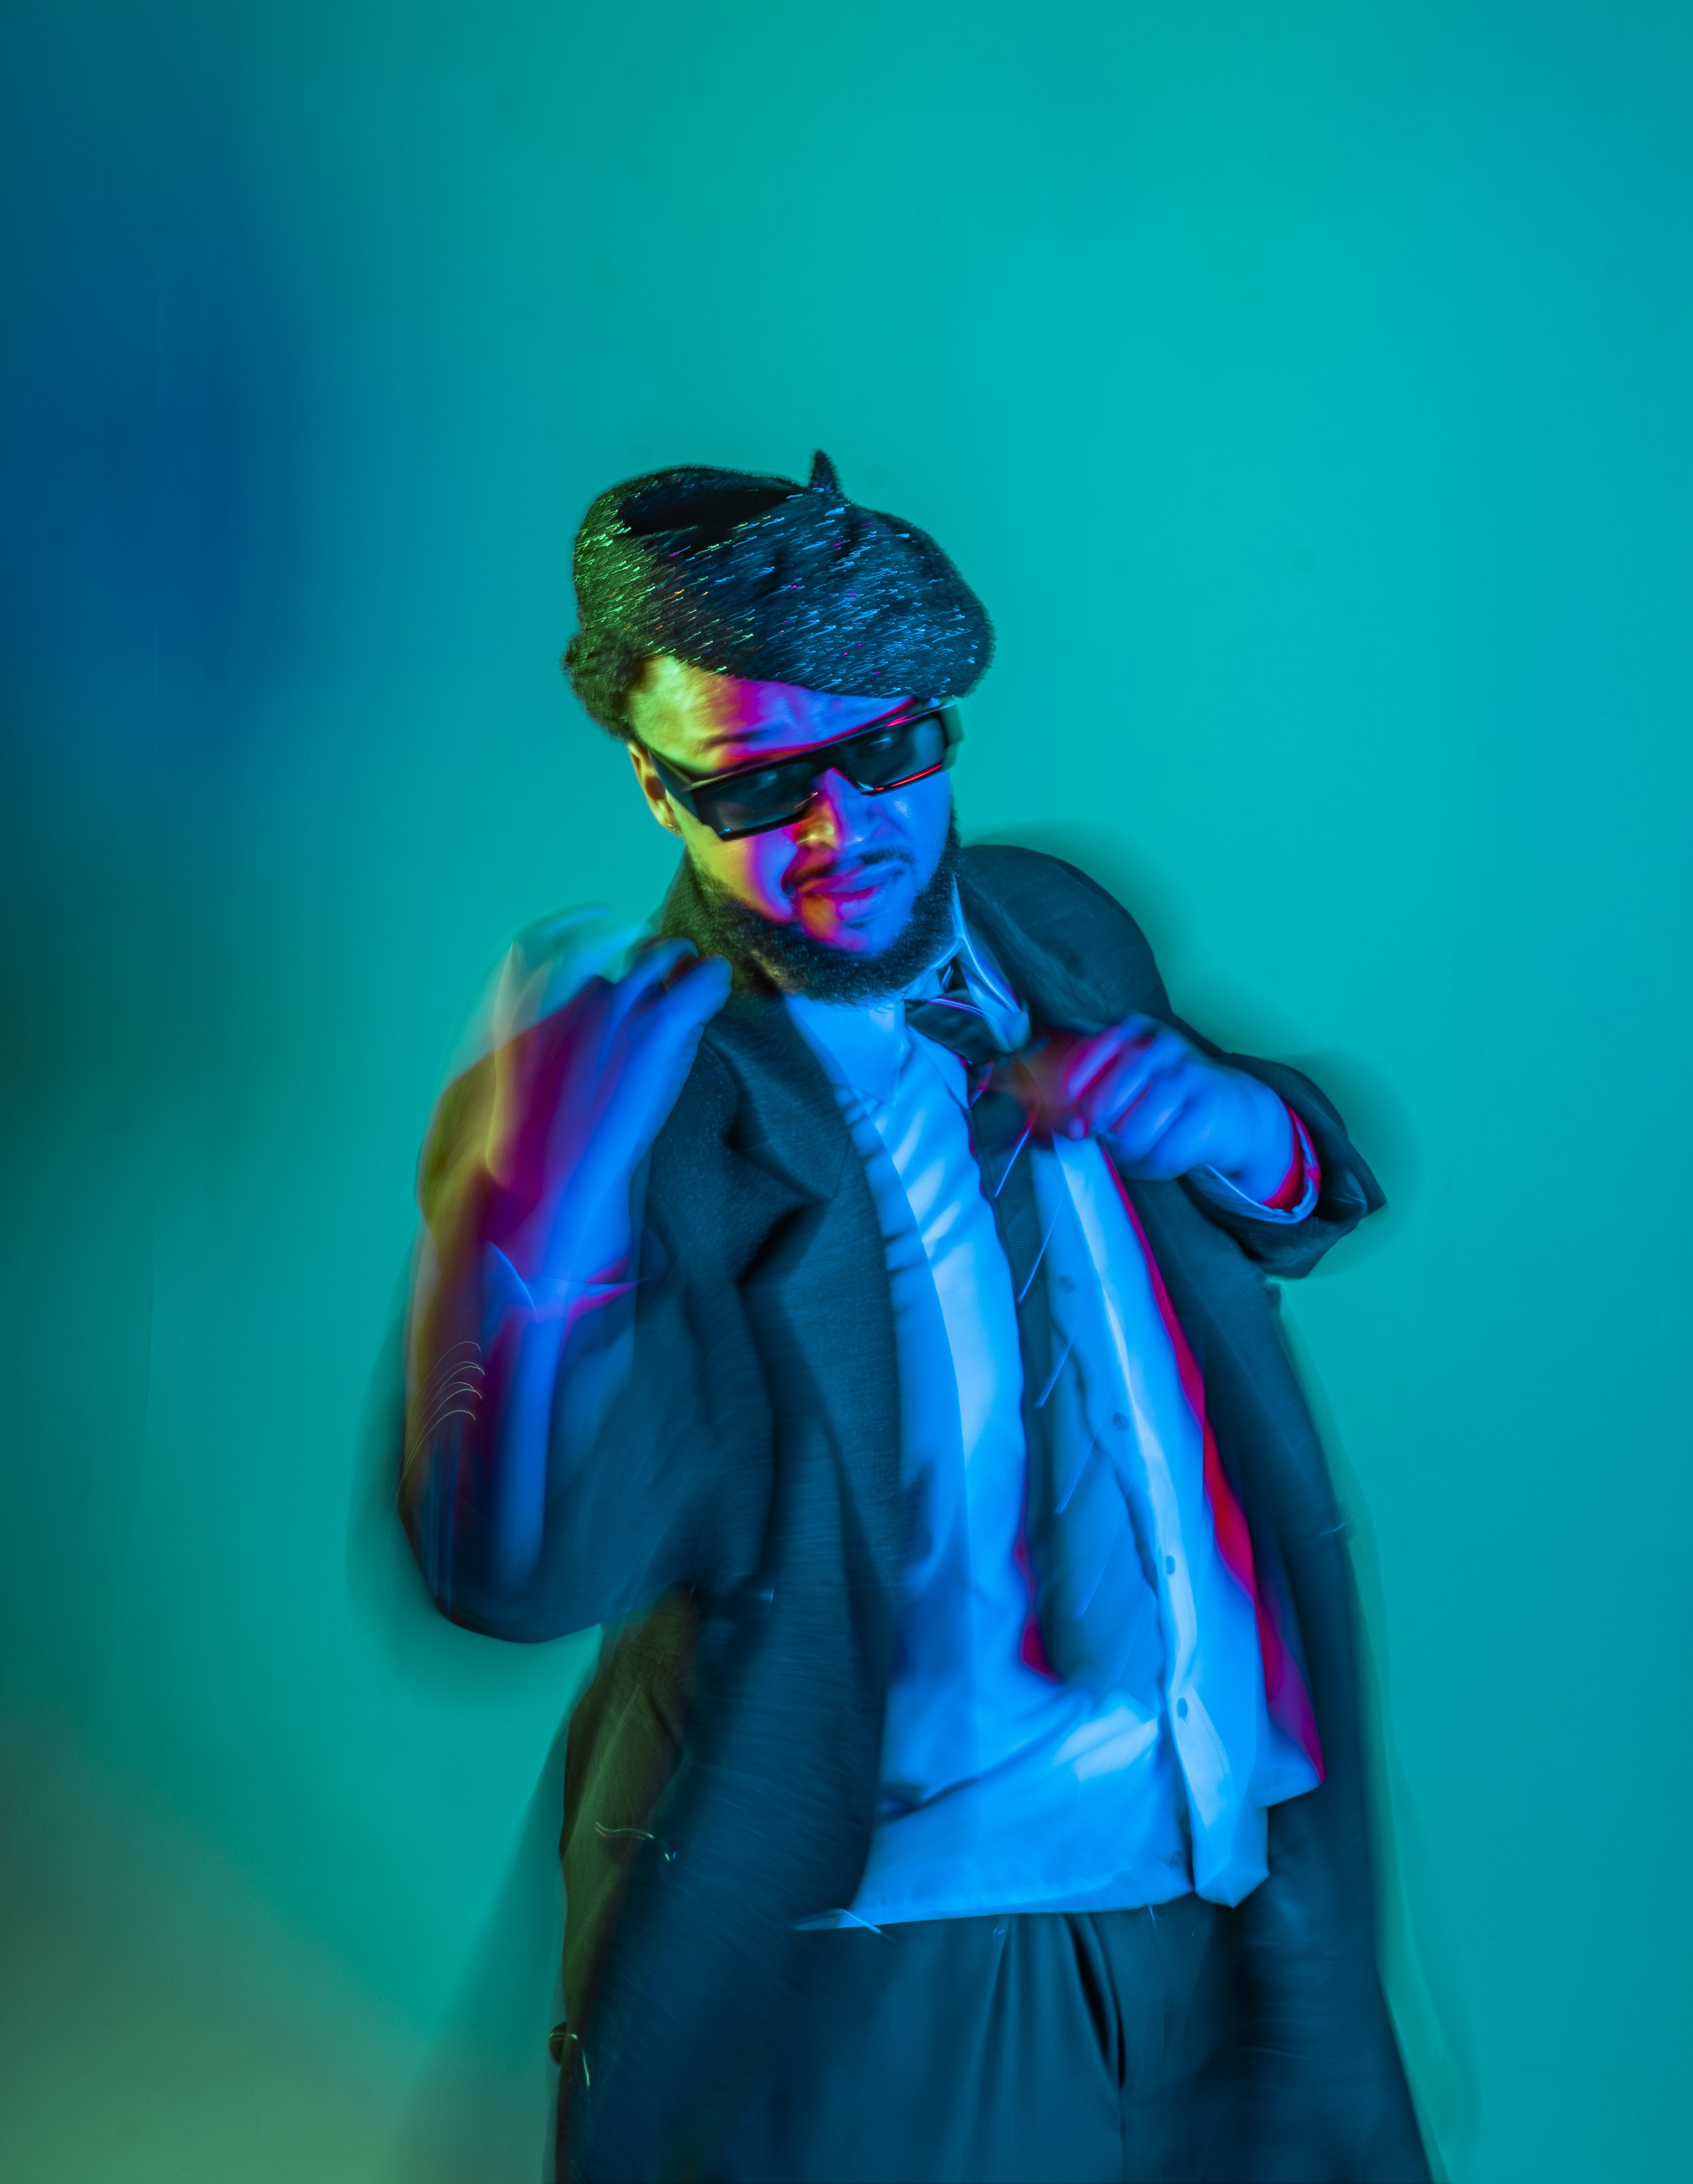
Using this same idea of contrasting colors, we set our Chroma Tube lights to a warmer yellow/orange hue for this next setup. The goal was to use contrasting colors, paired with a long slow shutter drag to blend these colors in camera. When shooting a slow shutter it’s helpful to increase your aperture to compensate for the slower shutter speed. In this case I was shooting at F22 here. The next step was to have our talent quickly turn his head while moving forward, simultaneously I whipped the camera quickly to my left.

Overall these lights were incredible for three reasons. The first is how quickly we were able to set them up. This allowed us to try out ideas before our talent even arrived which allowed us to be even more creative when it came time to shoot.
The second reason is just how bright and saturated these lights can be set to. These lights are incredibly powerful and paired against the backdrop of a darkly lit studio, we were able to create some very colorful backdrops that helped our subject pop.

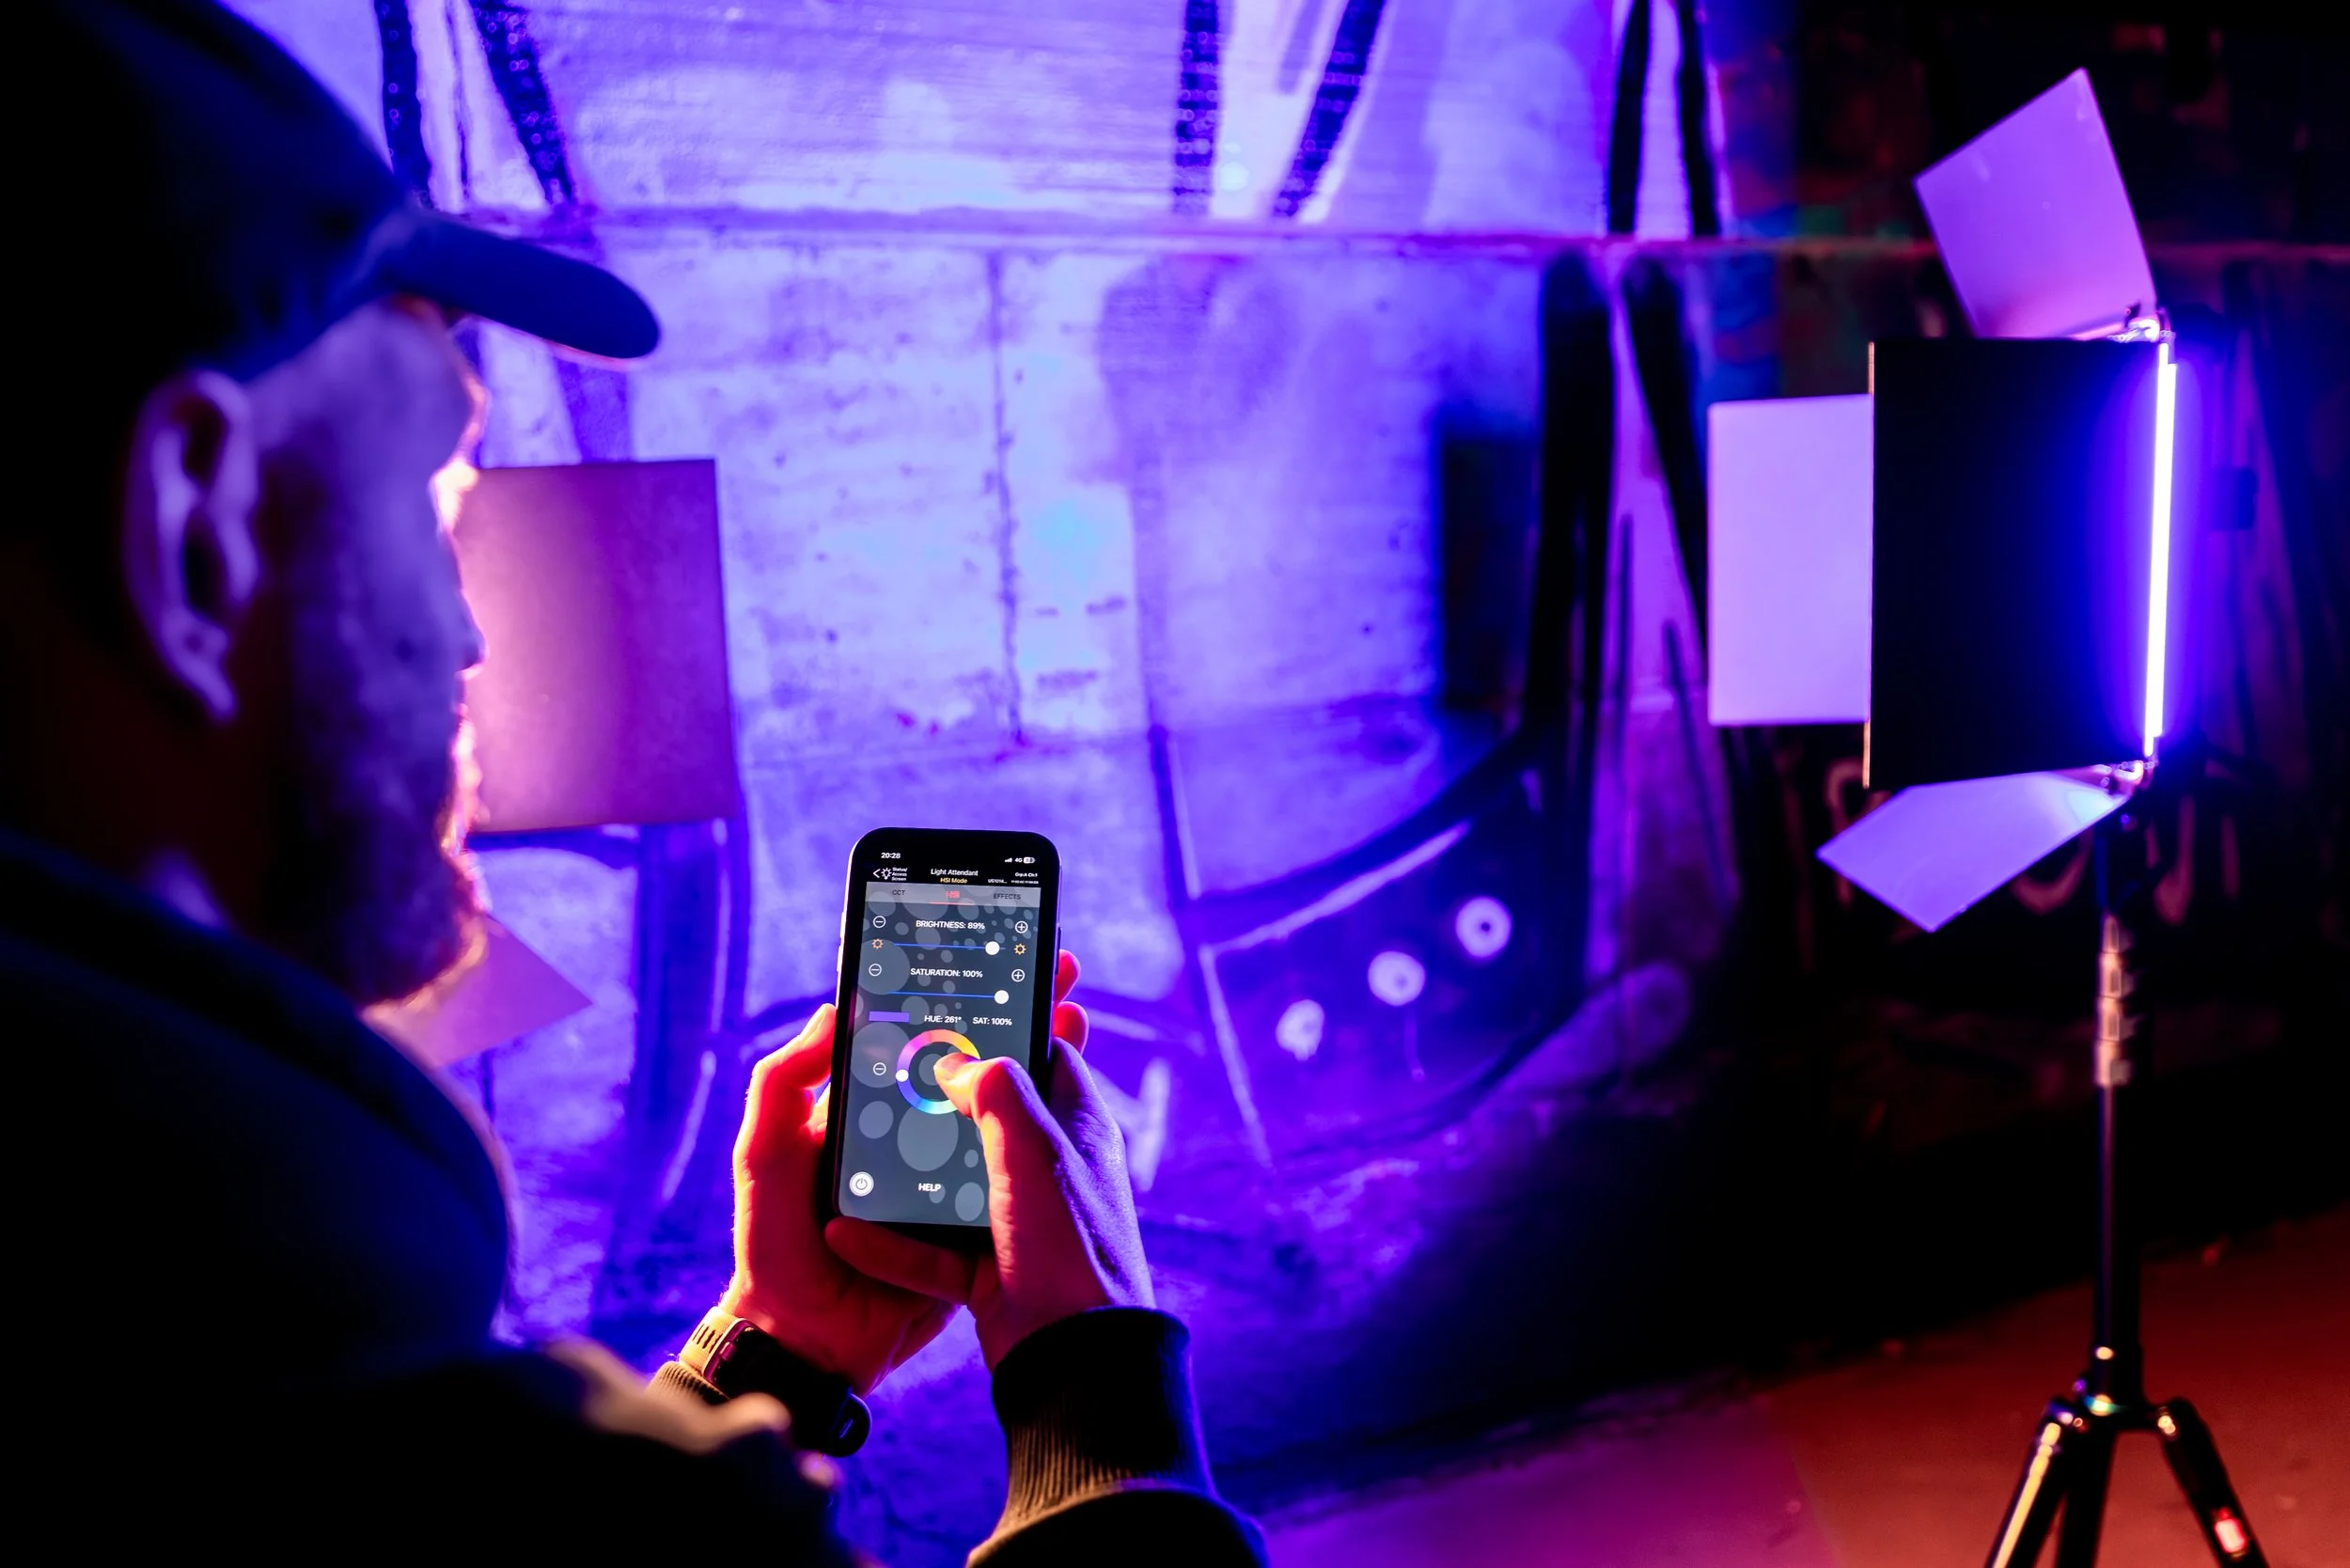
And the third reason was the ability to control these directly from the Light Attendant App. These lights connected in literal seconds and stayed connected the entire time. The app is very intuitive and simple to use. It also allows users to control groups of lights at once. We were able to control the Ultrasoft RGB lights and the Chroma Tube lights as a pair or both individually. This allowed us to easily set the lights to contrasting hues and saturations. The app also offers multiple effects such as flash, hue cycle, ambulance and many more unique effects. This made the entire shoot more efficient because we were able to quickly change the light colors without having to physically lower them and adjust the dials and knobs on the back.
This shoot pushed me out of my comfort zone. Capturing talent in the studio, using four different lights, directing three crew members and coming up with creative poses was definitely a challenge. But we can only get to the next level when we are willing to take risks and try new techniques in our images. And fortunately that risk led to some of my favorite studio images to date!

Nick Joyce
Nick Joyce is an award winning filmmaker and a published photographer who loves traveling and the outdoors. He is a full time adventure photographer and filmmaker. He has created content for hundreds of clients and worked with some amazing brands.
He is driven by a passion to shoot photos and films that inspire others to want to get out and explore the world more.