

The Art of Blending and Bracketing
Exposure blending is one of the best ways to overcome the limits of your camera’s dynamic range and capture images that can help accurately reflect how a scene appeared and felt in the moment. Whether you’re shooting directly into the sun, roaming a shadowy forest with bright skies above, or you’re just looking to have the peace of mind with extra shots to sift through, bracketing and blending can help you keep detail in both highlights and shadows without sacrificing image quality.
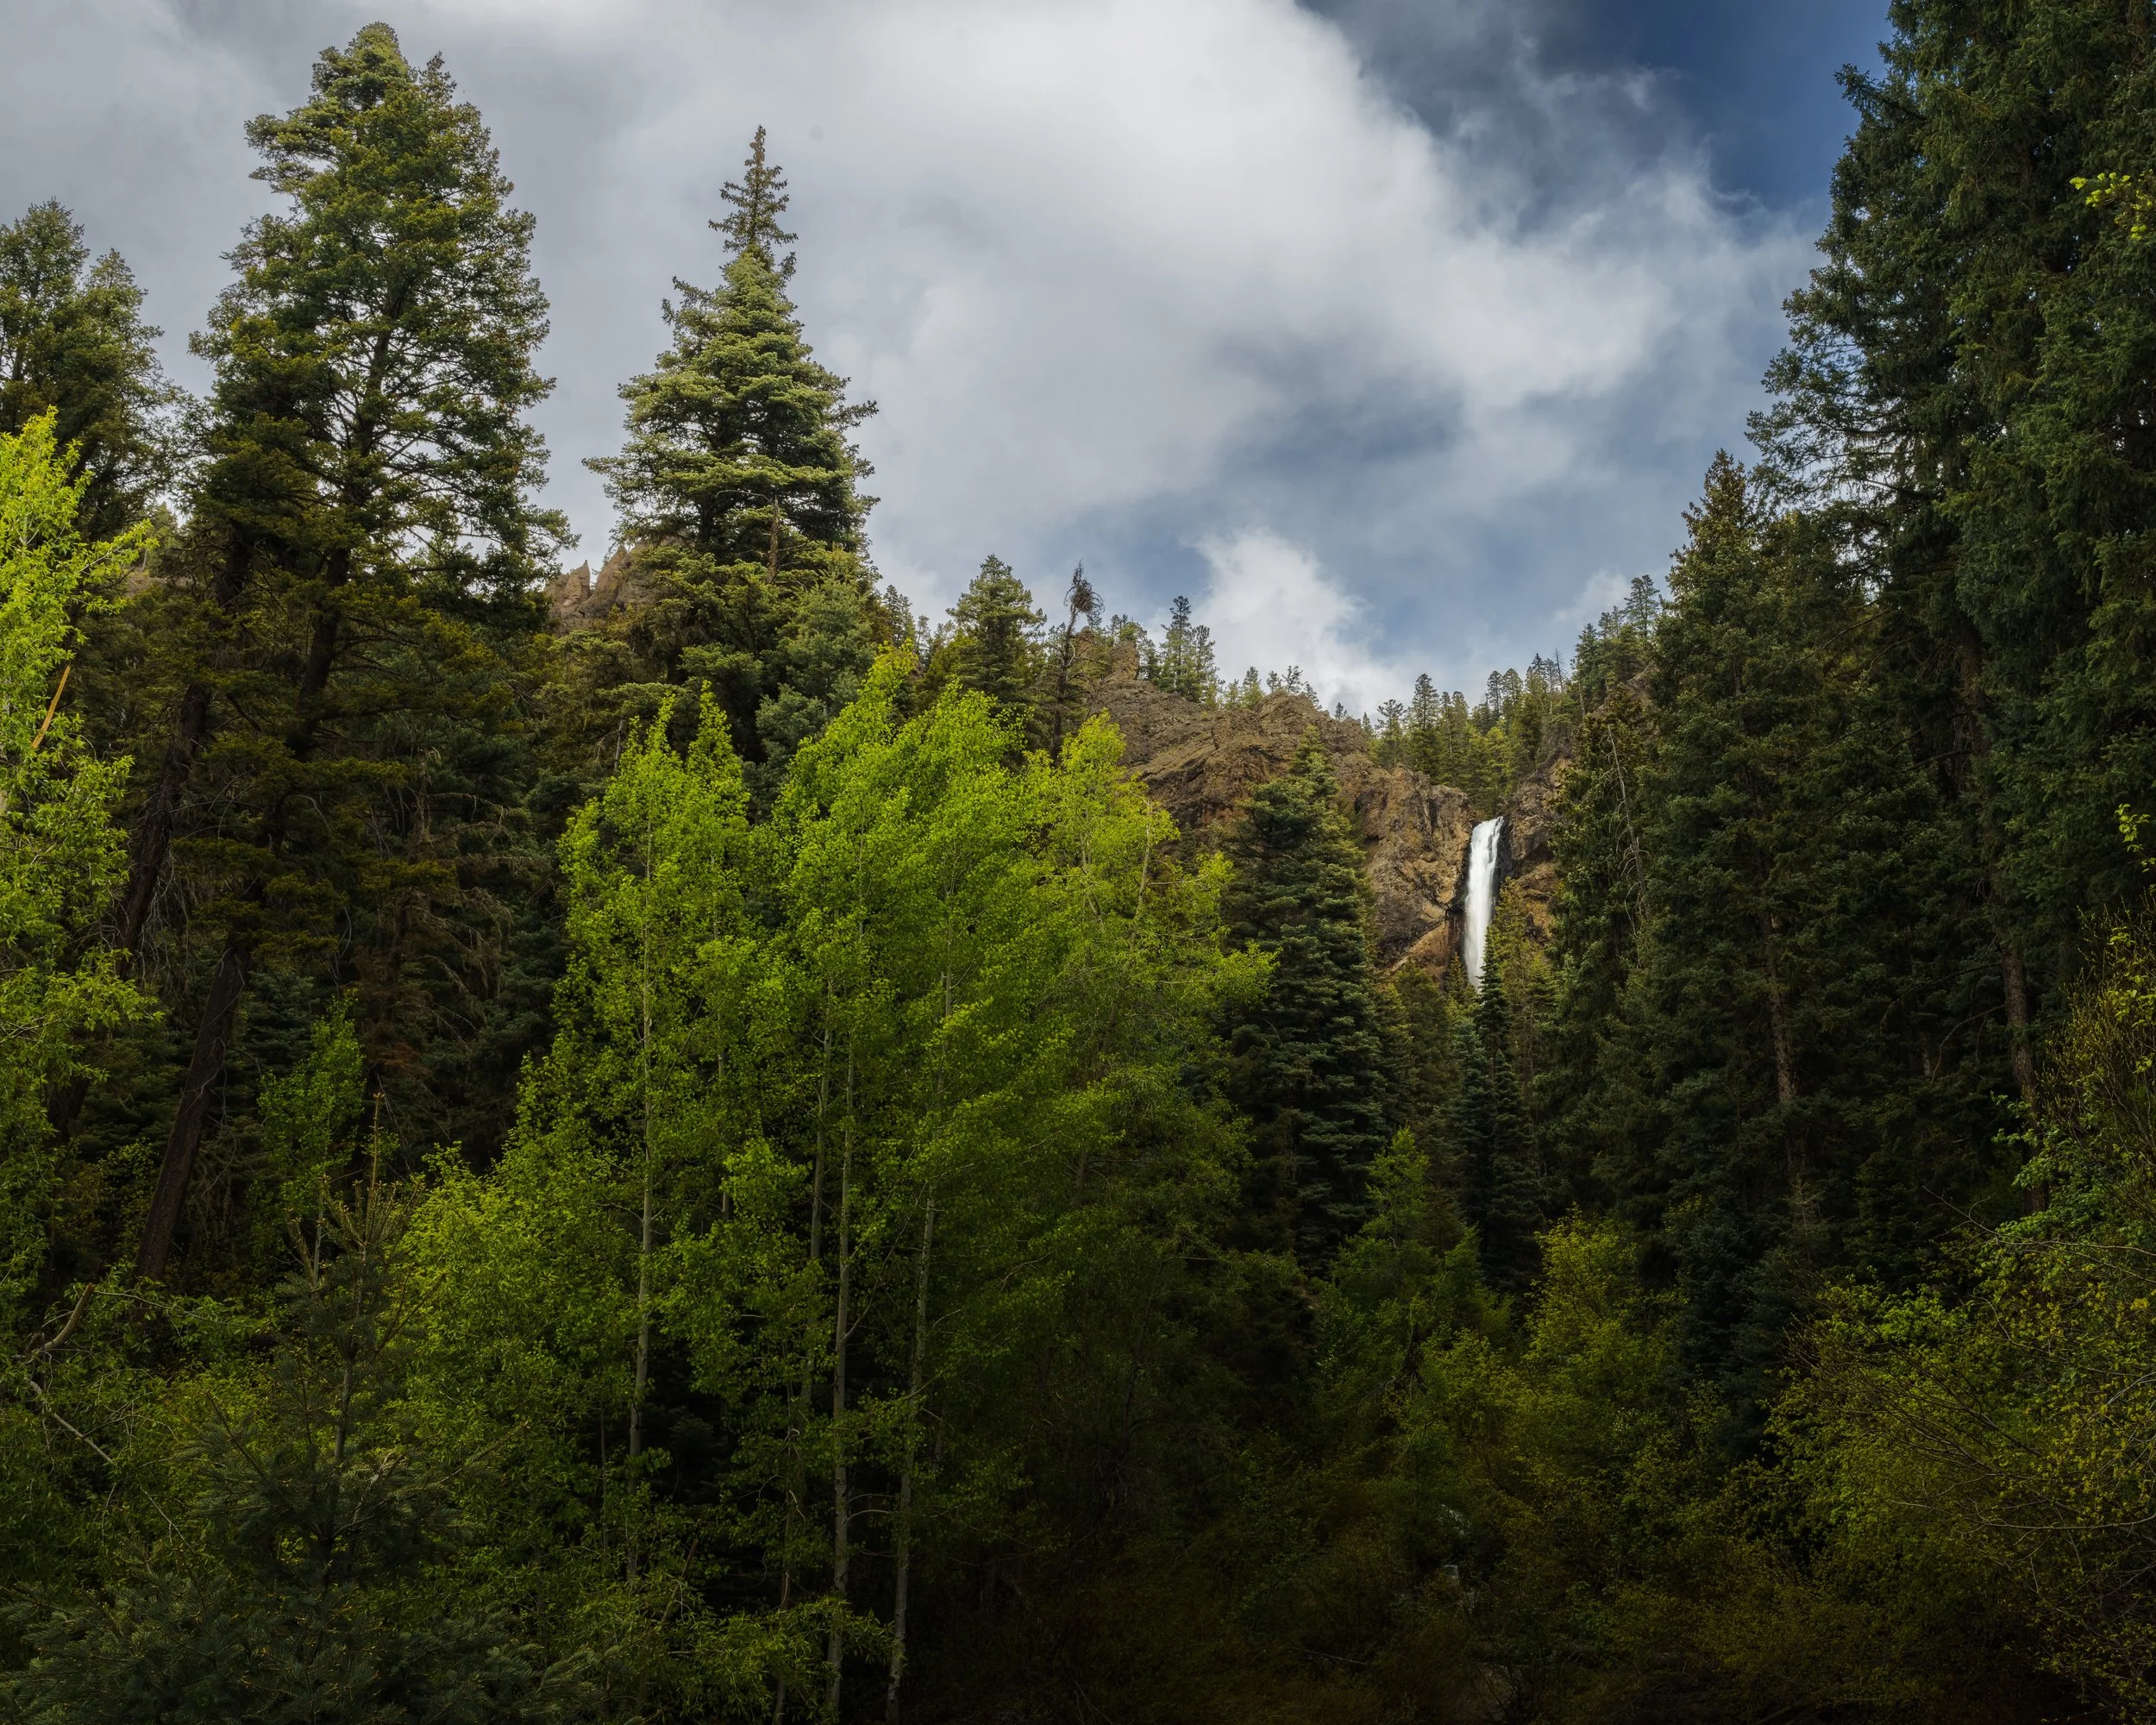
Before we dive into the walkthrough, let’s take a second to understand the why. Our eyes are incredible at adjusting to the contrast between bright and dark areas, but even the best camera sensors don't have that same flexibility. In high-contrast scenes, you’re often left with a tough choice: Expose for the highlights and lose your shadows, or bring up your shadows and blow out the sky. As a landscape photographer, I was plagued with this issue during my early years of shooting. Exposure blending has helped me bypass that tough decision by capturing multiple versions of the same shot at different brightness levels, then combining them to show the full range of light in the scene.
Gearing Up
Bracketing and exposure blending don’t require too much extra gear, but a few key tools make a big difference. First and foremost, you’ll want a sturdy tripod. Keeping your camera perfectly still between frames is critical so that each bracket lines up exactly. I rely on the Epoch tripod for this kind of work, especially in windy conditions or uneven terrain. You want zero shake between shots, and Epoch can deliver these results without fail.
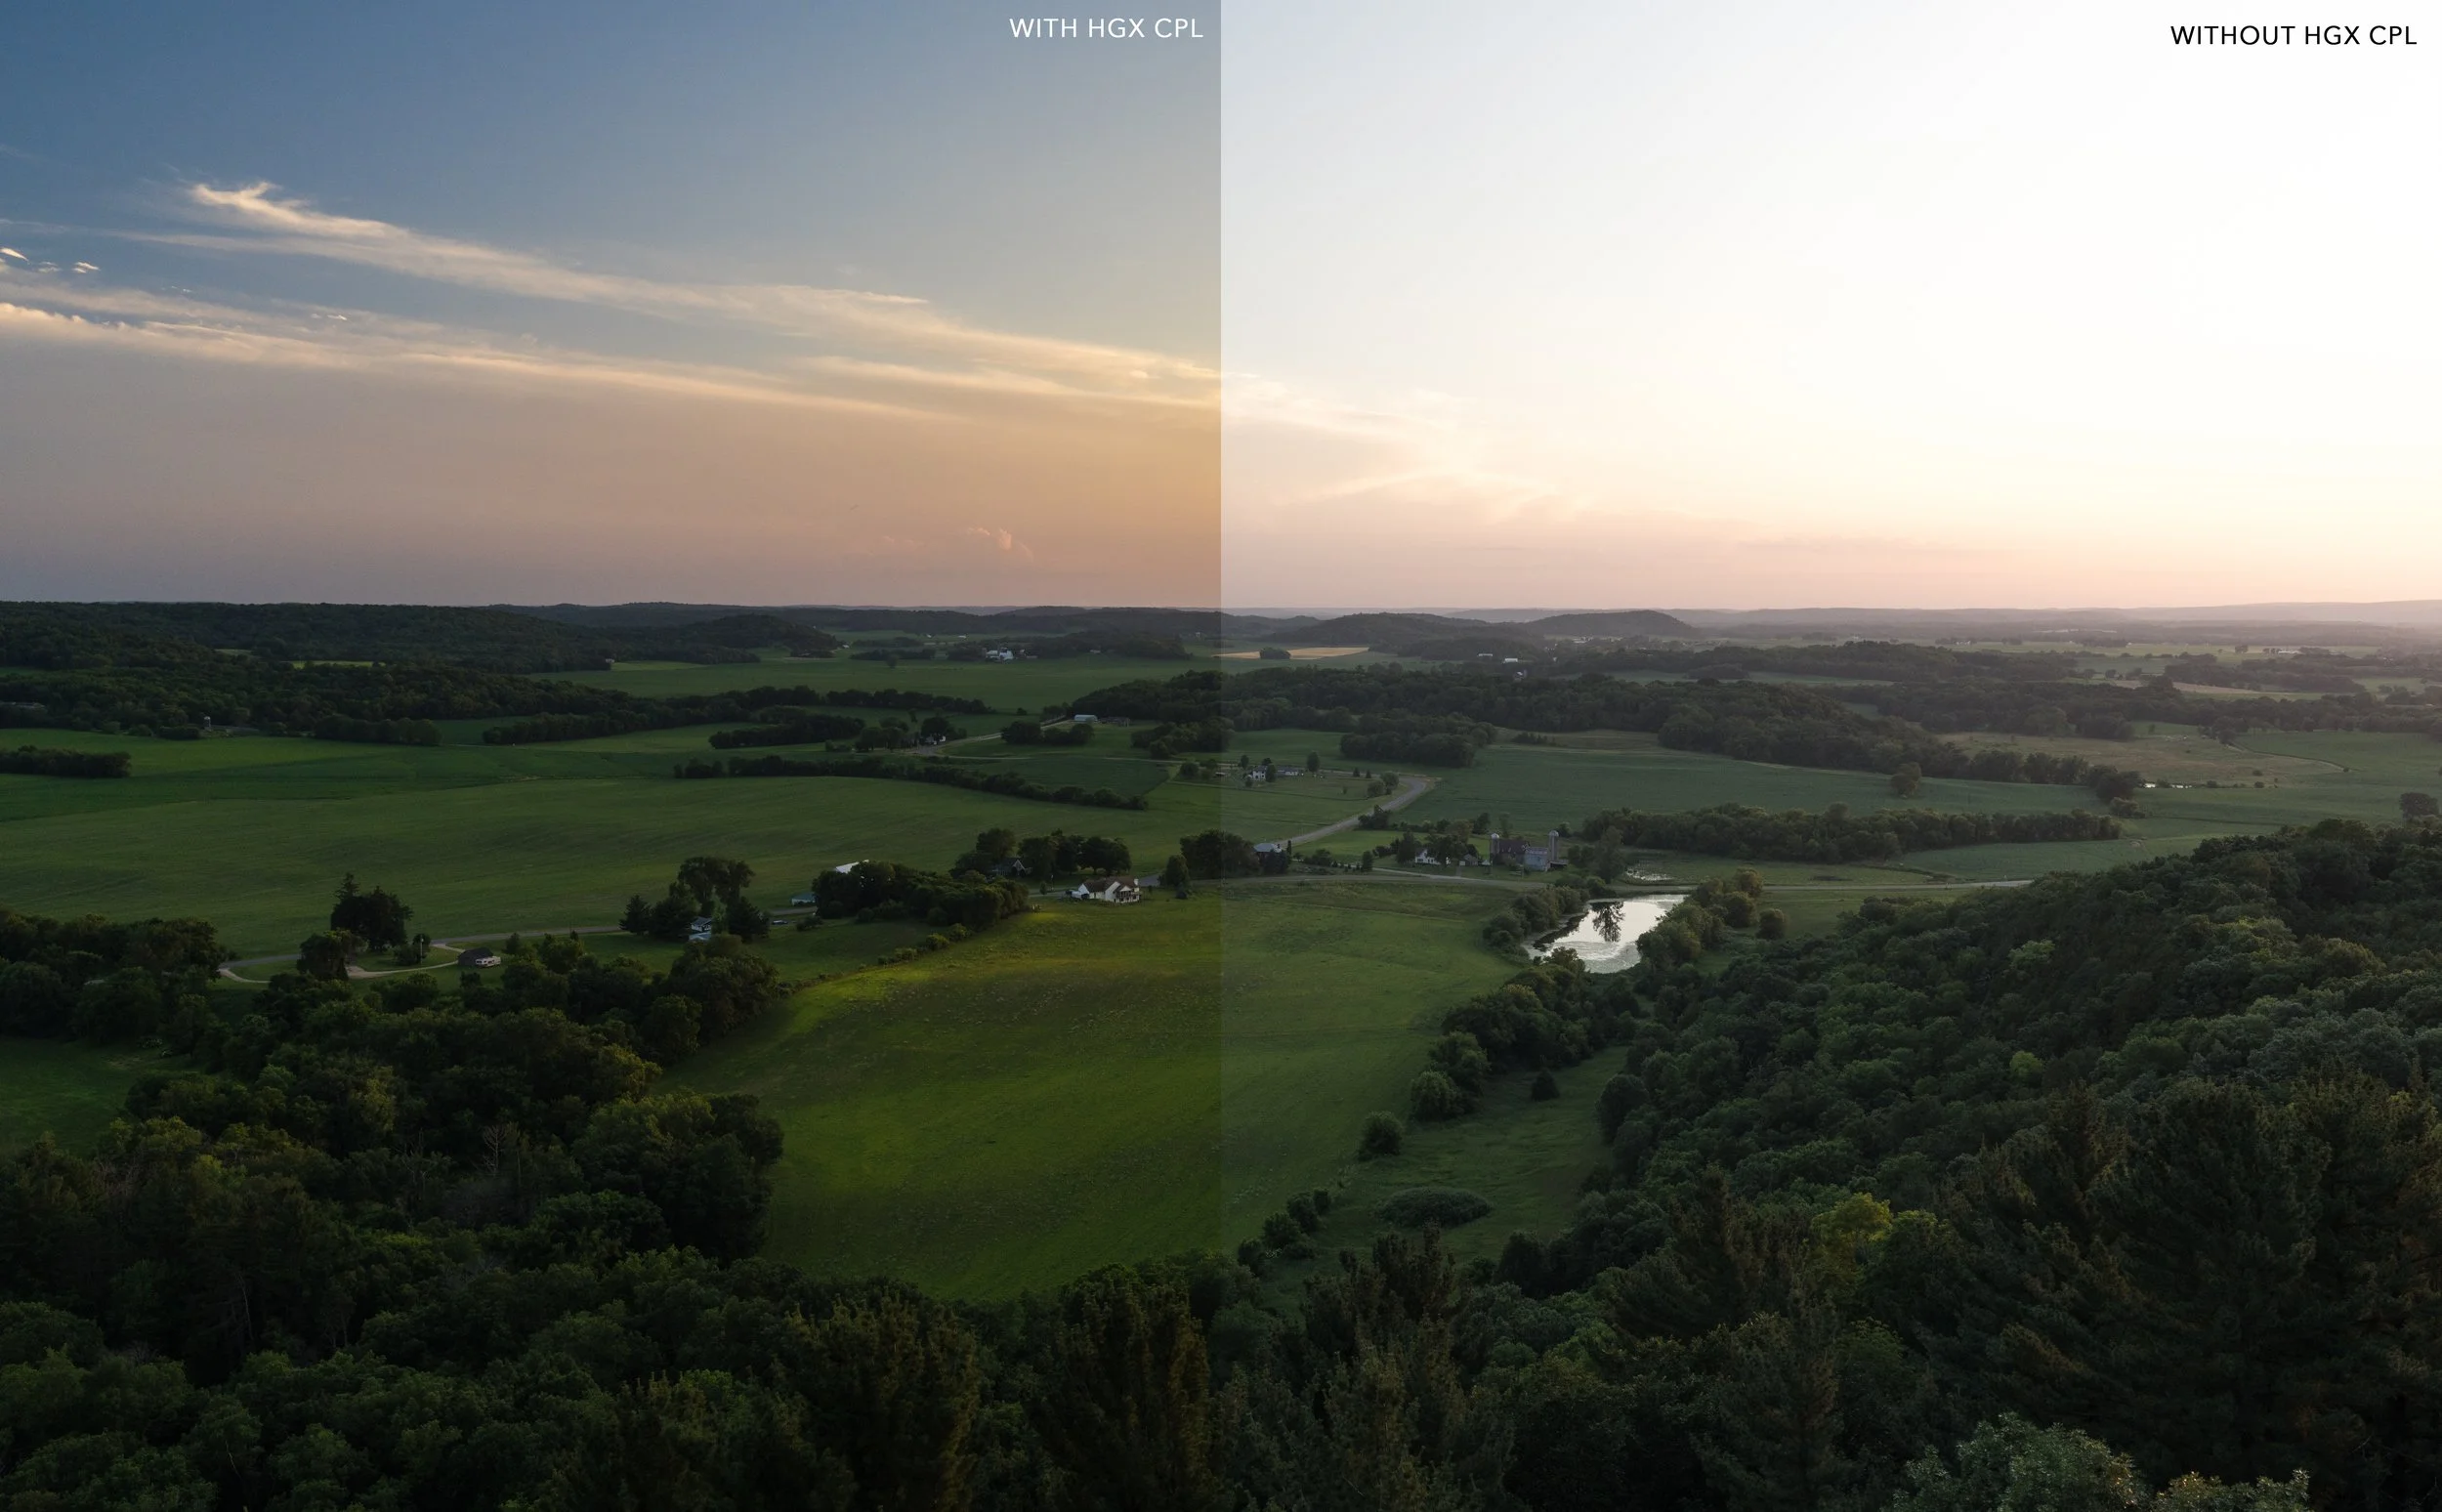
You’ll also want a remote shutter release or a 2-second timer to avoid touching the camera when firing. Most mirrorless and DSLR systems let you capture a series of exposures with a single shutter press, however if your camera has a built-in bracketing feature, even better. Make sure you’re shooting in RAW so you have the most flexibility in post. Lastly, a high-speed SD card like the Rugged V60 or Rugged V90 is helpful to quickly write multiple bracketed shots and avoid buffer slowdowns. In addition to these products to help elevate your shots, I would also suggest investing in one of ProMaster’s HGX Prime CPL Filters. For any outdoor scene, having a polarizer handy, especially for bracketing and blending, can help recover your sky, increase saturation, and give you more flexibility with water scenes. Simply put: the opportunities are endless.
Two Ways to Capture: Automatic and Manual
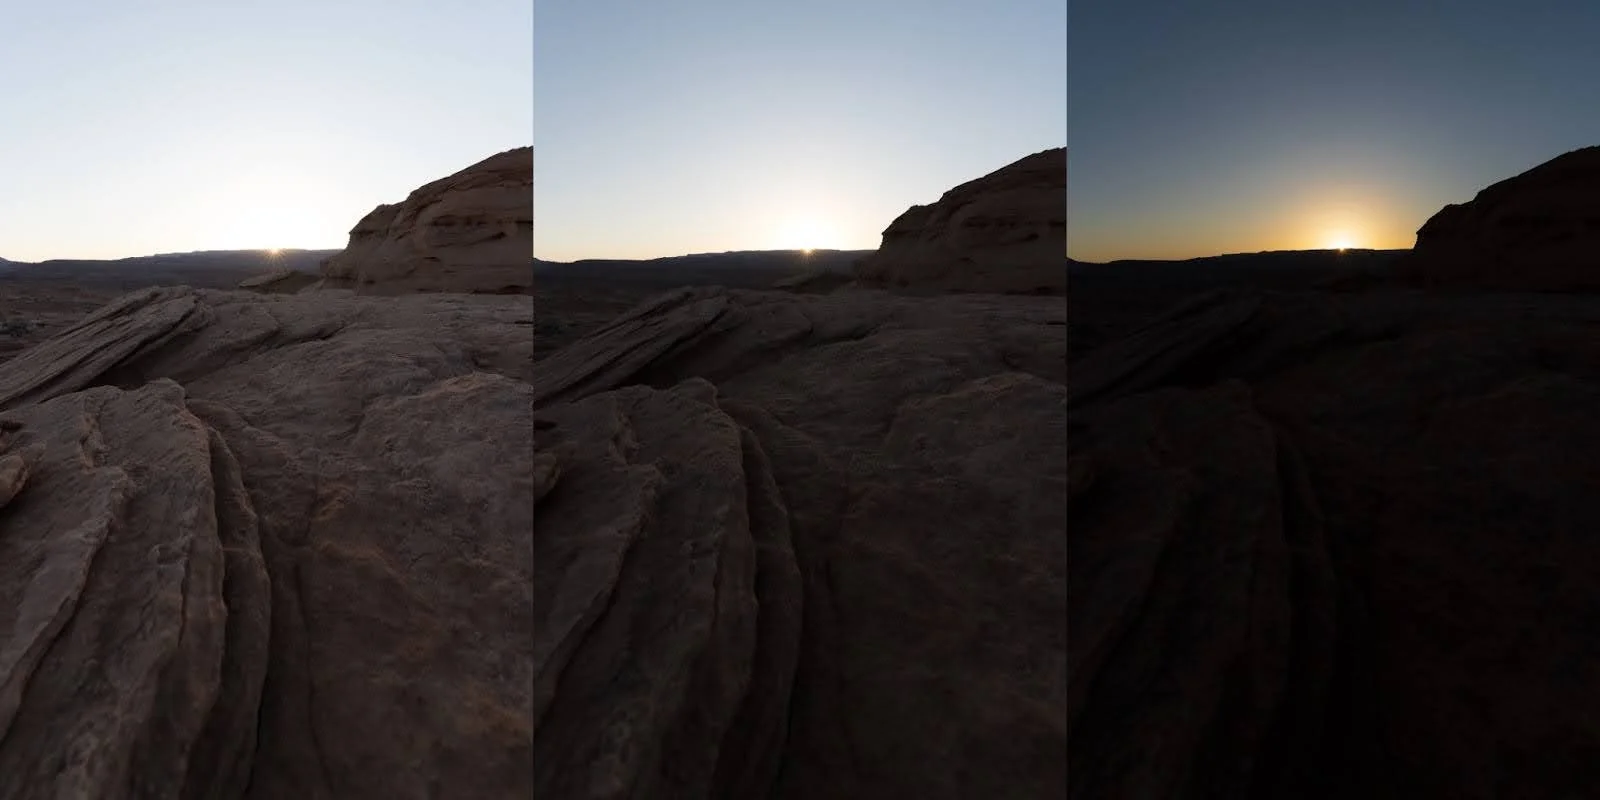
There are two main ways to capture bracketed exposures: automatic and manual. Automatic bracketing is built into most cameras and is usually labeled as AEB (Auto Exposure Bracketing). Set your camera to take three or five images at different exposures, usually spaced one or two stops apart. You’ll typically want one photo exposed for the highlights, one for the midtones, and one for the shadows. For landscape scenes with extreme contrast - think sunsets, sunrises, or forest scenes with bright skies - you may want five exposures or more. Personally, I’m a five image guy. Most of the time, I set these exposures at one-stop intervals (+2, +1, 0, -1, -2), but if the contrast is more intense, I’ll increase the number or decrease the spacing.
Manual bracketing is useful if your camera doesn’t have an AEB function or if you want more control. Set your base exposure, then adjust your shutter speed manually to shoot brighter and darker versions of the same scene. Be careful not to change aperture or ISO between brackets, since those can affect depth of field and noise levels. Once your composition is locked and your camera is steady, fire off your bracketed exposures. Double-check the histogram on each image to ensure you’ve captured enough information across the entire range with both your shadows to highlights. With shutter speed, double check to make sure you aren’t blurring any movement at too slow of a speed. A way to avoid this is to raise your base ISO for all of your bracketed exposures. A good rule of thumb that I like to follow for landscape images is to stick above 1/125s to minimize any movement of foliage in the foreground.
Post-Production Editing
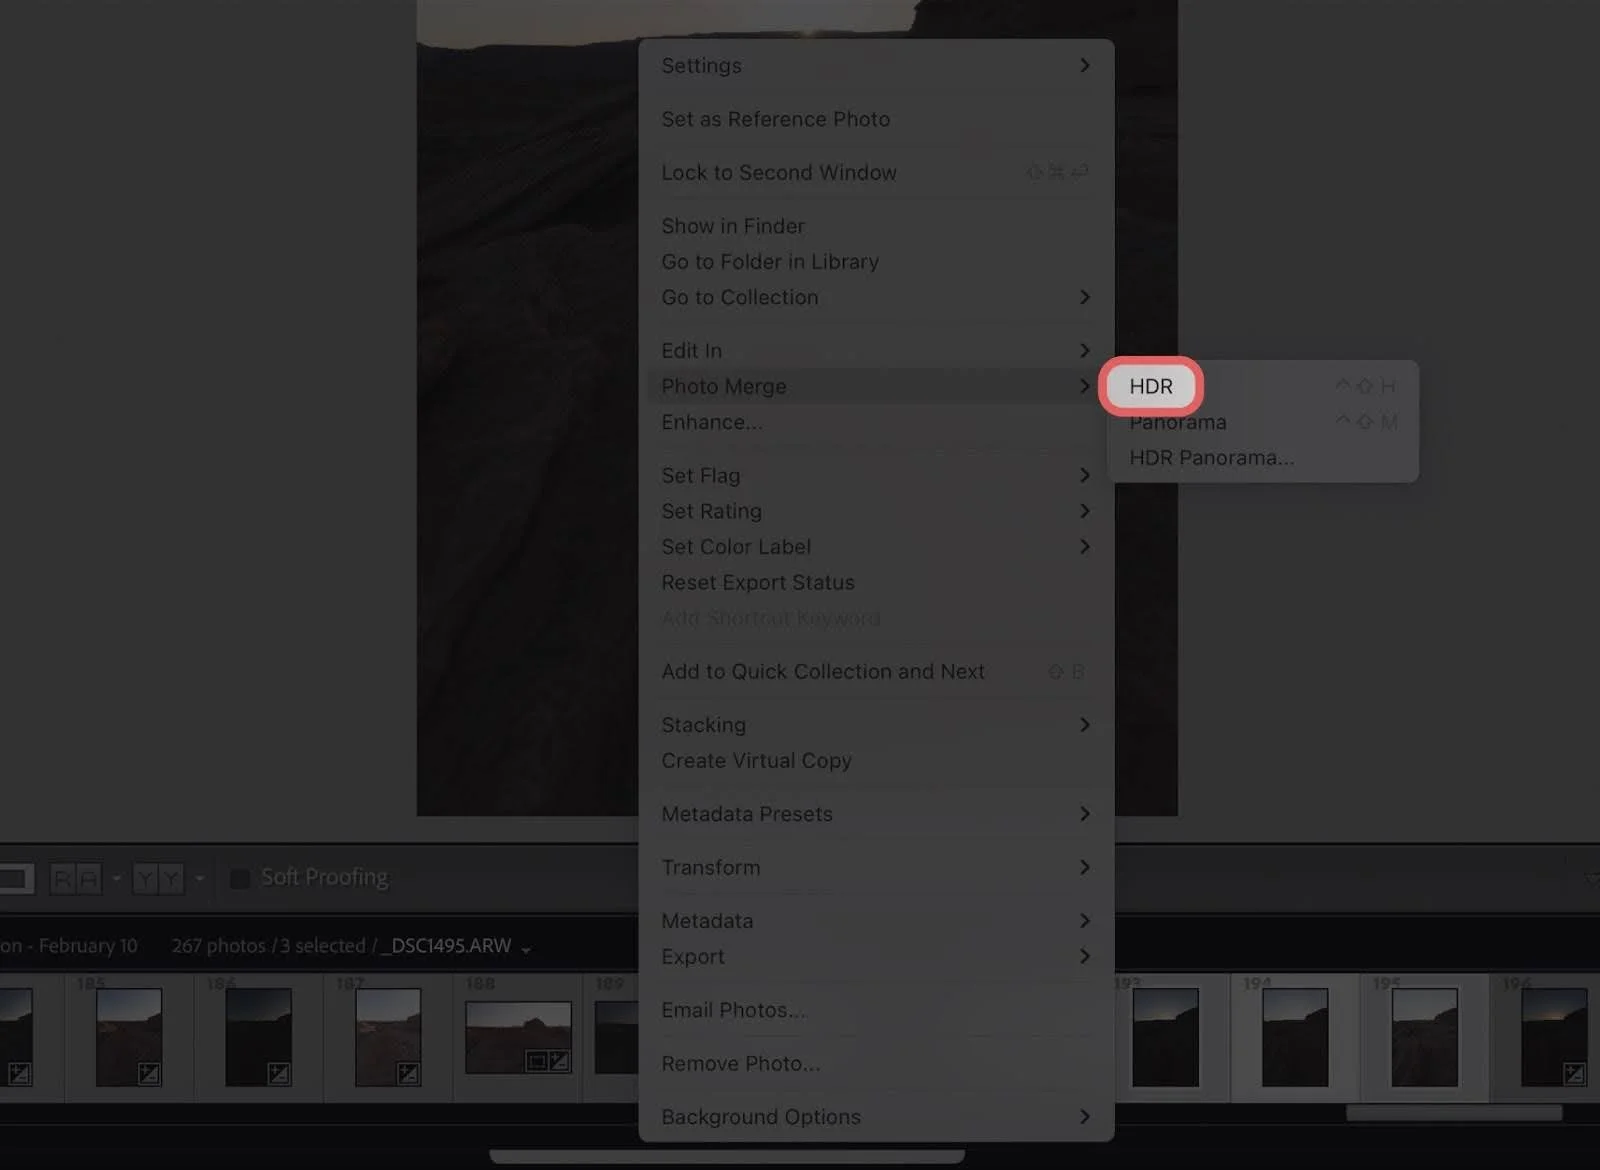
After importing your files into Lightroom, start by syncing basic edits like lens correction, profile selection, and white balance across your bracketed set. From here, you have a few choices for how to actually blend the exposures. Lightroom’s built-in HDR Merge tool is a great starting point and a quick way to see what is at your fingertips early on. In the Develop tab, select your bracketed shots, right-click, and choose Photo Merge > HDR. From there, Lightroom will automatically align the images and blend them into a fully dynamic .DNG file. You can then edit this file like a normal RAW photo, except now you have far more detail to work with. This method is simple, clean and perfect for those of all skill levels.
If you want full control, I suggest blending your exposures manually in Photoshop. After selecting and lightly editing your RAW files in Lightroom, open them as layers in Photoshop (use Open as Layers from Lightroom or go to File -> Scripts -> Load Files into Stack). Once loaded, align the layers again if necessary. Now it’s the fun part.
Add a layer mask to your brighter or darker exposure and use a soft-feathered black brush on the mask to paint in extra detail where needed, typically bringing in the sky from your darker image and keeping the foreground from your brighter image. For a more gradual (pun intended) approach, you can also use a black and white gradient and drag the gradient across the affected area. If you accidentally over-paint an area, don’t worry. Simply change your brush from black and switch it to white. The rule of thumb for masking is this: White reveals, black conceals. What this means is by painting with a white brush, you are making visible the layer you are masking, whereas with black, you are making it invisible - or concealing it.

The best piece of advice I can offer for this process is: take your time. The beauty of manual blending is the precision and accuracy of your work. You can blend the images naturally and avoid the over-processed look that sometimes comes with HDR software.
Nothing kills a blend faster than misalignment from a refocused frame. Shoot before the light changes too fast. For sunset shots especially, you’ll want to bracket quickly to keep cloud shapes and lighting consistent between frames.
Try both Lightroom and Photoshop. Sometimes the HDR Merge is all you need, but for cleaner results or creative control, Photoshop is the better route. Don’t rely on bracketing to fix bad light, though. It’s a tool, not a miracle worker. Use it when the dynamic range exceeds your camera’s abilities, not to rescue poor compositions or flat lighting. Keep your edits natural. It’s easy to go too far when blending exposures. If something feels off, dial it back. The goal is a seamless image that feels real, not one that looks obviously combined.
A Game Changer for Photography
Learning to blend exposures is a game changer for photographers. It opens the door to high-contrast scenes that would otherwise be impossible to shoot cleanly in a single frame. With a solid tripod, a few properly bracketed shots, and a little patience in post, you can bring your photos closer to what you actually saw and felt in the moment. Give it a shot (or in this case, shots) next time you’re out shooting during golden hour or under a dramatic sky. Once you get the hang of it, you’ll start seeing more opportunities to blend (another pun intended) these techniques into your arsenal of shooting methods.


Charlie Kruschek
Landscape photography is Charlie's true passion, chasing everything from storms to sunrises. Standing humbled before nature's raw power and in awe of the world's subtleties, Charlie's goal is to preserve heart-skipping moments of natural light, focusing on an emphasis of time. Charlie attempts to share his imagery as a method of inspiring others to appreciate life's beauty through a different optic and the fragility of each second.


