

Videography Essentials
Video work can seem overwhelming, especially when you are just stepping into this arena for the first time. In today's blog, we run through some simple tips and guidelines that we recommend for those of you looking to take the plunge.
Frame Rates
What may seem like a complicated topic on the outside is very simple once you get down to the nuts and bolts of it. Essentially, frame rate is how many individual frames are captured each second. The most common frame rates you will come across are 24fps, 25fps, 30fps, 60fps, and 120fps.
Frame rate plays an important role in determining how your image may display and what you can do with the footage in post-production. 24fps is the American benchmark for video and cinema work. This is the base level frame rate most cameras will shoot in and is what most editing timelines will be structured around. It provides what most deem to be a “cinematic look”.
Here we have our frame rate set to 24fps or 24P and you can see our corresponding shutter speed is 1/48th:

Here we have our frame rate set to 24fps or 24P and you can see our corresponding shutter speed is 1/48th.
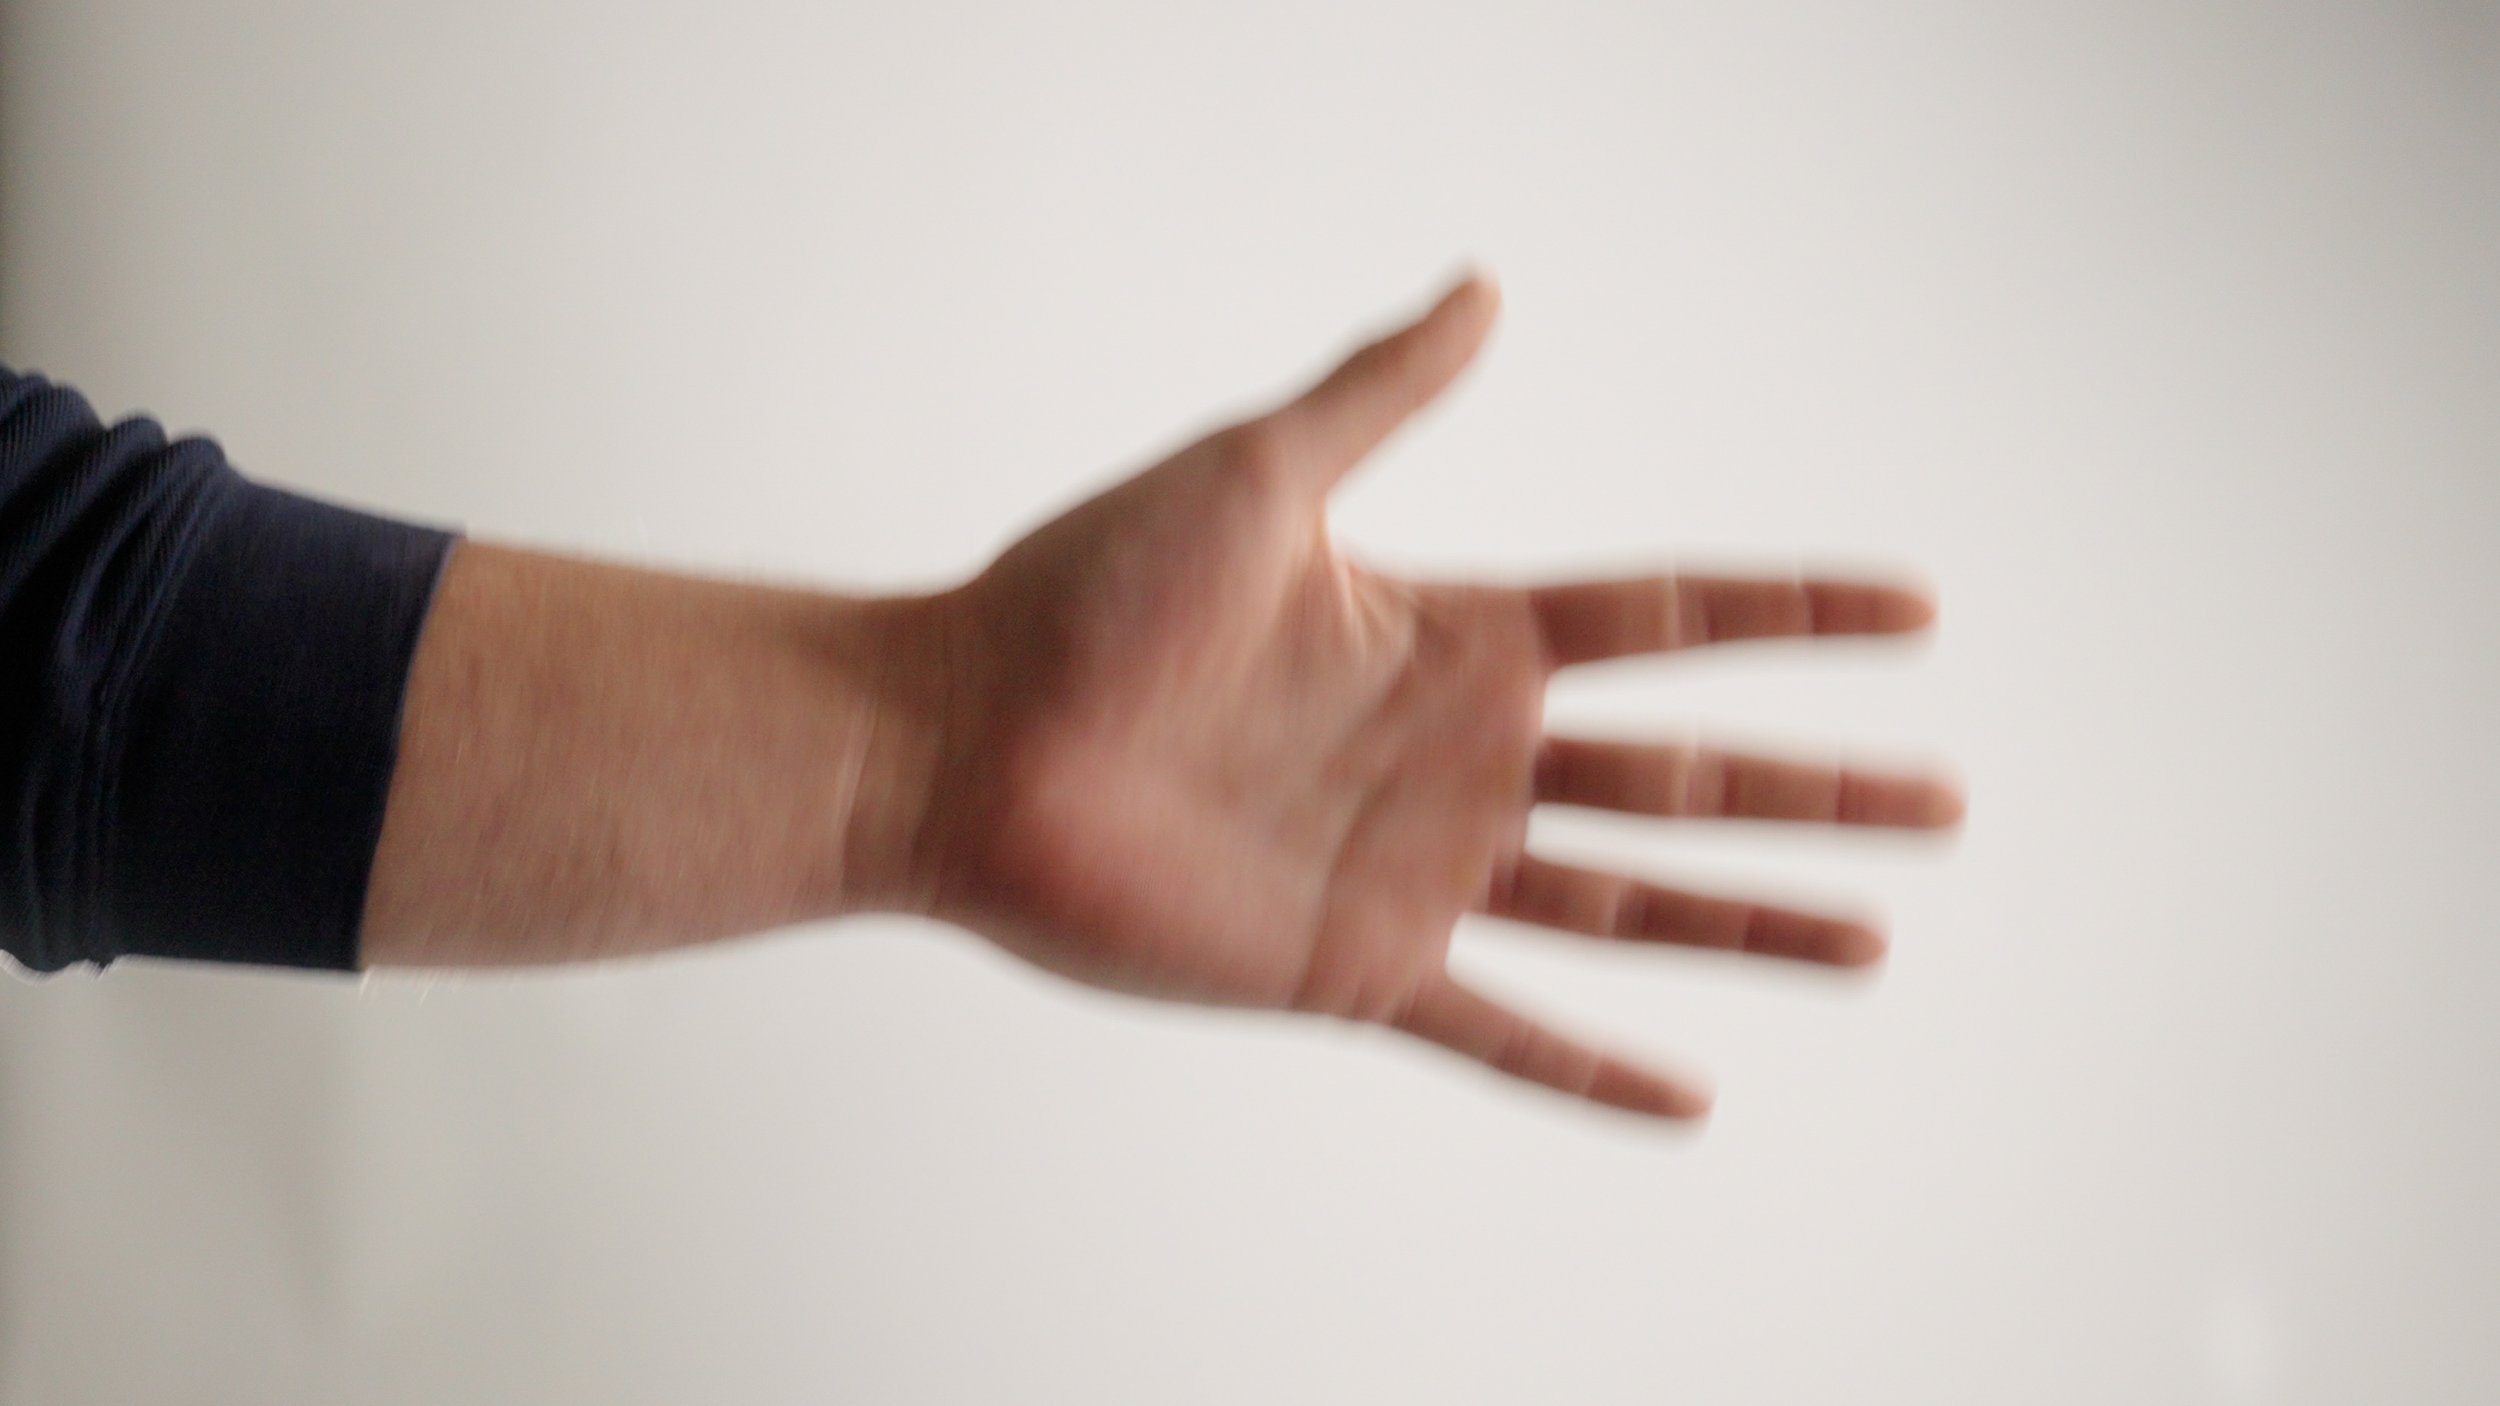
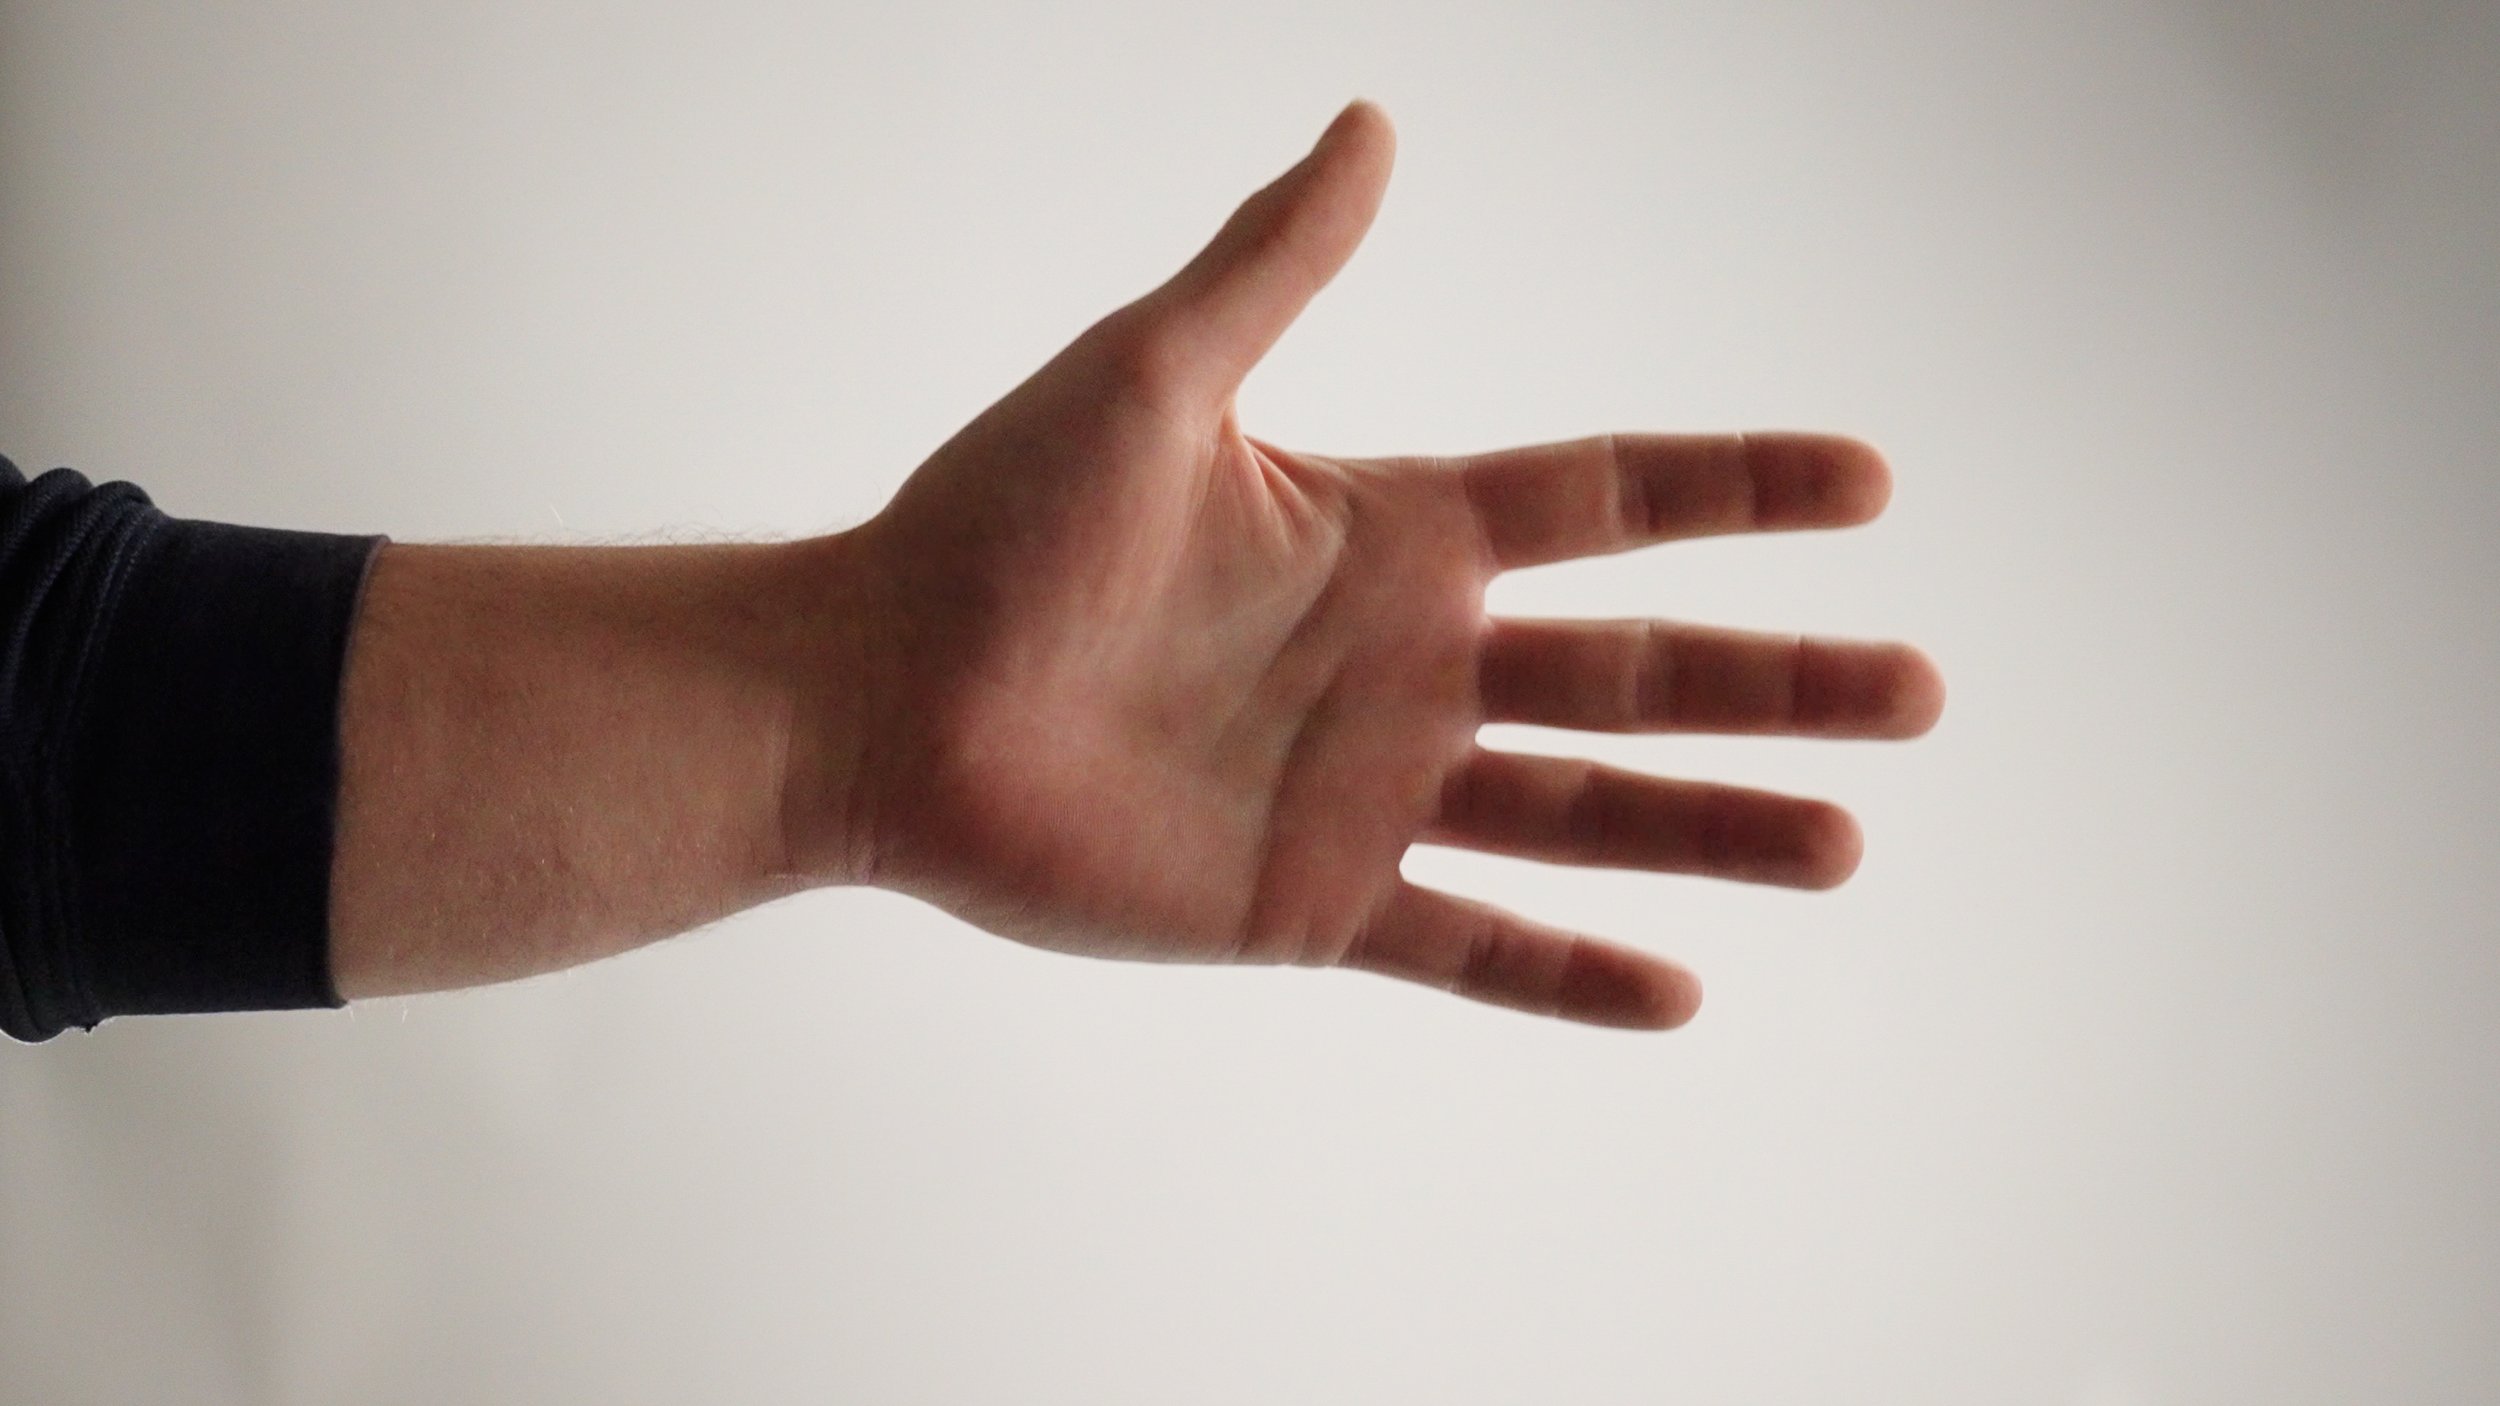
What’s most important to understand regarding frame rates is how they work in conjunction with shutter speed. The human eye, while very impressive, cannot process moving objects fast enough to eliminate motion blur. If you quickly wave your hand in front of your face, you will notice that it becomes blurry. This natural motion blur can be achieved in-camera by setting your shutter speed to double your frame rate.
For example, if your frame rate is 24fps you would set your shutter to 1/48. Also known as the 180° Rule, this video standard provides the most natural-looking motion blur, emulating what the human eye is capable of seeing. Increasing your shutter speed beyond this measure will lower the exposure of your image and make motion appear more clinical. On the flip side, if you reduce your shutter speed below your frame rate you will notice increased motion blur almost as if your camera is in a daze. While there are scenarios where breaking the 180° Rule can be used to achieve a specific effect for general video production, it is often best to follow this principle.
You can see the effect of shutter speed demonstrated with a waving hand. As the shutter speed increases the hand appears sharper. As a still frame this may look fine but when showcased in a video it will look rather clinical and unnatural.

Higher frame rates can come into play when you're looking to slow down your footage in post-production. If you have a 24fps timeline set up in your editing software and you try to slow down a 24fps video clip you will notice that the footage becomes choppy and jarring for the viewer. Enter the almighty 60fps. This frame rate provides excellent flexibility for those that want the ability to slow down their footage without having massive file sizes. At 60fps you can slow down your footage to 40% speed in a 24fps timeline. This is often plenty slow for most applications but there are times that call for more. This is where you may want to step up to 120fps. At 120fps, you can slow down the footage to 20% speed on a 24fps timeline. That is slow. Like really slow! For most, they will never need more than this, but some cameras can shoot from 240fps into the 1000s of frames per second.
To sum things up here is a brief chart on common frame rates and their associated shutter speed when following the 180° Rule
Frames Per Second Shutter Speed
24fps 1/48
25fps 1/50
30fps 1/60
48fps 1/96
60fps 1/120
120fps 1/240
Video Color Profiles and File Types
The video format you are recording in will greatly determine the flexibility of the image in post-production. Most modern cameras offer different picture profiles when capturing video. Some of these provide a baked-in look that is ready to use right out of the camera. Often they will also provide a log profile. Log or logarithmic files generally have a flat or washed-out appearance straight out of the camera. This is because these files provide you with the ability to apply your own creative look to the footage. Generally, log profiles capture the highest level of dynamic range your camera is capable of recording. Dynamic range is your camera's ability to capture and retain detail in both the highlights and shadows of the image. More dynamic range means more information is preserved within the image. Log is excellent for when you have a specific look in mind that you are trying to achieve as it grants you greater color grading flexibility in the post-production process.
Certain cameras provide what are known as raw video files. In some ways, these are similar in ways to raw photos as there is a tremendous amount of information that is captured within the image. The difference here is that raw video files are often gigantic! Depending on the particular raw codec one is shooting in, they can find themselves quickly filling up their memory. Raw video files are great when you need the highest level of flexibility in post-production but, for most of us, they are unnecessary.
If you are just starting out, take some time to familiarize yourself with your camera’s codec options and how each can be used to achieve a different look. We recommend starting with a “baked-in” profile as you begin to learn how composition and lighting can be used to your advantage.

Straight out of camera shot in Fuji Classic Negative Film Simulation - No adjustments made

Shot in Fuji flog - half graded - notice how “flat” the image is straight out of the camera on the left - the image on the right has had some mild adjustments made with a correction lut (look up table) and curve adjustments
Focus
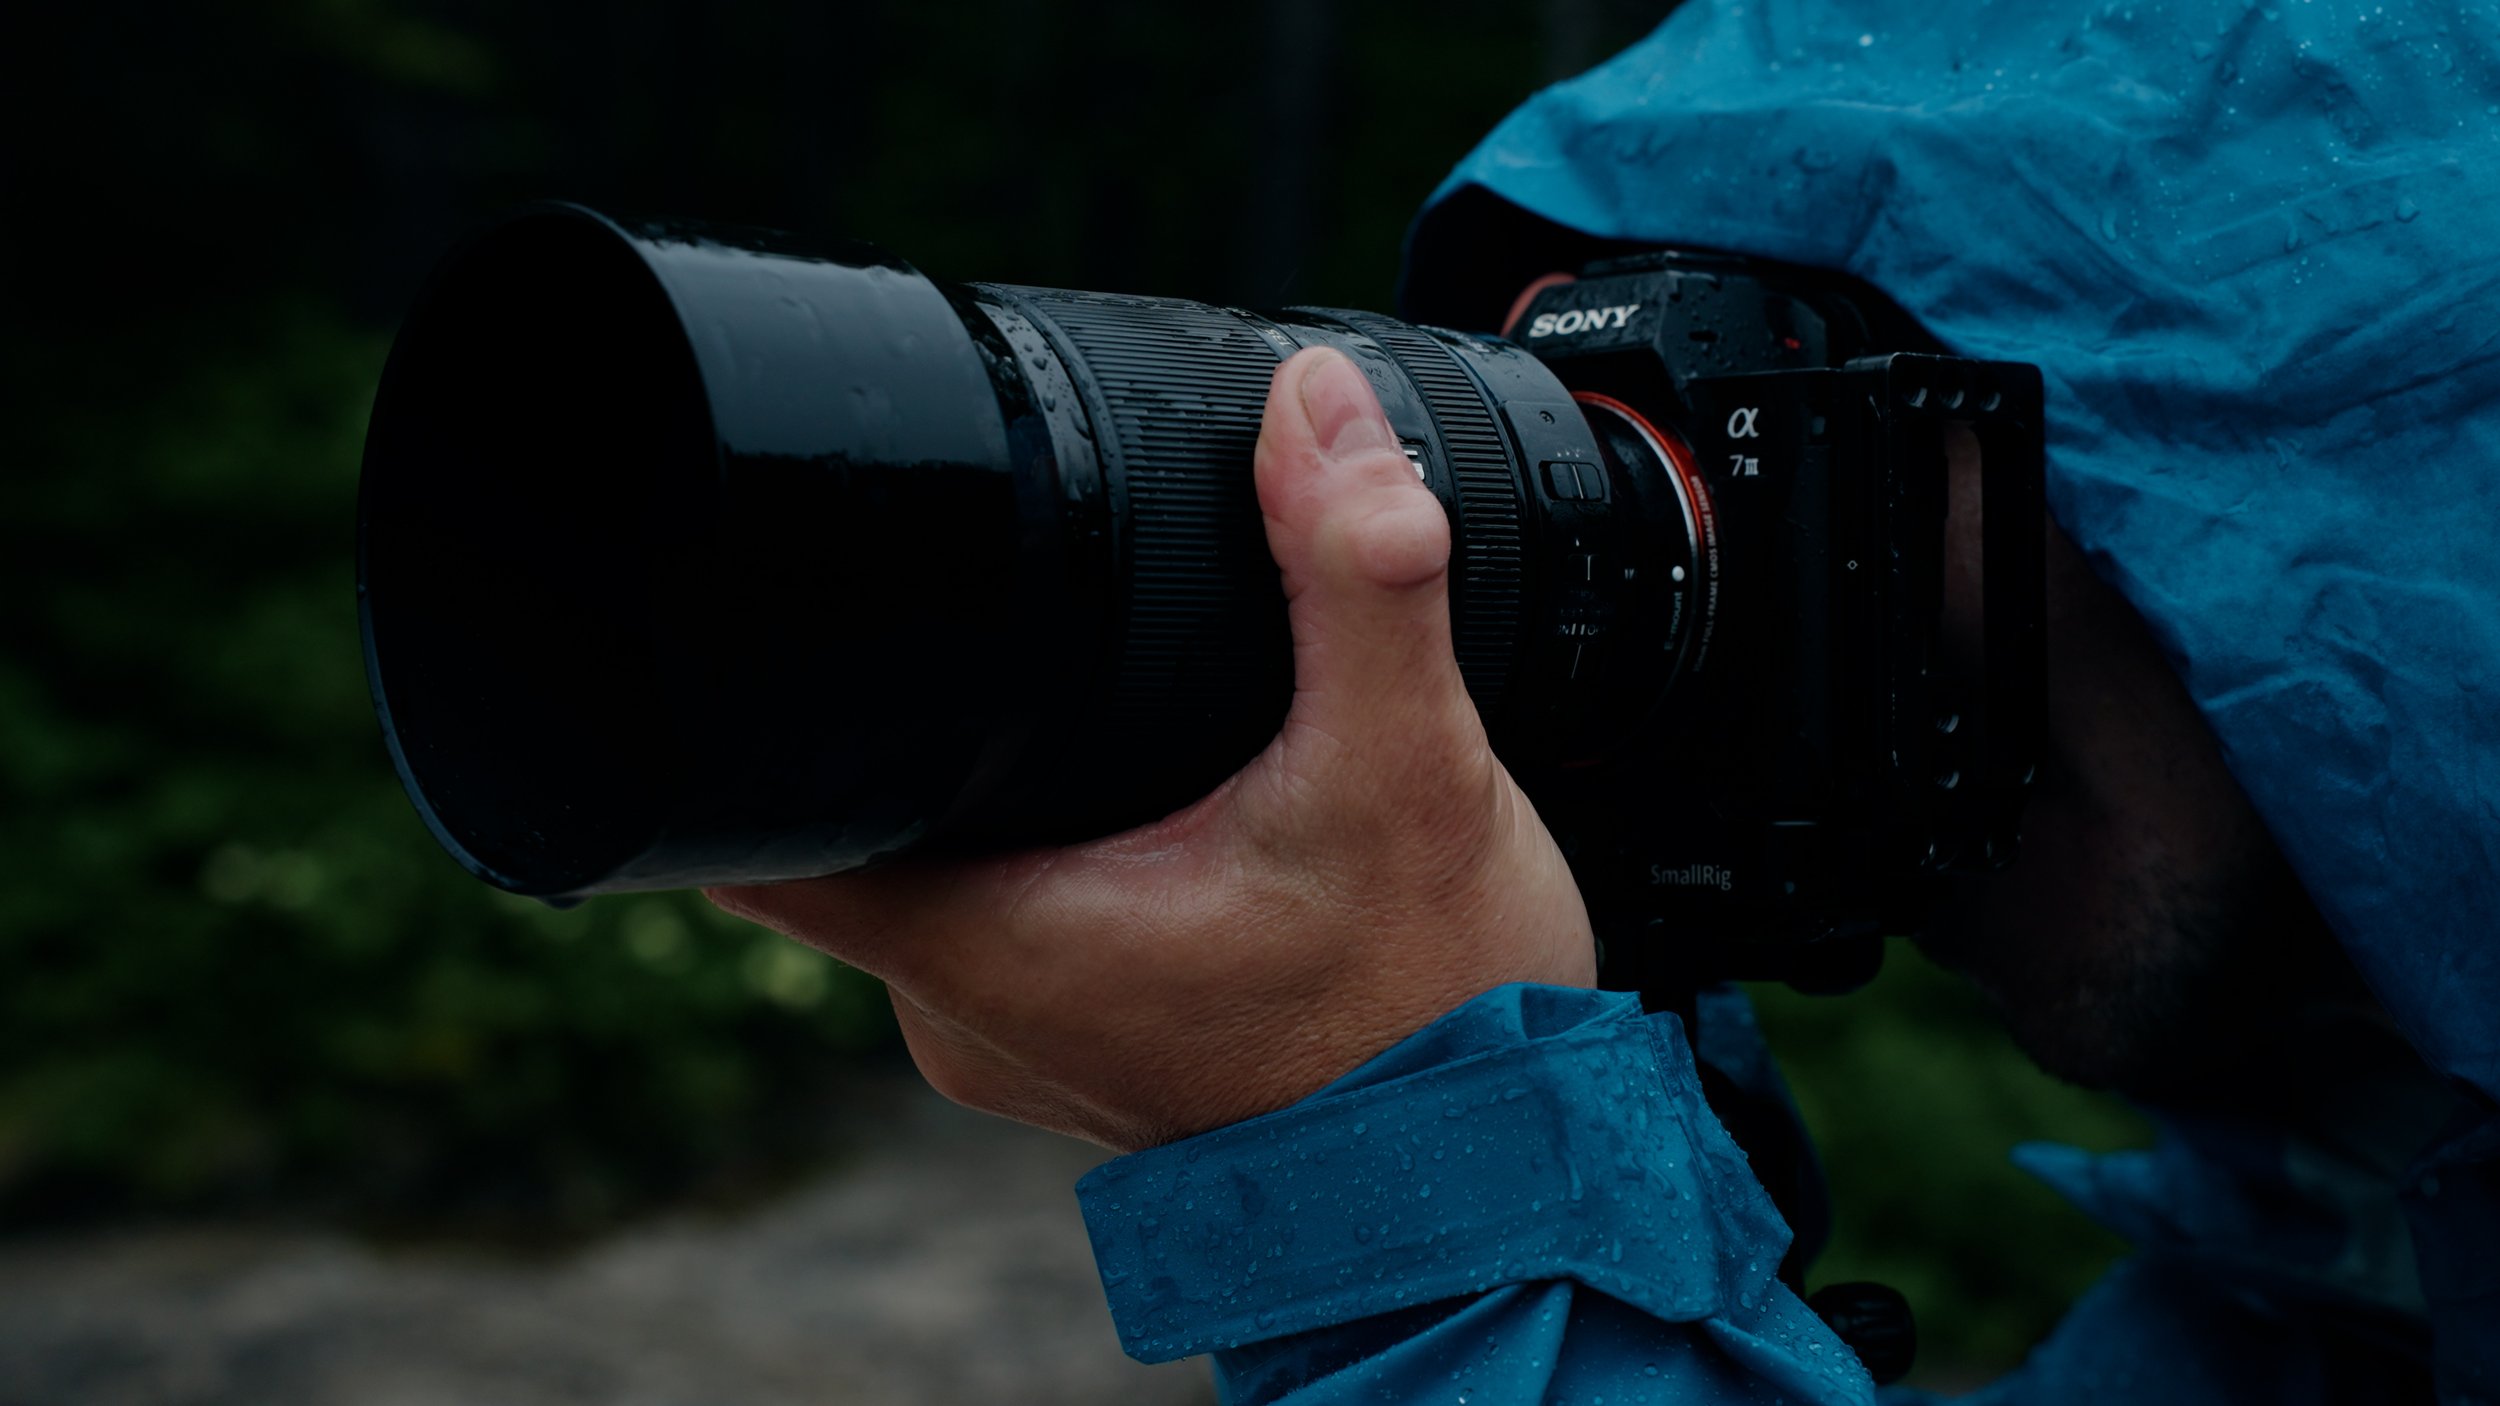
Properly setting up your camera's focusing system will greatly depend on the nuances of each camera. Some cameras perform better with autofocus while others are strictly manual-focus cinema cameras. There is a time and a place for both but the majority of modern mirrorless cameras have trustworthy autofocus. Understanding your camera and when to use each focusing mode will take time, but it’s an essential skill to hone and will allow you to unlock many new creative possibilities.
Lenses are also a major consideration when it comes to focusing. Modern photo glass (still excellent for video work) performs extremely well when combined with a capable sensor. Most new mirrorless cameras have impressive autofocusing systems with new lenses optimized to work in conjunction. Cinema glass, on the other hand, is almost always based on a manual focusing system. These lenses are generally designed to work with a focus-pulling system. There is a time and place for each but if you’re just starting we recommend investing in what you can afford and spending time learning your camera’s autofocusing behaviors as well as dialing in manual focusing to the best of your ability.

Here we have a cinema lens (left) as well as a standard photo/video lens (right). Both of these lenses can operate on the same camera system but offer different features. The cine lens is fully manual, meaning both the aperture and focus must be controlled via the lens itself. You can also see that the focusing ring has “teeth” making it easily adaptable to a focus pulling system. The lens on the right offers both autofocus as well as manual focusing capabilities. Generally speaking, lenses similar to the one shown on the right offer excellent flexibility and are a great place to start for many.
What’s the Best Memory Card For You?
Recording video is a demanding task for both your camera as well as the media you record on. Depending on your camera system the demand will vary, but when you are just starting in the video space you will likely just need an SD Card. Not all SD cards are made the same and you will often see classes of cards described as V30, V60, and V90. You may have also seen UHS-I and UHS-II being used to describe the class of card. Essentially, what these describe is the capability of the card. The higher the “V” rating, the faster the card. Typically these cards will have a read speed in the range of 250 MB/s to 350 MB/s and a write speed between 250 MB/s and 300 MB/s.
For most 4k recordings, especially at higher frame rates, we recommend investing in a V90 class card as you will be able to record flawlessly. Our Rugged CINE and Velocity CINE line of SD cards were designed specifically for high-speed recording.
V60 cards also offer excellent performance for video work but generally are not as capable of recording at high bit rates and frame rates. V30 cards are suitable for lower bit-rate footage as they are designed to intake less information. These cards will often be in the neighborhood of 100 MB/s read speeds and 90 MB/s write speeds. While much cheaper than their V90 counterparts, they are more limited in their capability.

Here we have a V30 card on the left followed by a V90 card on the right. One quick way to determine the difference is by the second row of pins on the V90 card. These are indicative of an SD card with higher performance.
There are also several other forms of media such as CFexpress Type A and B as well as Solid State Drives. These are often used when recording extremely information-dense footage such as Raw files or very high bit rate LOG. Generally, if you have just begun your video journey, this is nothing to worry about. You can pick up a V90 card and it will cover nearly all of your bases and will allow you to upgrade your camera system without having to upgrade your memory.
Exposure
Since you have your shutter speed set to double that of your frame rate, you are limited to using your aperture and ISO for in-camera exposure adjustments. We recommend that you find what your camera’s native ISO is for the codec you are shooting in and stick with it. Shooting at your camera’s native ISO will ensure the greatest dynamic range. Changing ISO is often only needed when shooting in low light conditions. This information should be readily available on your camera manufacturer's website.
For bright shooting scenarios, you can utilize your aperture and an ND filter to control your exposure. Stopping down your aperture reduces the amount of light that reaches your camera’s sensor while simultaneously bringing more of your image into focus. An ND (neutral density) filter is an additional item you screw on the end of your lens that acts as a pair of sunglasses for your camera. ND filters are a must if you will be shooting video regularly, as they allow you to achieve more desirable camera settings and provide greater flexibility when shooting in more heavily lit scenes.
A high-quality variable ND filter is a great addition to your kit as it allows you to adjust the amount of light entering your camera by several stops in a simple rotation. We recommend picking one that is sized for your most commonly used lens or for your largest lens and using it in conjunction with a step-up ring.

Lighting and Composition
The two most important elements of video work are composition and lighting. These will be the greatest determining factors on how your final production will look. Once again, there are endless possibilities when it comes to both of these elements. There are, however, standard practices that can be applied to any project.
Lighting possibilities are nearly infinite. At the start, use the light that you have available to you. Natural light can make for some incredibly beautiful scenes, whether you are catching a sunrise or shooting an interior scene lit by a window. Managing this light can be tricky because, well, you cannot control the sun. That being said, there are some things that can be done to help. As we previously mentioned, you can add an ND filter to your lens to help reduce incoming light. When it comes to manipulating your scene, you can use a diffuser to help soften your light. Although a proper diffusion sheet with a scrim is ideal you can even use a white bed sheet rigged on some type of a stand. Sometimes jerry-rigged setups can get the job done! As long as it's not in your frame and it helps to create a softer, more flattering look, then no one will know you used your unwashed bed sheets.
Adding supplemental lighting to your scene is a great way to boost production value, but it often comes at a cost. This is where a more technical understanding of how light affects your image will come into play. At the start, keep it simple. Use the available light and, if need be, invest in some affordable lighting setups that you can learn some of the basics on.

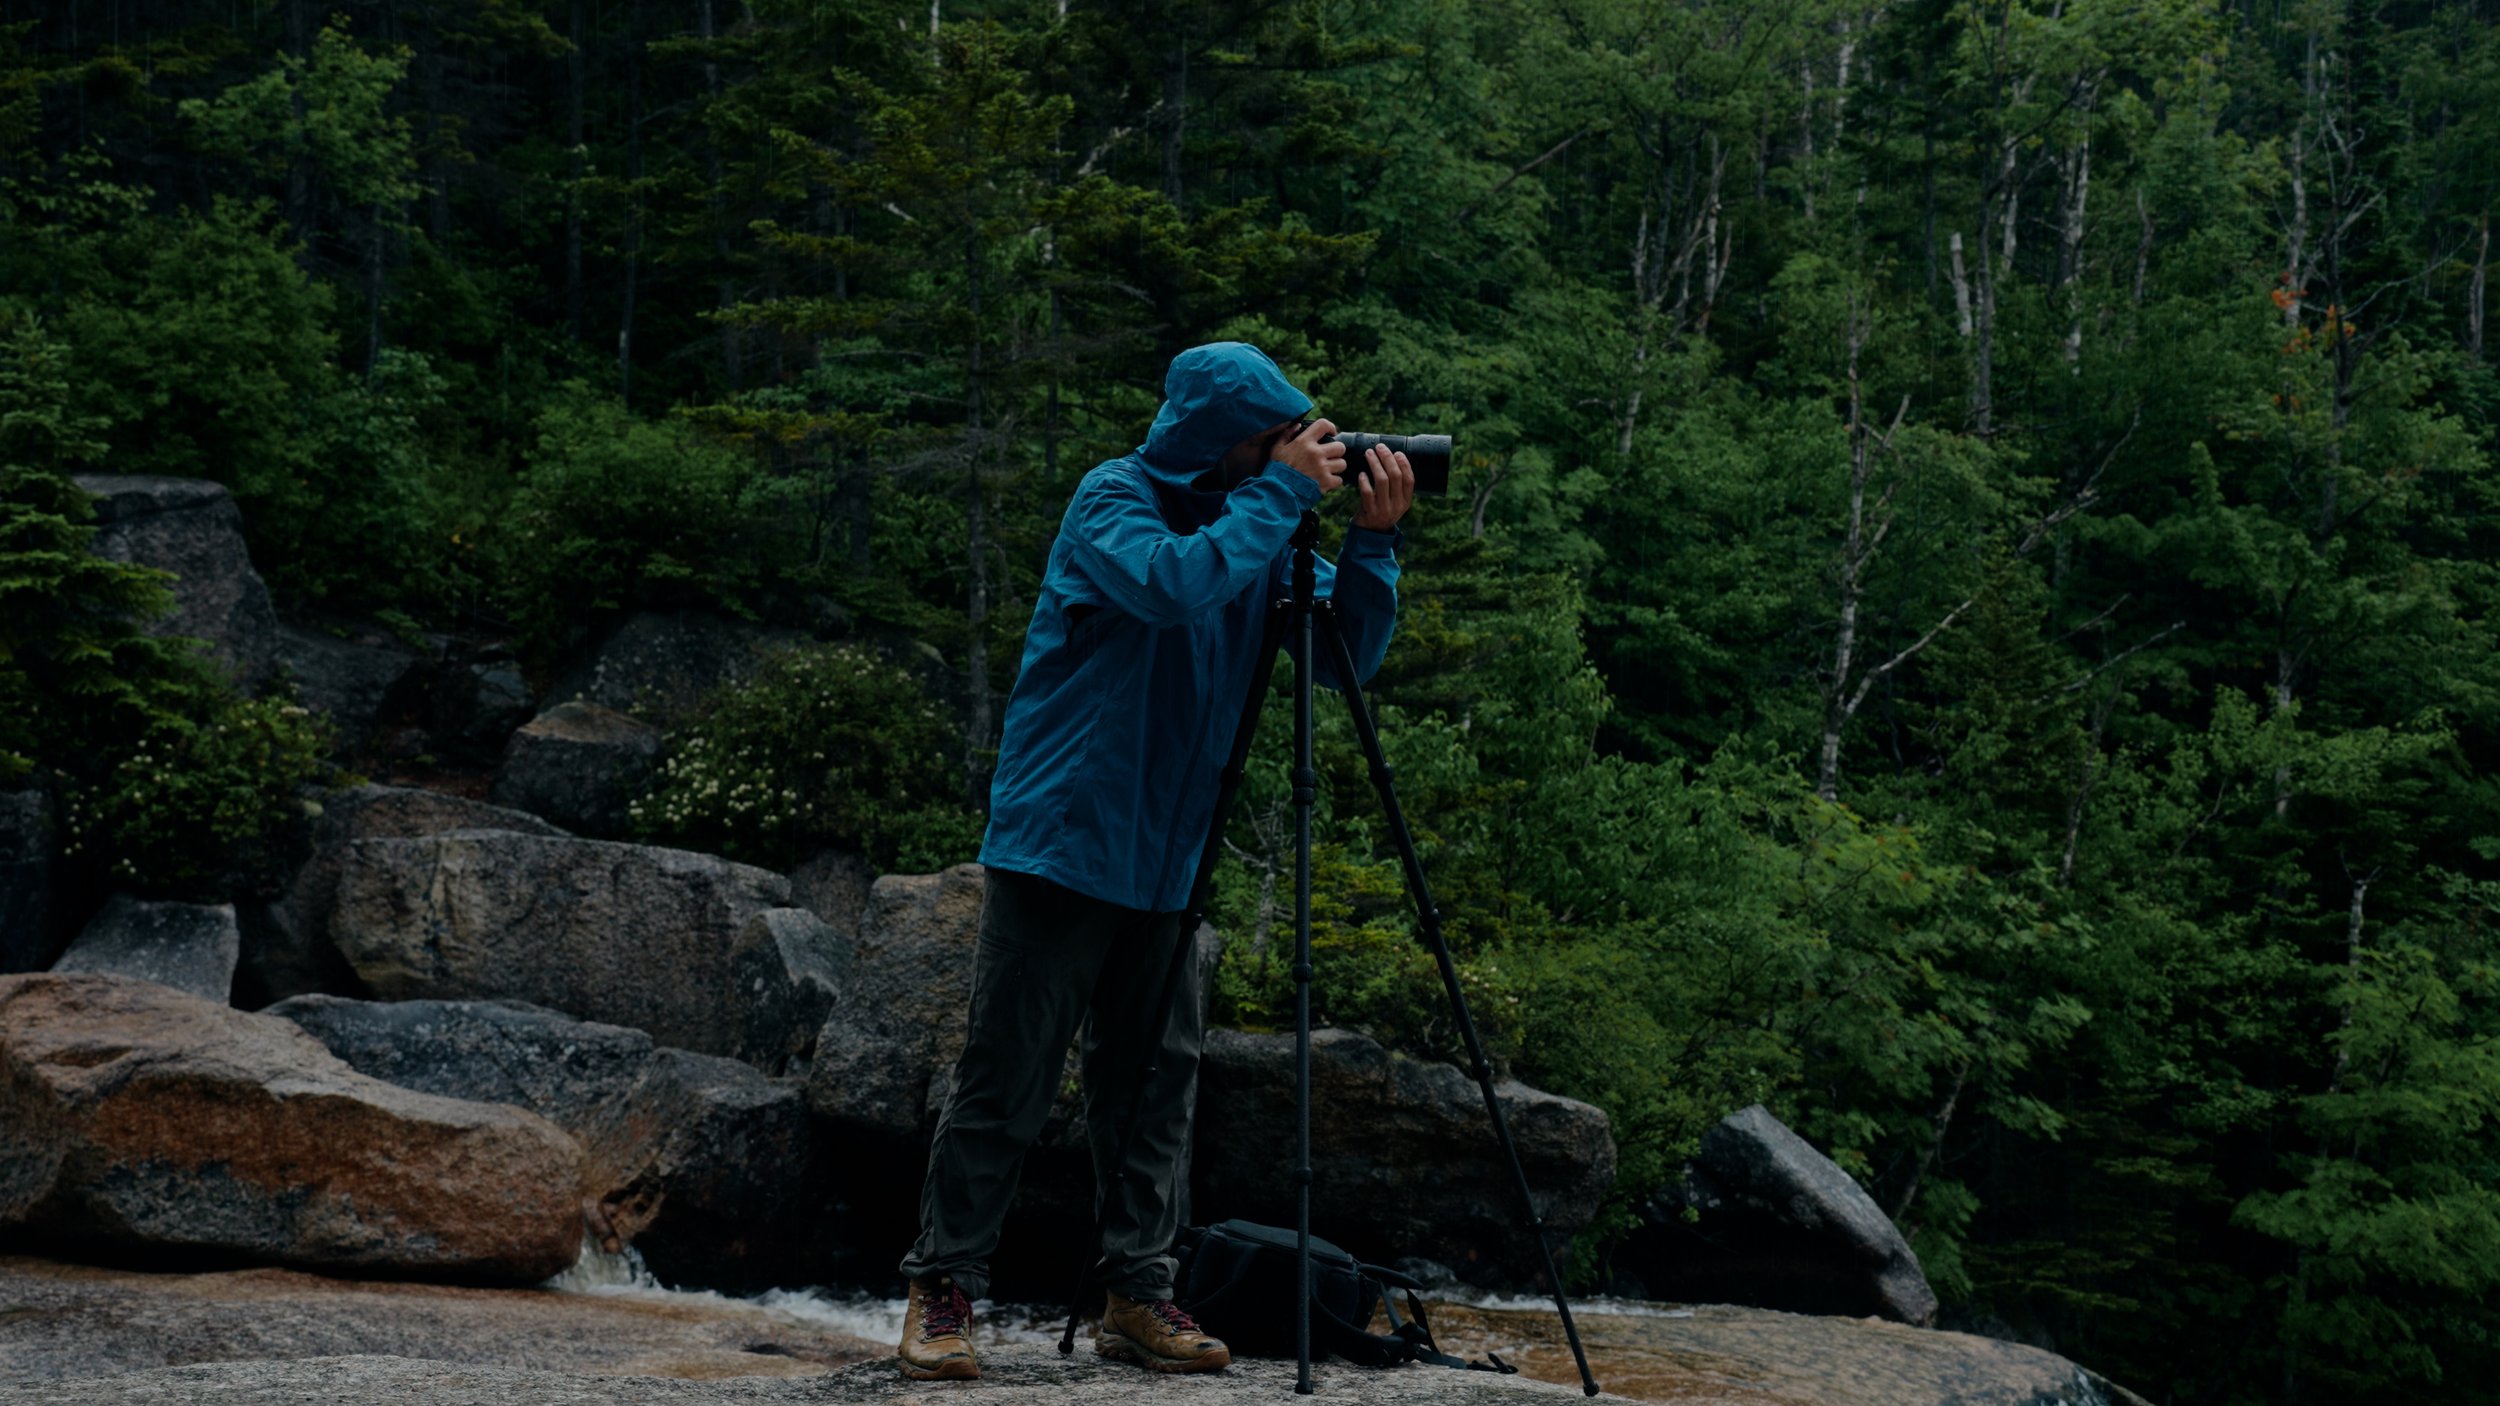
Image by Sage Cinematics
Composition is another foundational element of video work. Going out and experimenting with different frames is an excellent practice. This is a great way to get a feel for how your subject's spatial relation to your camera can impact the feel of the shot.
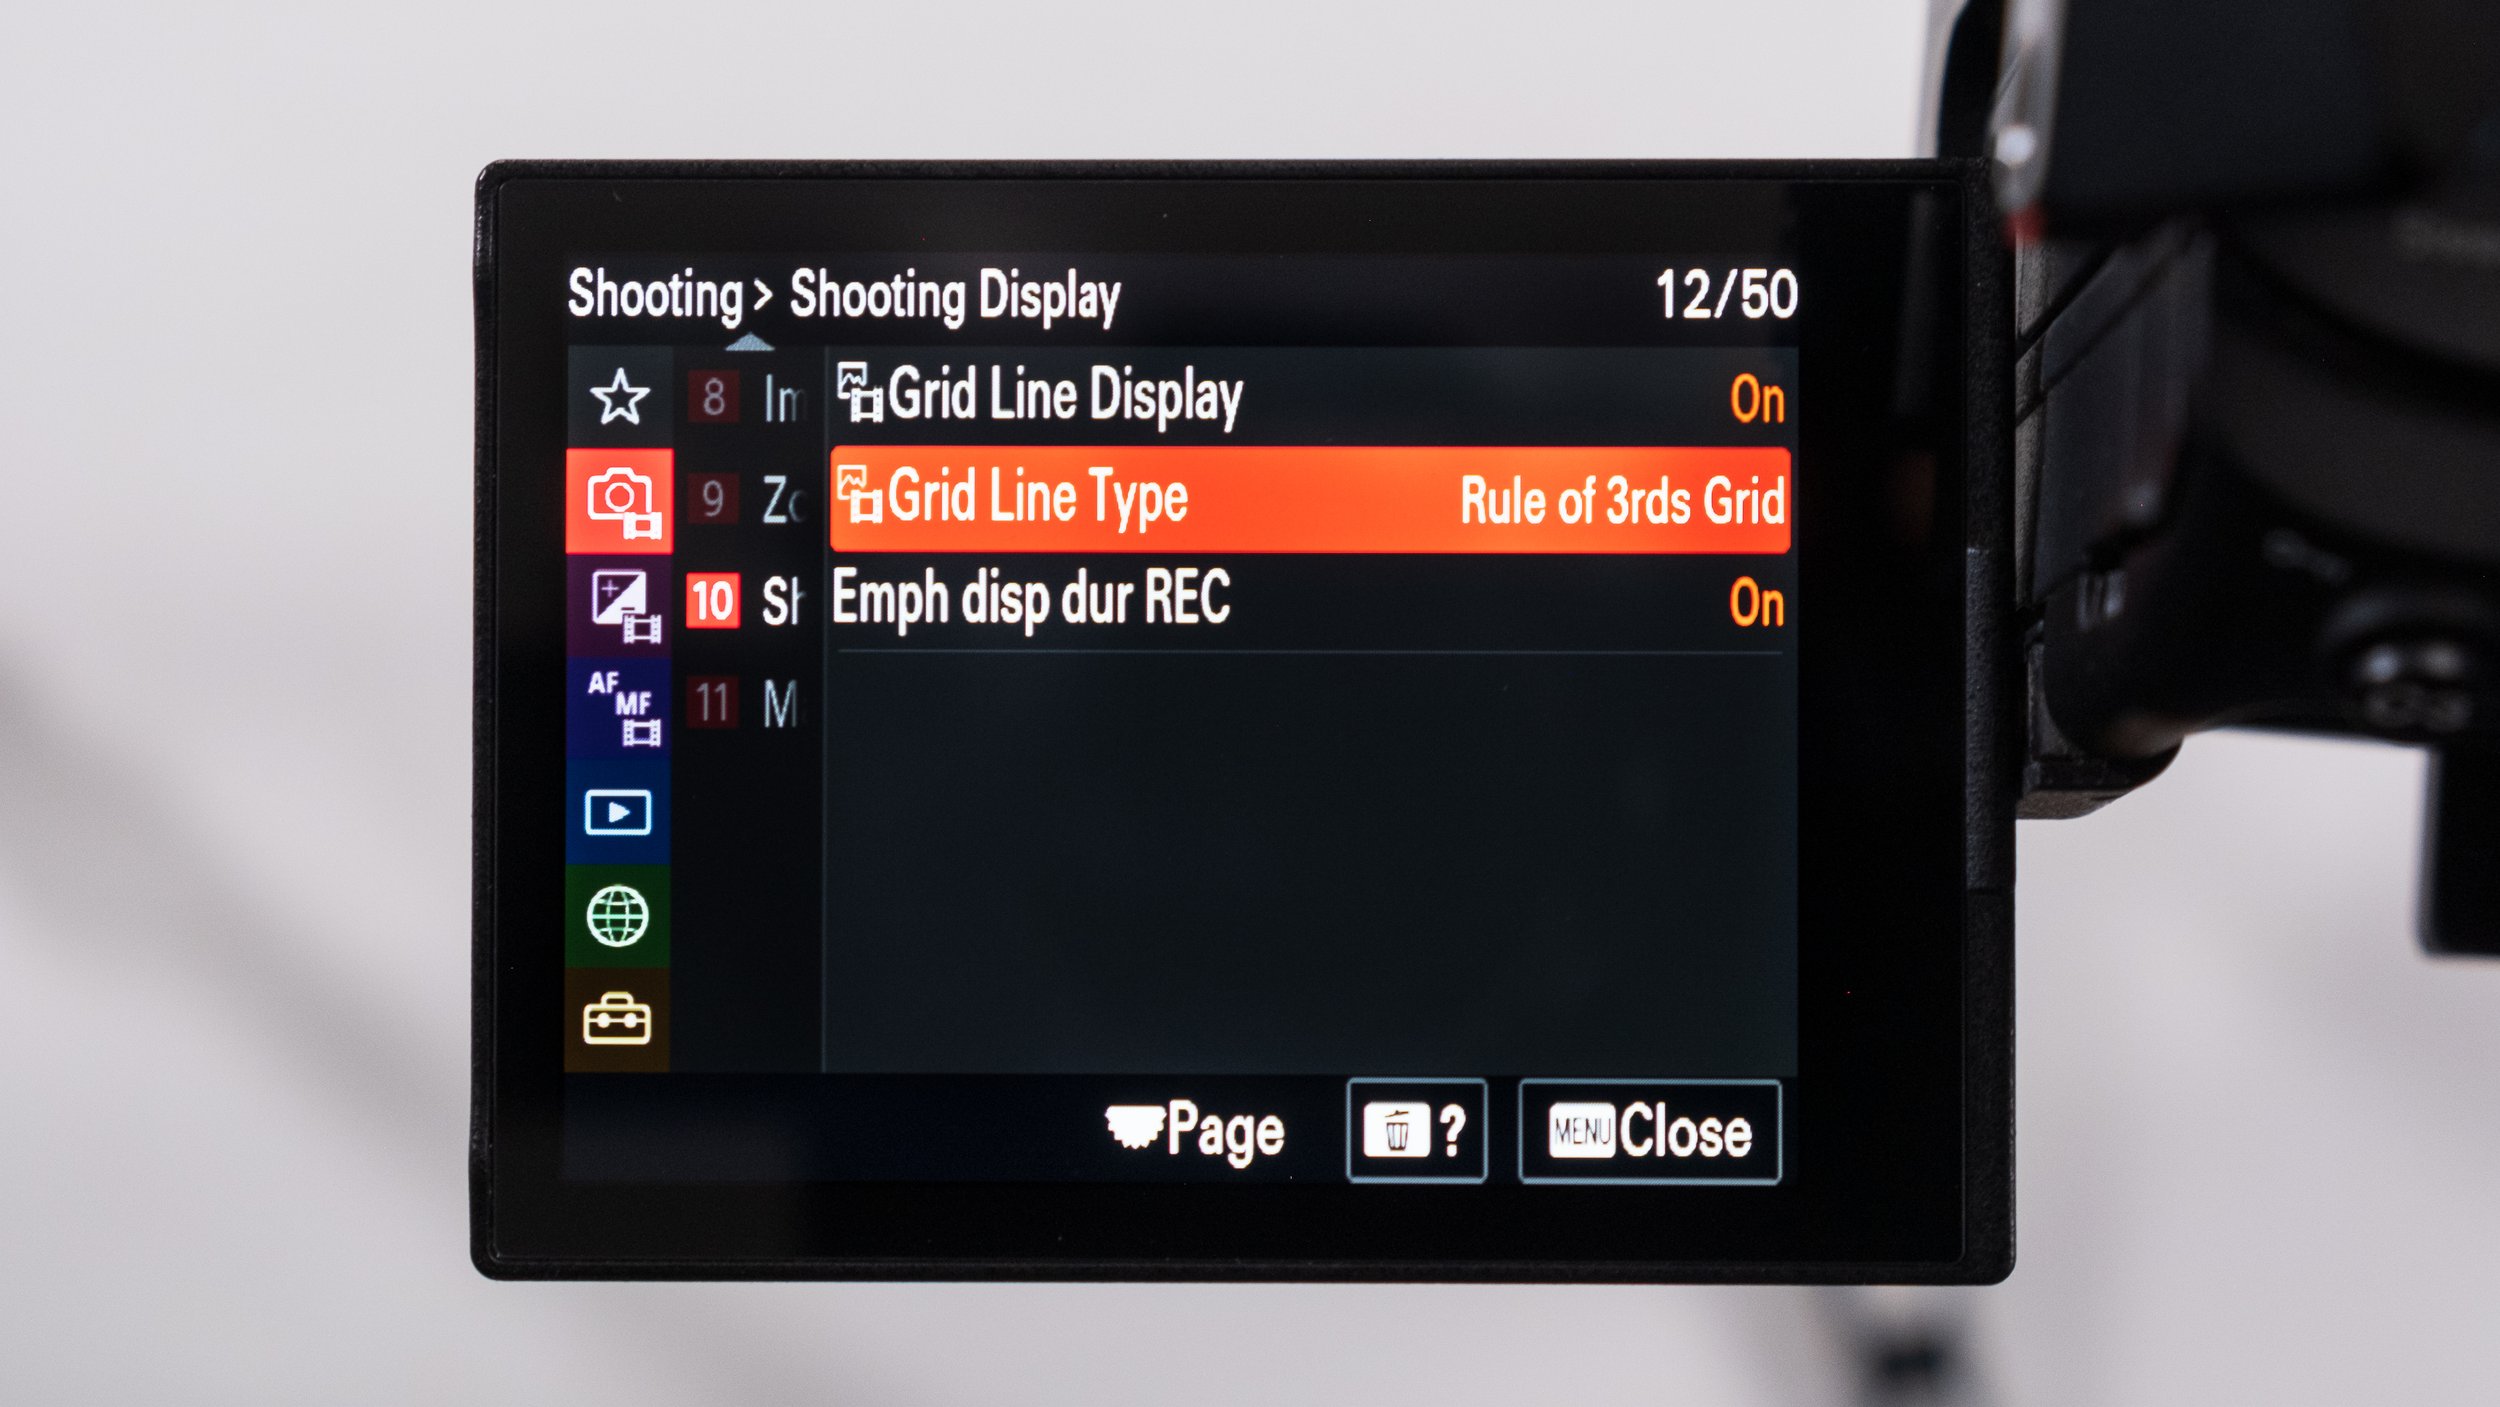
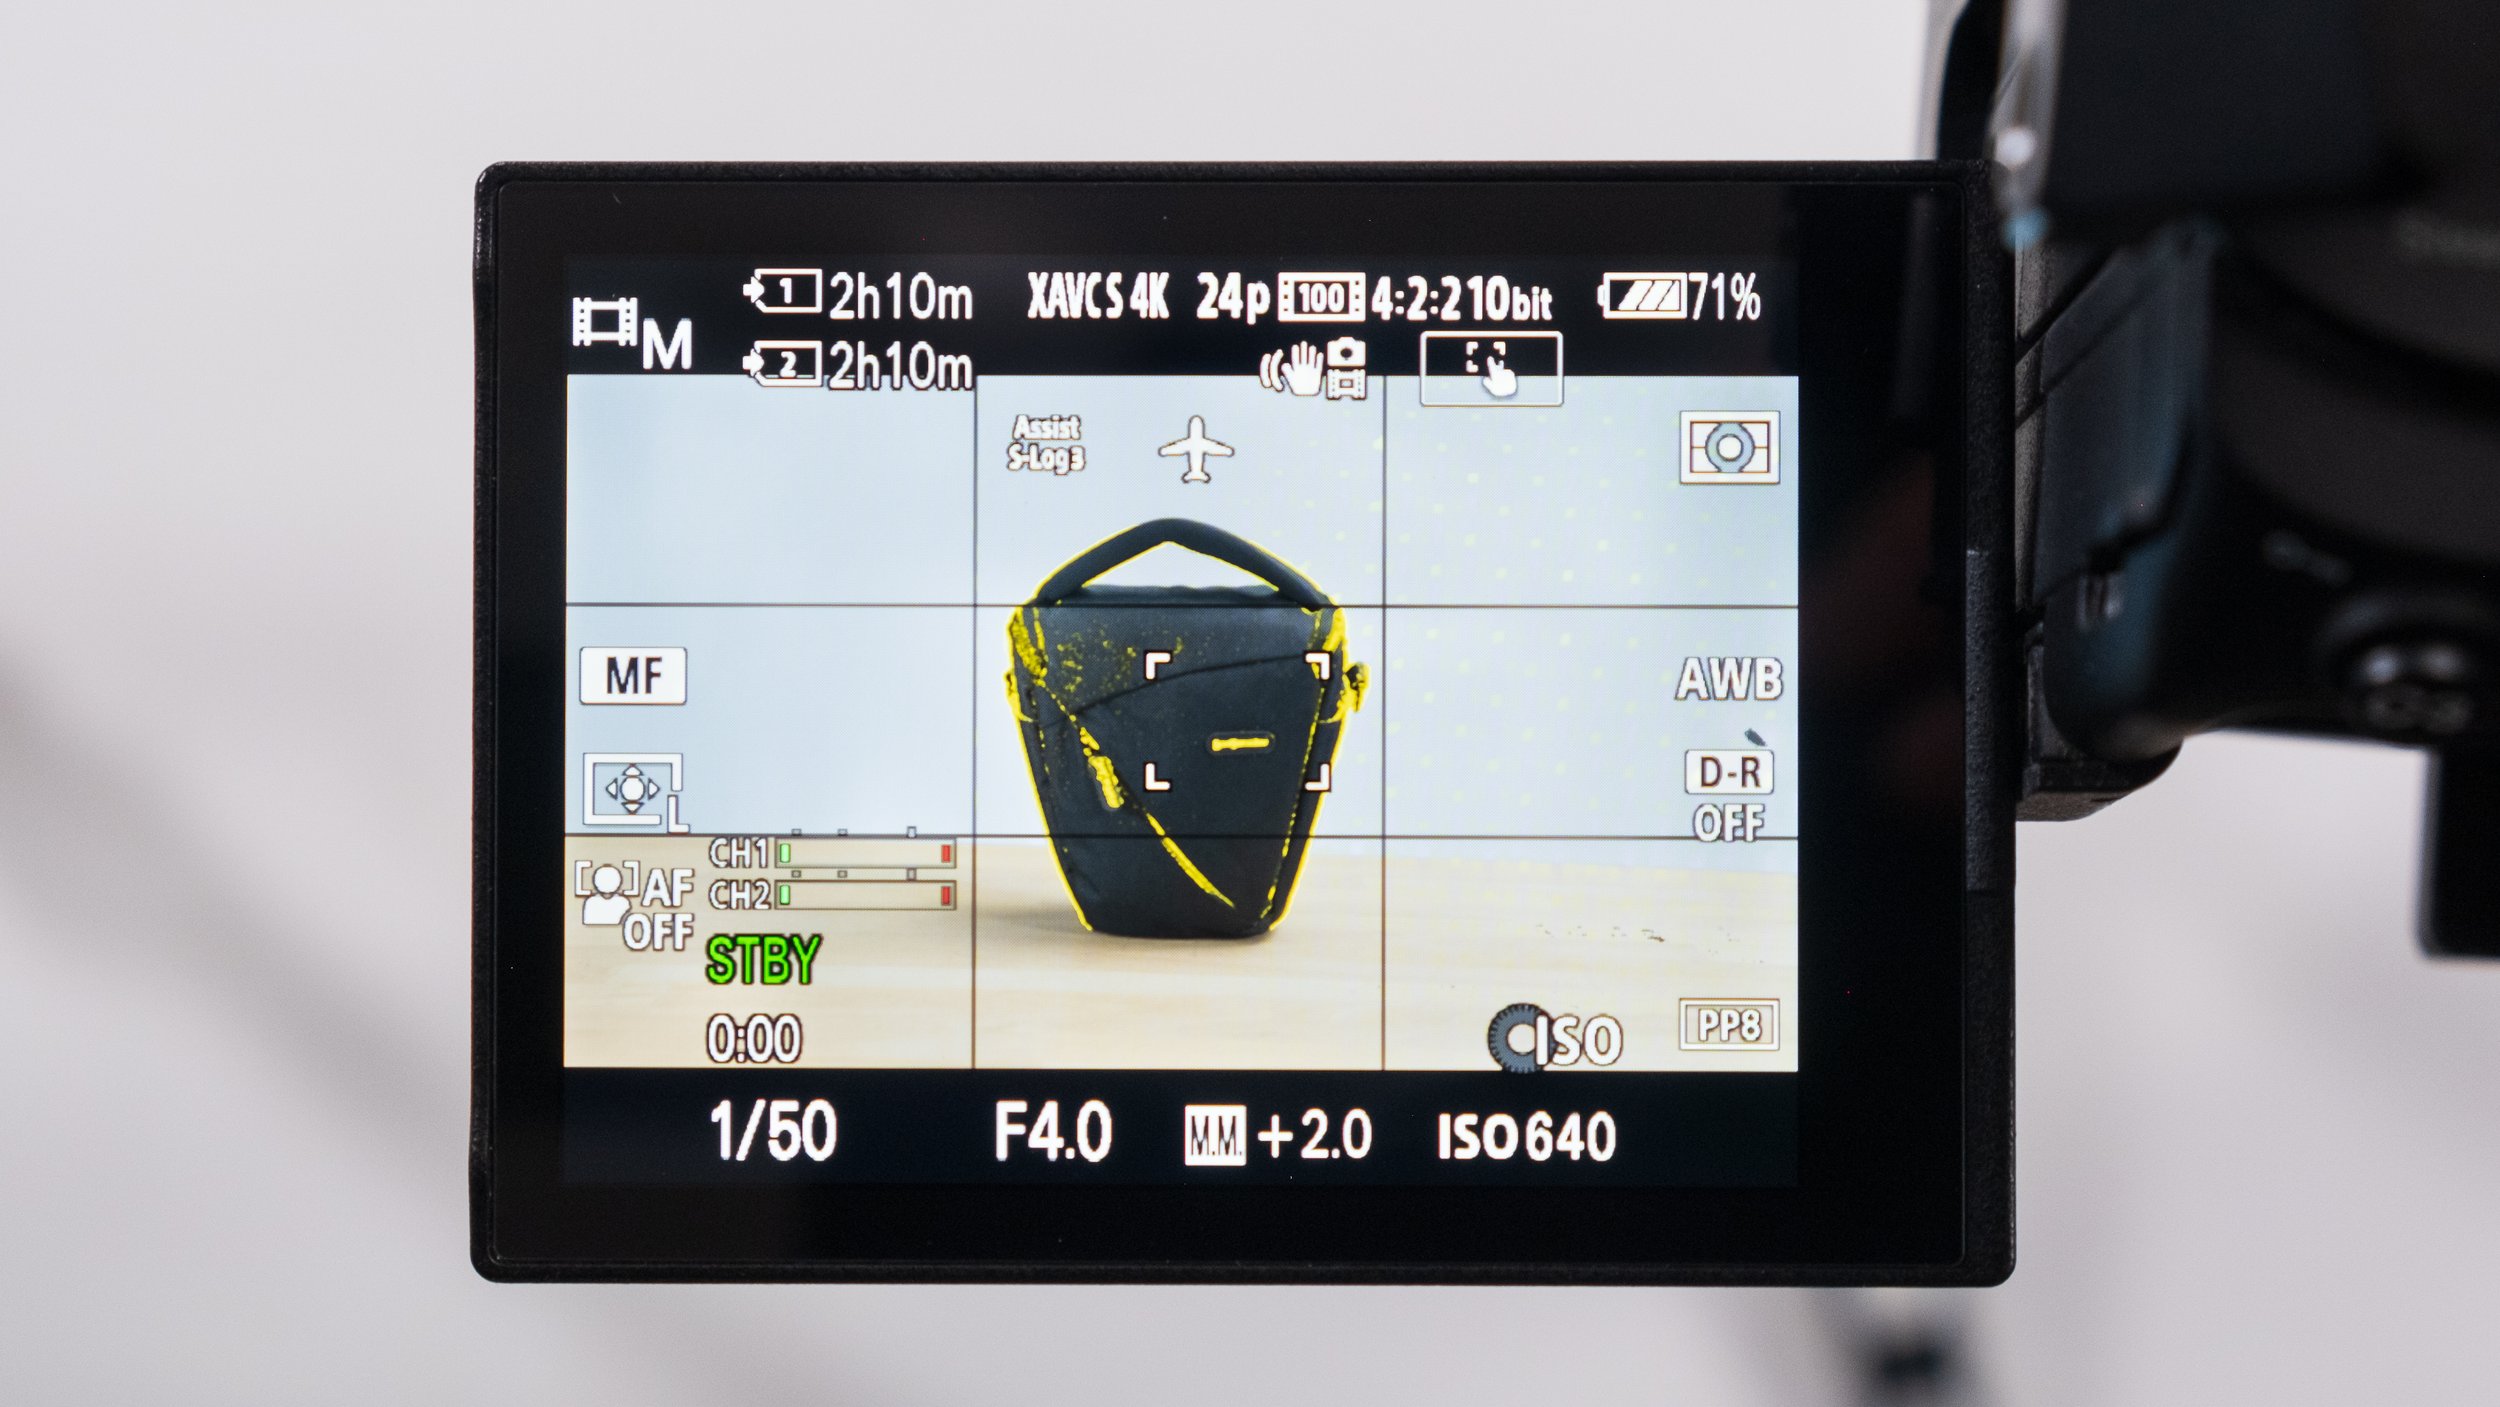
A great concept to keep in mind is the Rule of Thirds. Essentially, this rule is based on the division of your frame into 3 equal sections. A left, middle, and right third can help you to separate your subject from the rest of your frame or draw attention to something of interest. You will often see images where the subject is composed on the line of the outer-third, leaving the remaining portion of the frame open. This is just one example of how the rule of thirds can be applied. Although this rule is not absolute, it is a great benmark for anyone in the video space. Fortunately, almost all camera systems allow you to use a grid on the LCD screen that divides the screen into thirds, allowing you to easily compose your shot.
Wide, Medium, and Tight
Compelling stories often do not happen in a singular shot. Having a variety of shots at different focal lengths and distances from your subject can help drive your narrative, while keeping the viewer engaged.
A few words to live by: wide, medium, and tight. These are the three basic shots you will want to capture in your scene.
Wide shots help establish your setting or provide perspective by making your subject appear smaller in the frame.
Medium shots provide more context to either your scene or what your subject is doing.
Tight shots are great for highlighting details as well as providing emotion when displaying the subject's face or body language.
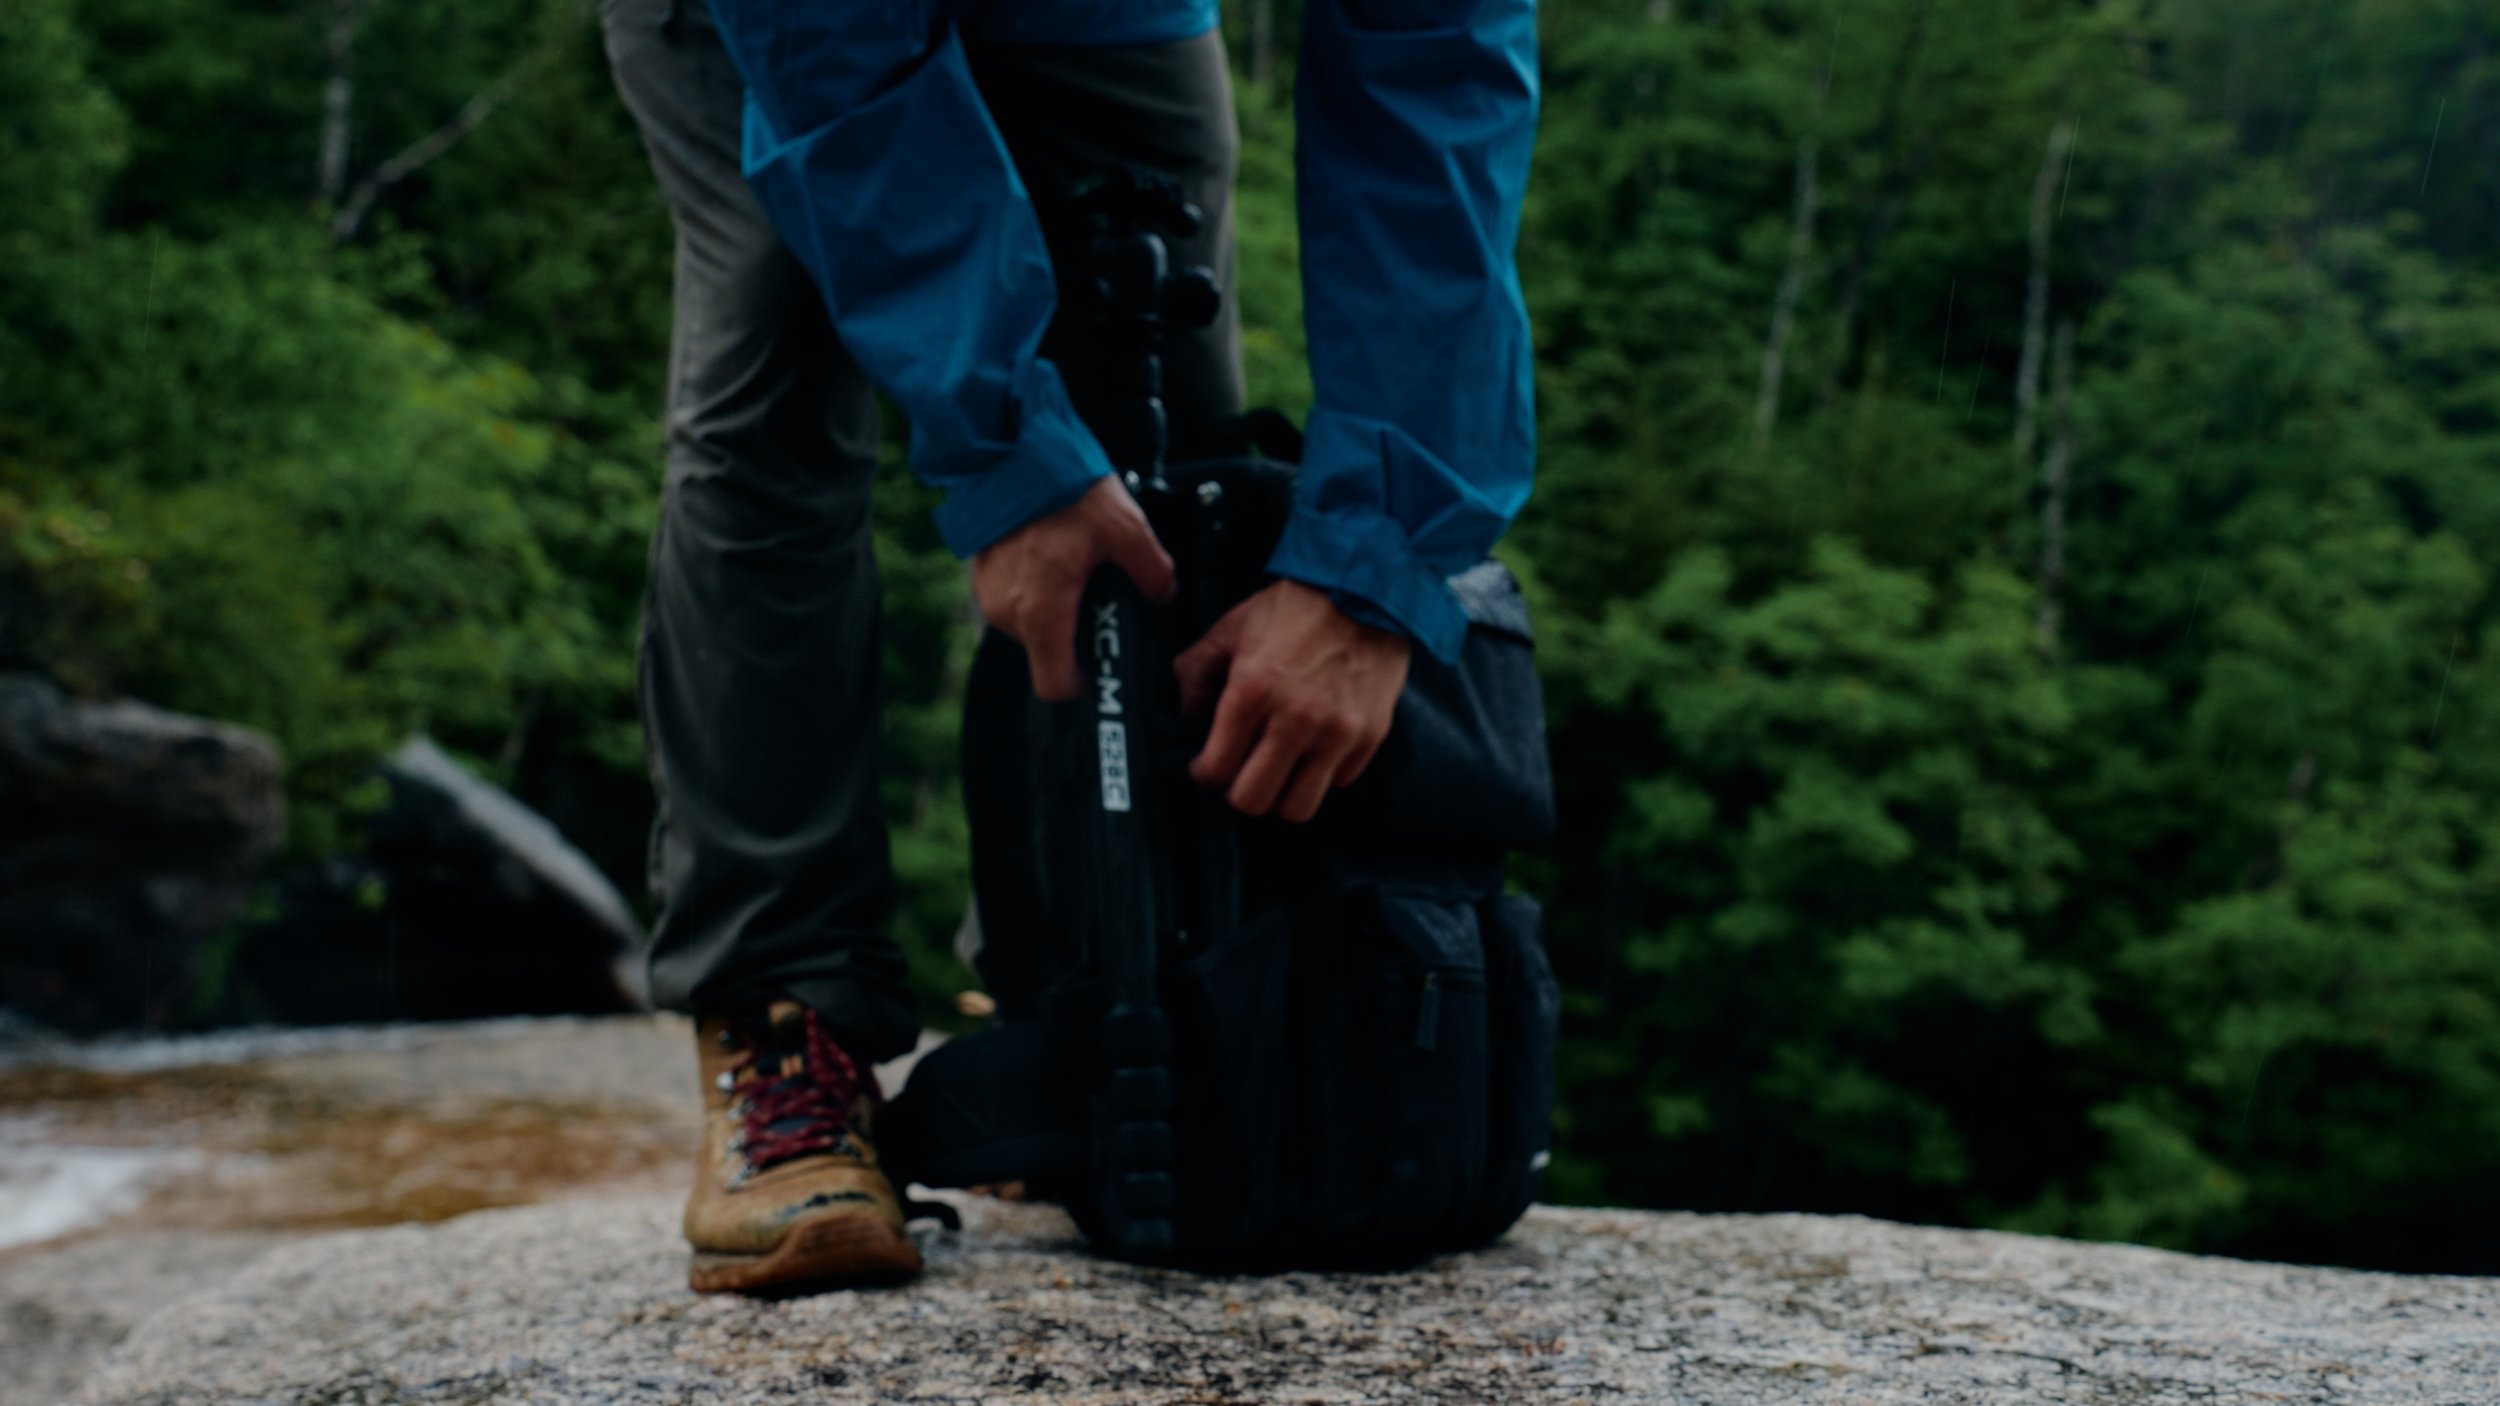
Each of these shots has their place. While there is no specific cadence your edit has to follow, it is always great to have the option to cut between different shots and see what works best. A great way to practice this is to begin by filming yourself. Grab a tripod and head to one of your favorite shooting destinations. Begin by setting up a wide shot that establishes your scene. You can add intrigue to the shot by walking into the frame. From here you can easily cut to a low-medium shot of your shoes as you walk. Lastly, you can cut to a tight shot of your face as you look off into the distance (channel your inner model). All you need for this is your camera, a tripod, and yourself. Although this is just one way to get started, it can make for some excellent short form pieces.
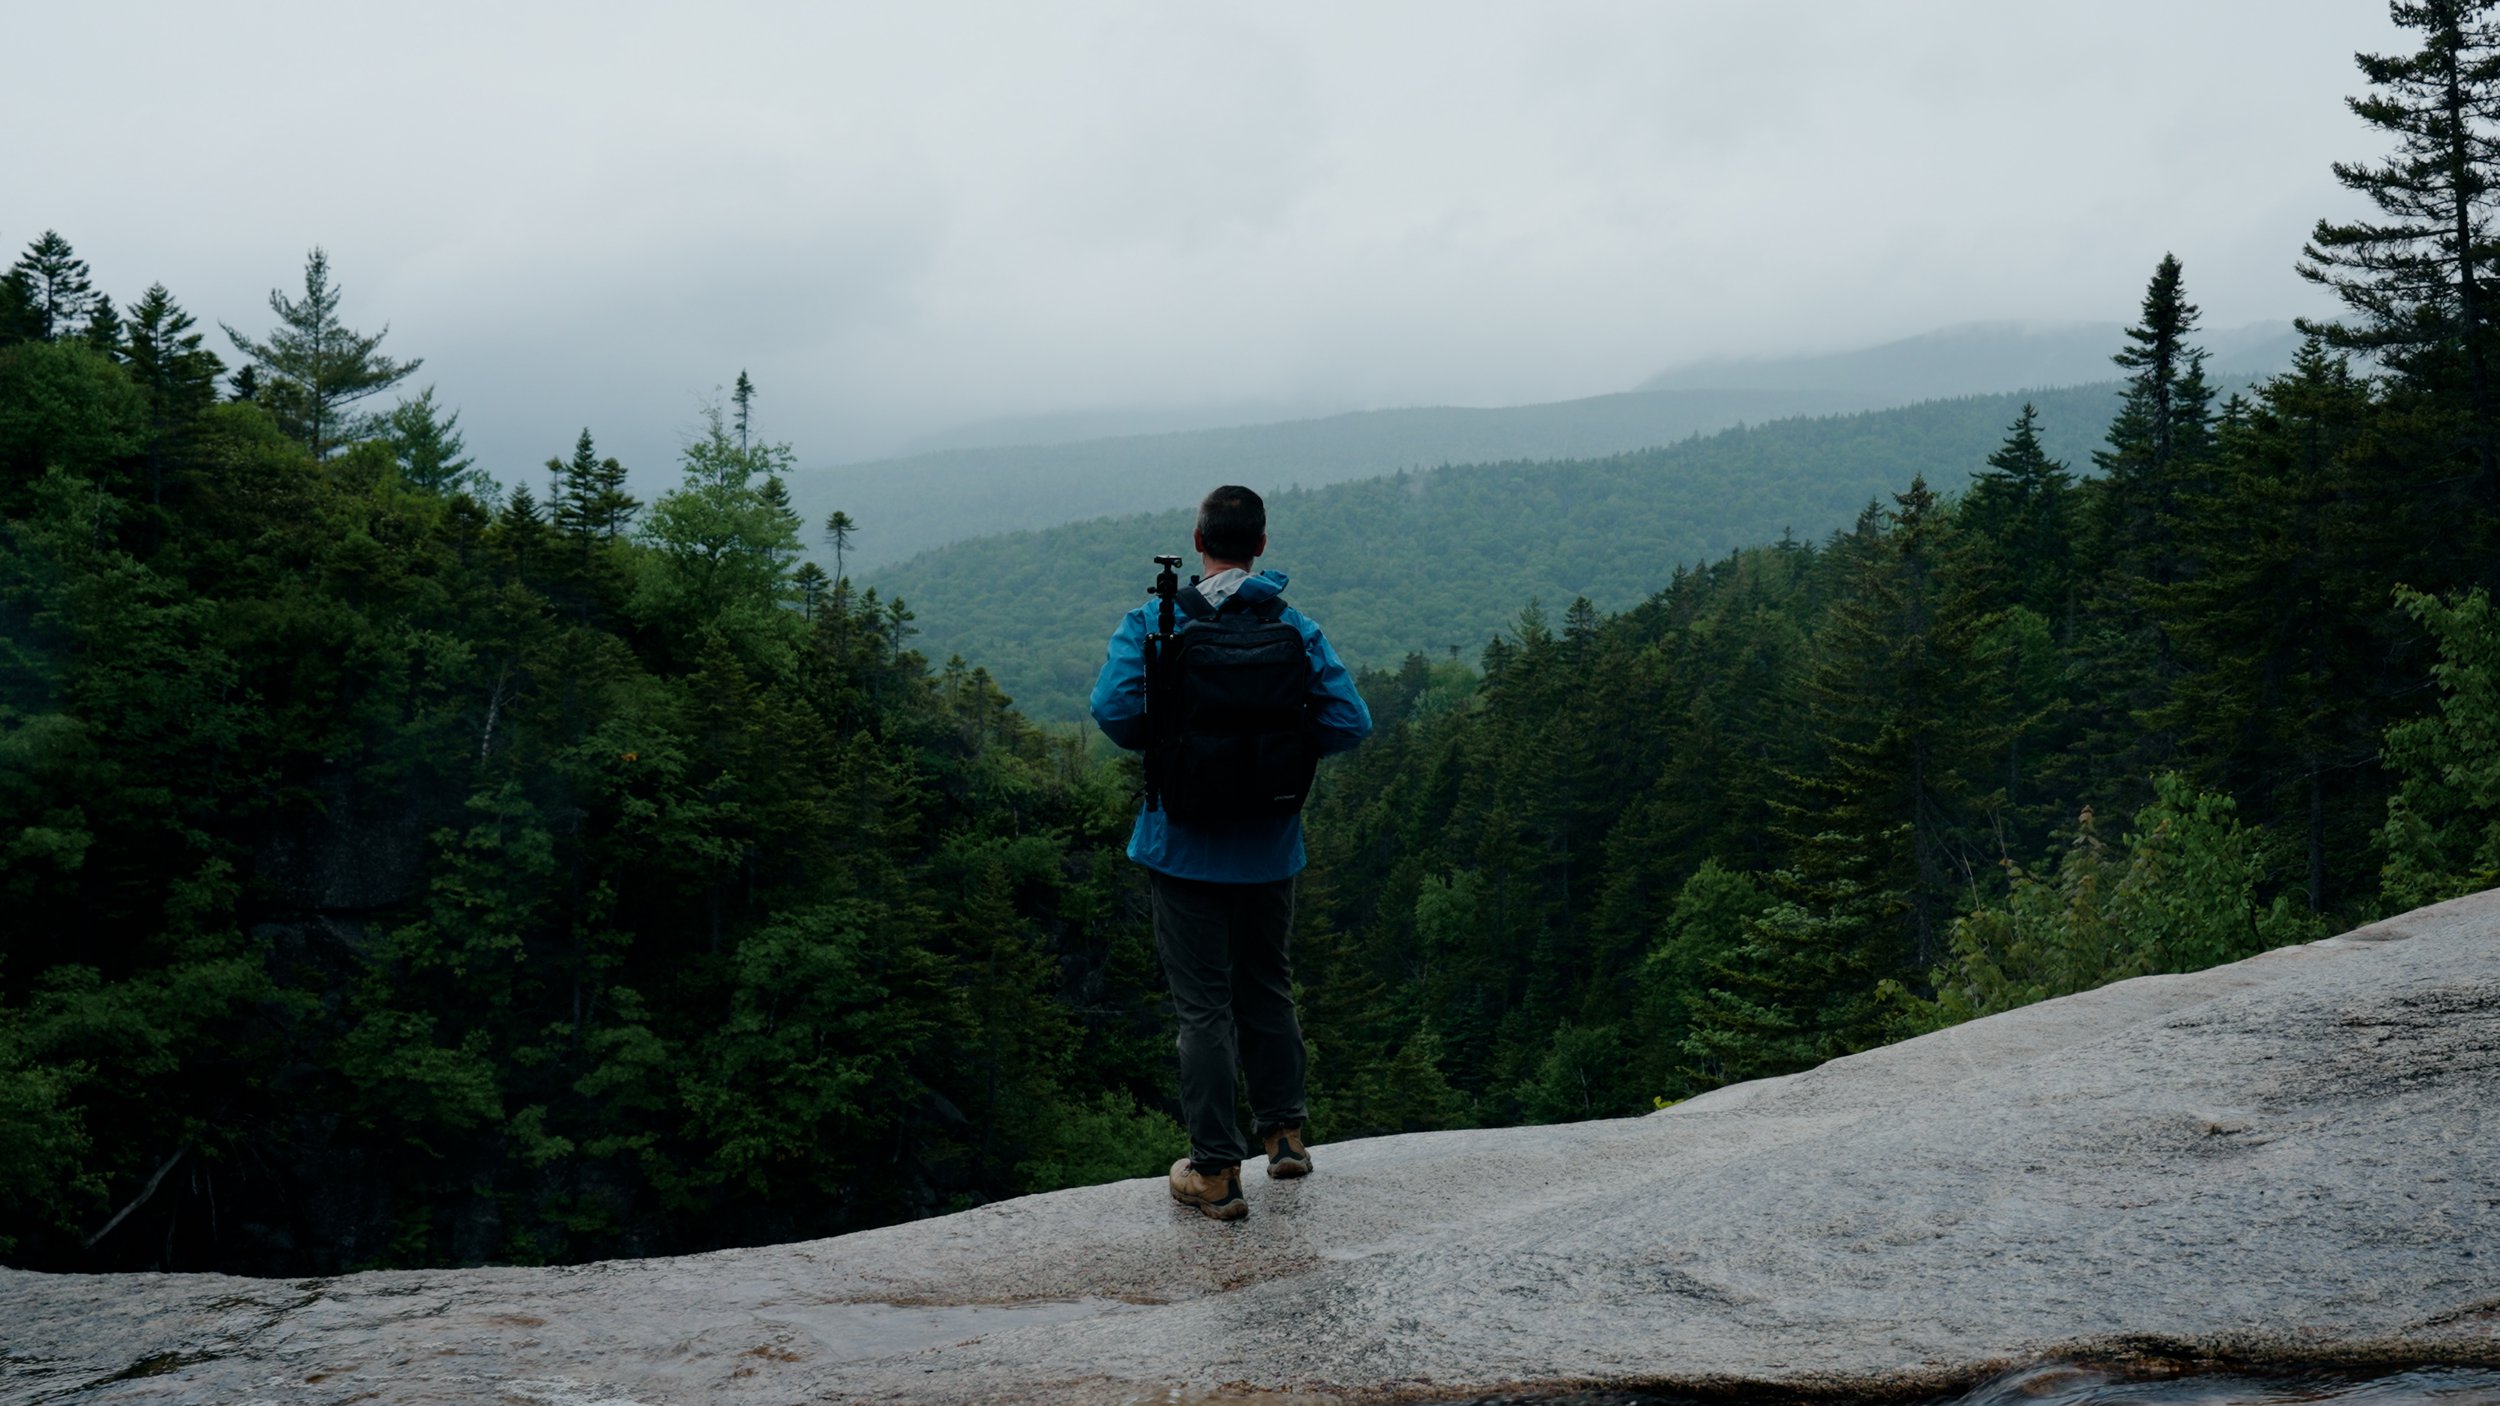
Get Out and Shoot
Now that we’ve covered a few of the basic technicalities of video it’s time to start shooting! Getting out and practicing is crucial to getting familiar with your camera and its nuances. Shoot in all different lighting scenarios to understand how it handles both highlights and shadows. Practice switching between autofocus and manual focus and you will quickly come to learn these systems. Mess around with different frame rates to provide variety in your editing and to familiarize yourself with how they can be used to achieve specific looks.
Use the resources that are at your disposal. There are so many online courses and videos that are chock-full of information on how to get started with video and how to execute different types of shots. Most importantly, have fun with it. Video can be daunting at times, but just know this is a marathon and not a sprint. Go out and create something with your friends. Take your camera with you on a walk through the woods. Just create something and keep at it. Before you know it you’ll be making some awesome content!


